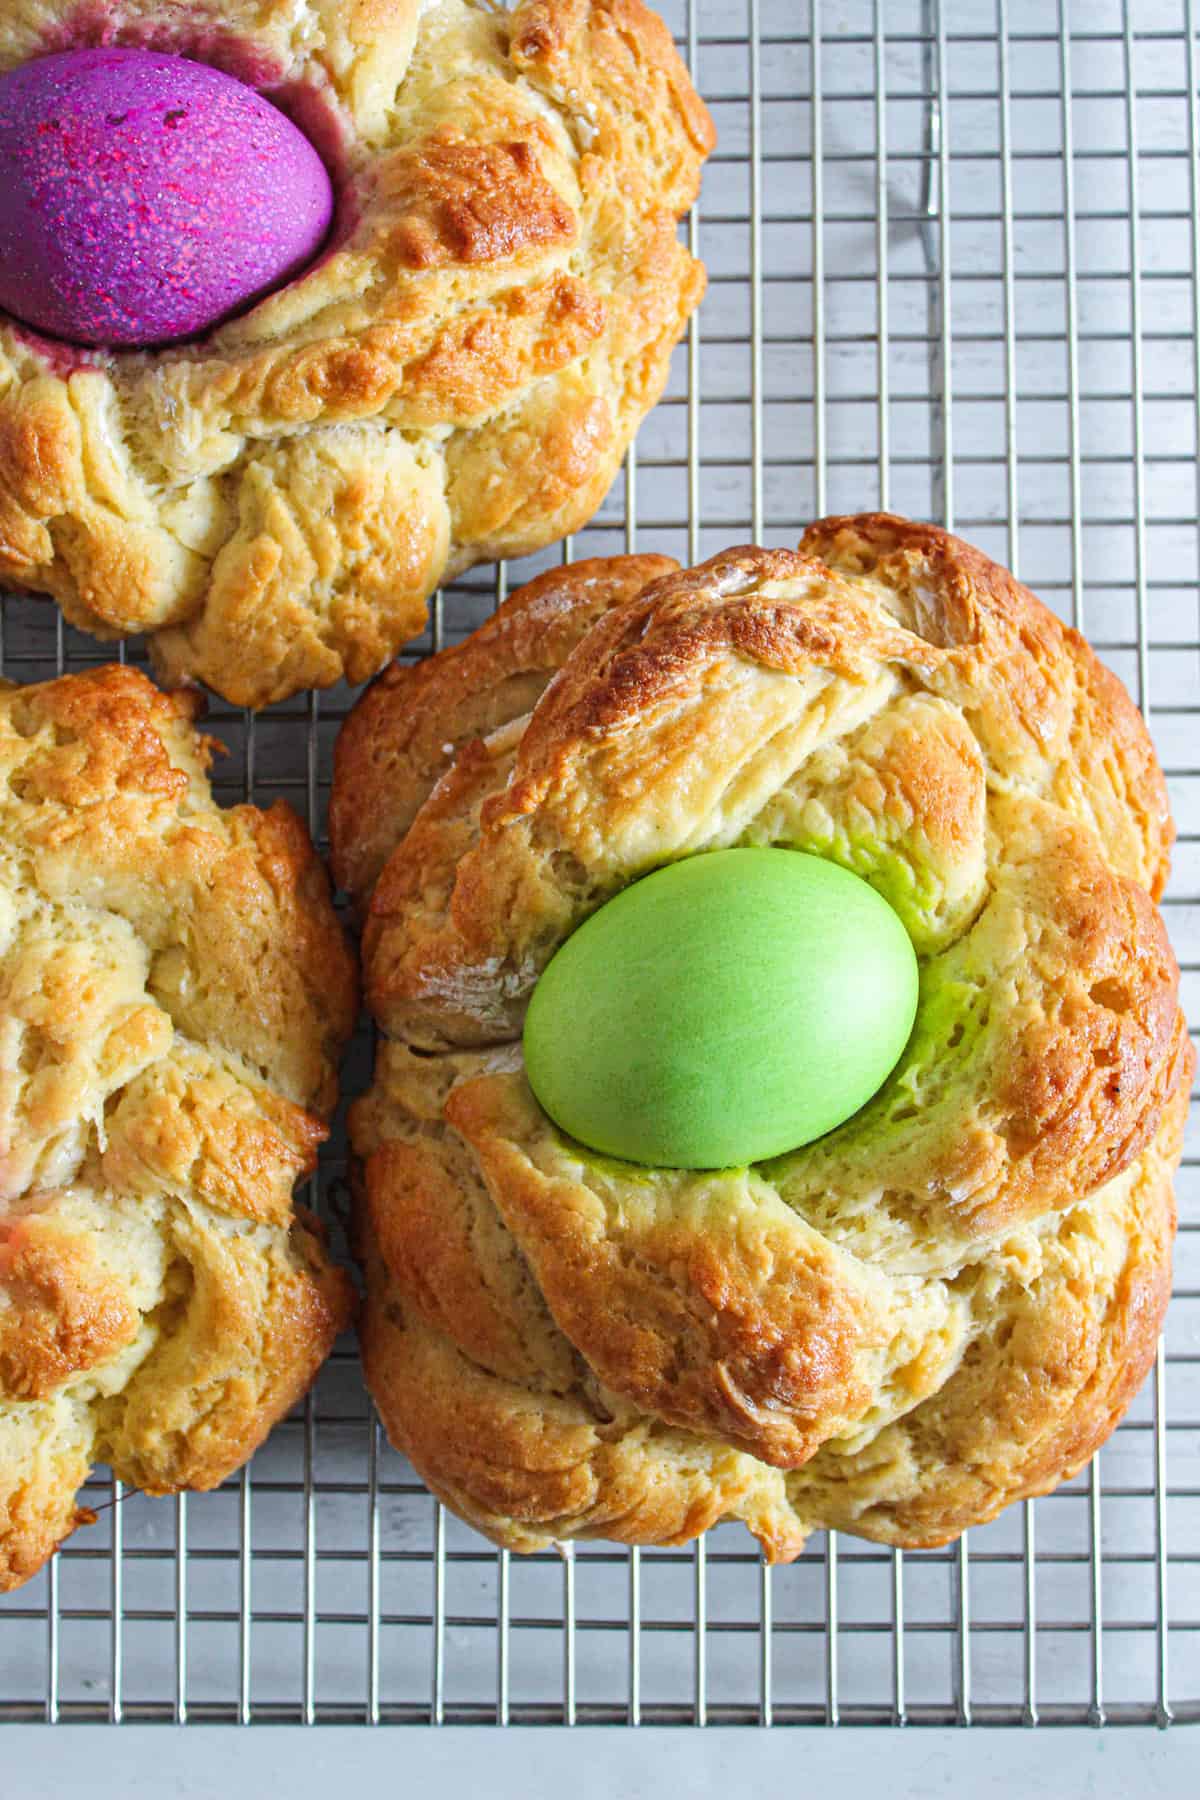

This gluten free Easter bread is the classic Easter treat you know and love, with a gluten free twist! Making this soft and sweet bread is a fun activity since it involves braiding the dough and dyeing eggs bright colors. Easter bread will give your table a beautiful festive touch.

With Easter coming up, it’s the perfect time to start thinking about what dishes you’ll make for the occasion! Enter: Easter bread. It’s a traditional sweet bread made this time of year to celebrate the holiday. It’s perfectly tender and makes for a beautiful presentation. This treat is made with braided dough and a colorful boiled egg placed in the center, before it goes into the oven. If you’ve never made this classic bread, here’s your chance to start a new tradition in your household!
Looking for more sweet gluten free breads? Check out this Irish soda bread, this cinnamon raisin artisan bread, and this cranberry orange bread.
Jump to:
Why this recipe is the best!
What’s not to love about traditional Easter bread? If you’re sensitive to gluten, I guess there is one thing not to love… Until you make this gluten free Easter bread! It’s the same deliciously tender bread you love, all braided and decorated with a brightly colored egg, just without gluten. Here are a few more reasons you’ll love this bread:
- This bread is soft and chewy with the perfect touch of sweetness.
- This recipe will feed the whole family with about 24 servings.
- You only need 45 minutes of prep time to end up with 4 beautiful loaves.
- This is a fun treat to get the whole family involved in making!

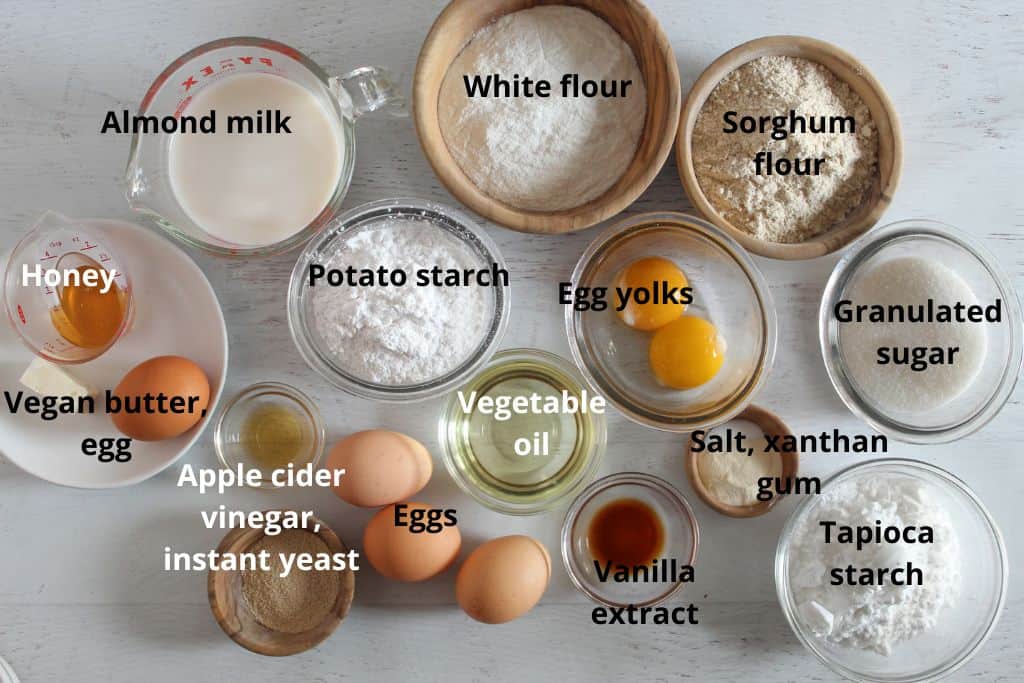
Ingredients & substitutions
- Hard-boiled eggs – There is no substitute for the boiled eggs.
- White vinegar – There is no substitute for the white vinegar.
- Food coloring – Red, yellow, blue, and green were used in this recipe.
- Almond milk – The almond milk can be substituted with coconut milk or dairy milk.
- Instant yeast – There is no substitute for the instant yeast.
- White rice flour – There is no substitute for the white rice flour.
- Sorghum flour – There is no substitute for the sorghum flour.
- Potato starch – The potato starch can be used interchangeably with tapioca starch, or substituted with cornstarch.
- Tapioca starch – The tapioca starch can be used interchangeably with potato starch, or substituted with cornstarch.
- Xanthan gum – There is no substitute for the xanthan gum.
- Salt – The salt can be reduced if you are following a low salt diet.
- Eggs – I don’t recommend substituting the eggs.
- Vegetable oil – The vegetable oil can be substituted with melted butter or coconut oil.
- Apple Cider vinegar – There is no substitute for the apple cider vinegar.
- Granulated sugar – The granulated sugar can be substituted with Swerve sweetener.
- Vanilla extract – There is no substitute for the vanilla extract.
- Vegan butter – Regular dairy butter can be used instead of vegan butter.
- Honey – The honey can be substituted with maple syrup.
Measurements for each ingredient, along with instructions for making the bread are in the recipe card below.
How to transfer the braided loaves
When it comes time to move the braided loaves to their baking sheet, you’ll want to use a metal spatula. This is the easiest way to loosen and transfer them without ruining the work you’ve done!
Coloring the eggs

Use 4 glasses to color the hard-boiled eggs (exact amounts of food coloring, vinegar, and water in the recipe card below). Gently lower each egg into the dye and let sit for 5 minutes for a rich color (less time for a less vibrant shade).

Remove the eggs with a slotted spoon and let them dry on a wire baking rack.
Making the dough
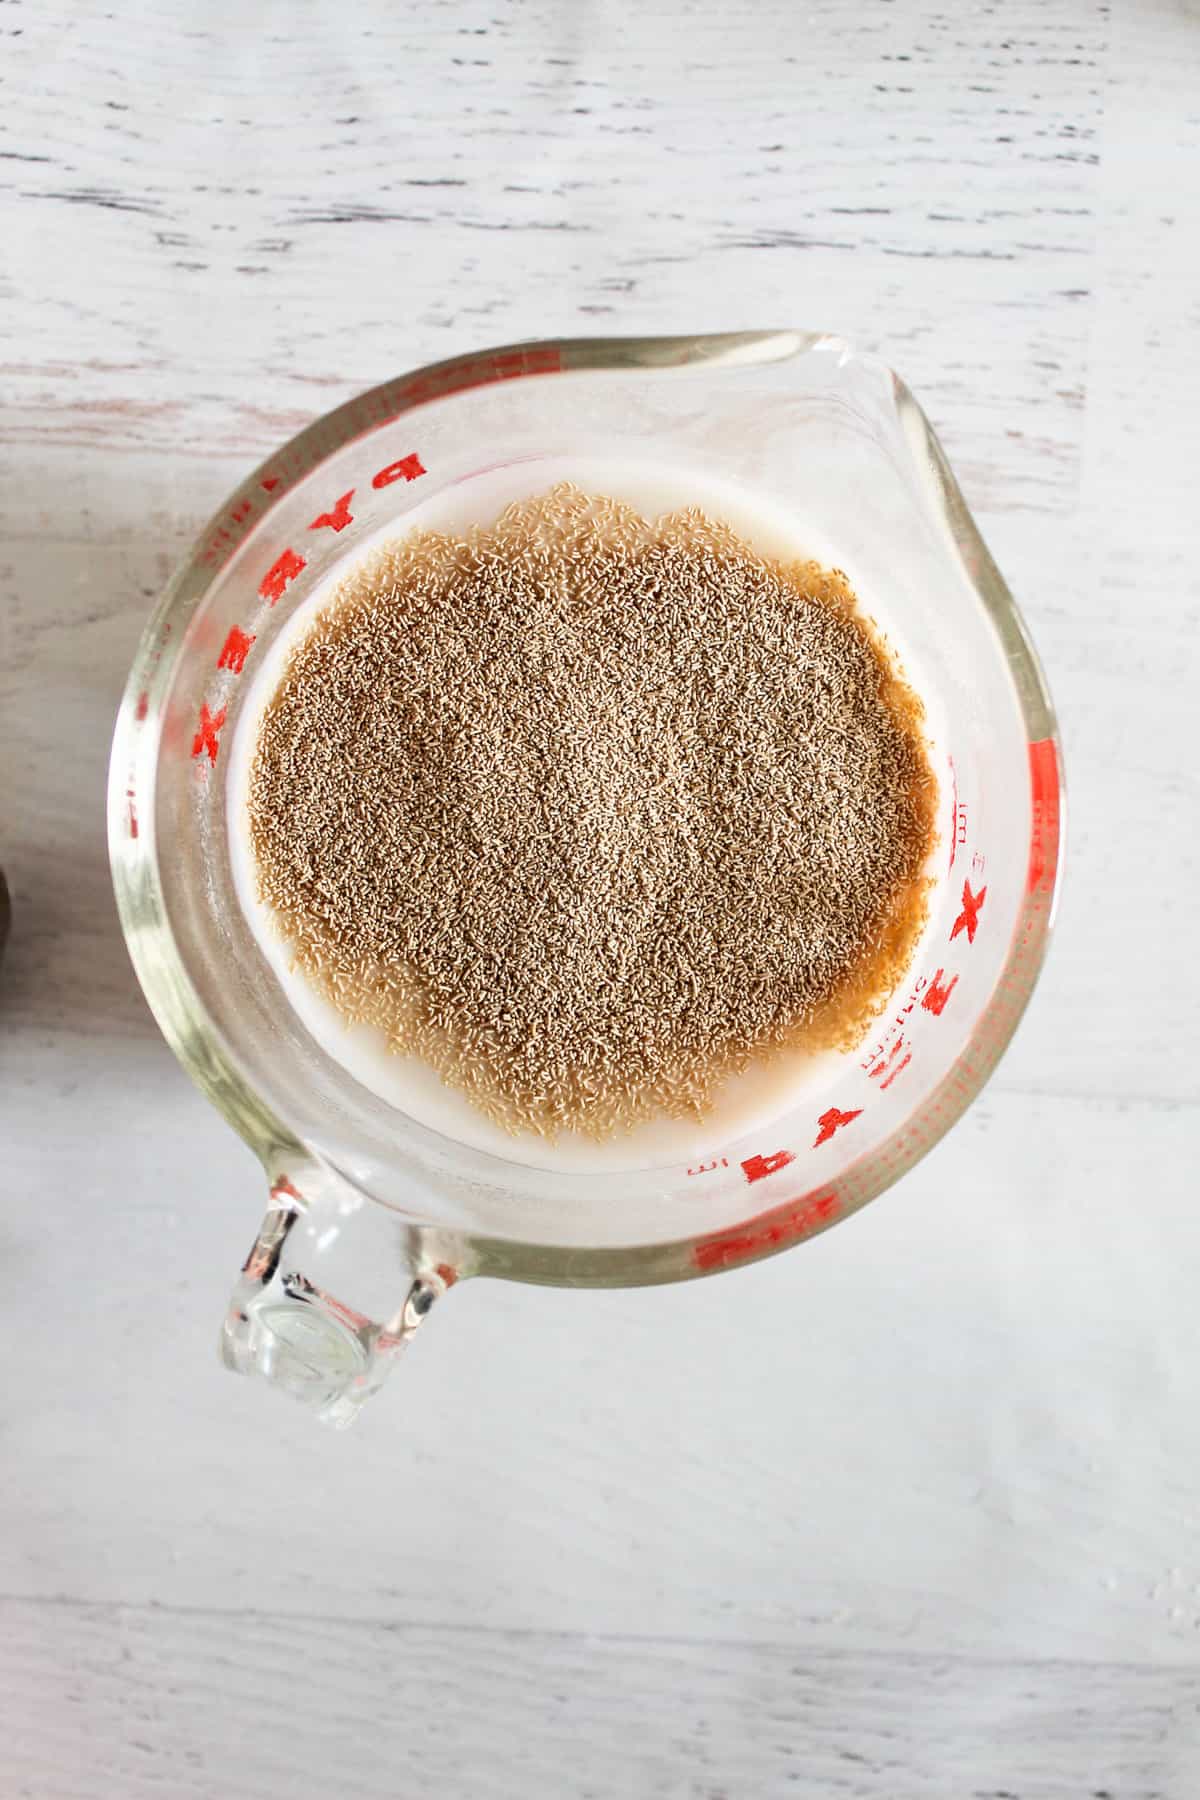
Step 1: Add the almond milk and yeast to a measuring cup or small bowl. Stir to dissolve and let proof for 5 minutes.
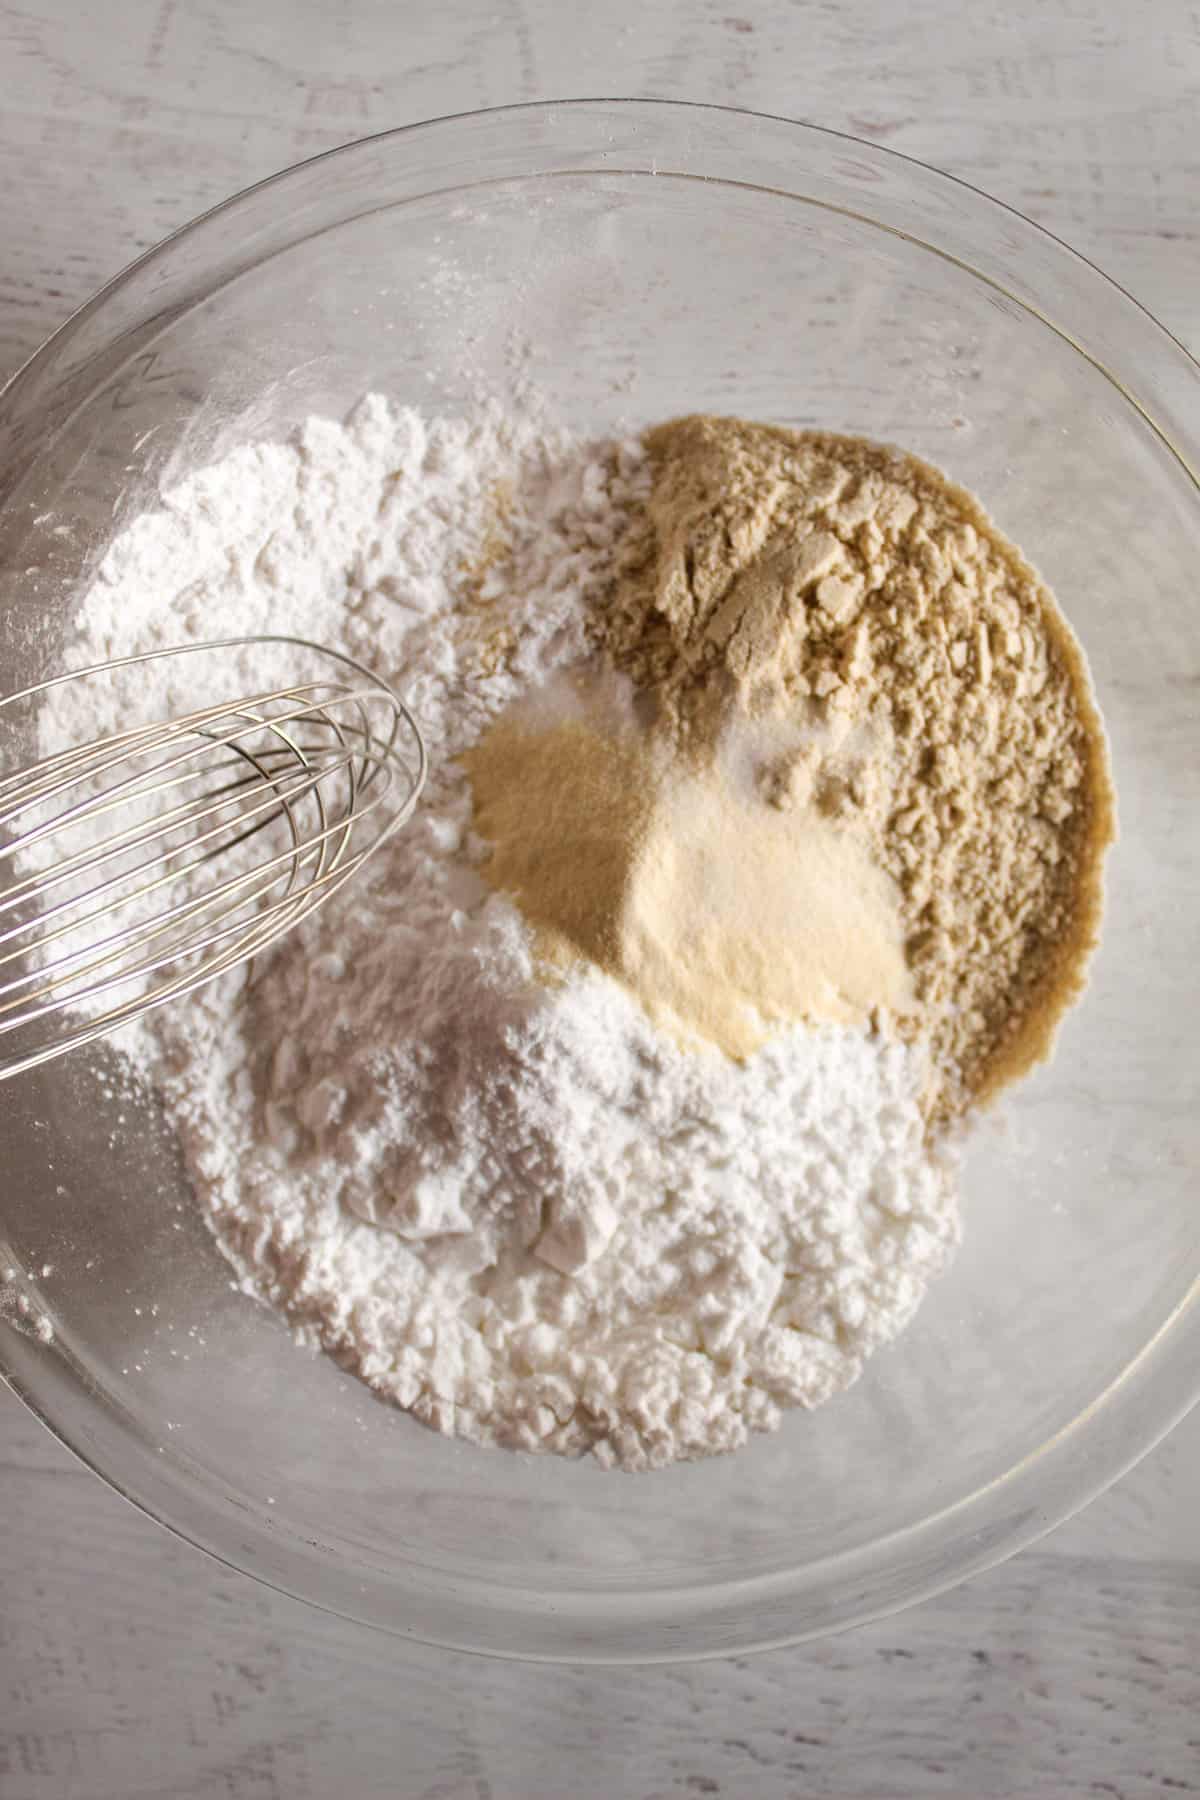
Step 2: In a large bowl, whisk the white rice flour, sorghum flour, potato starch, tapioca flour, xanthan gum and salt together.

Step 3: In the bowl of a stand mixer, mix the eggs, egg yolks, vegetable oil and apple cider vinegar on low speed for 15 seconds.
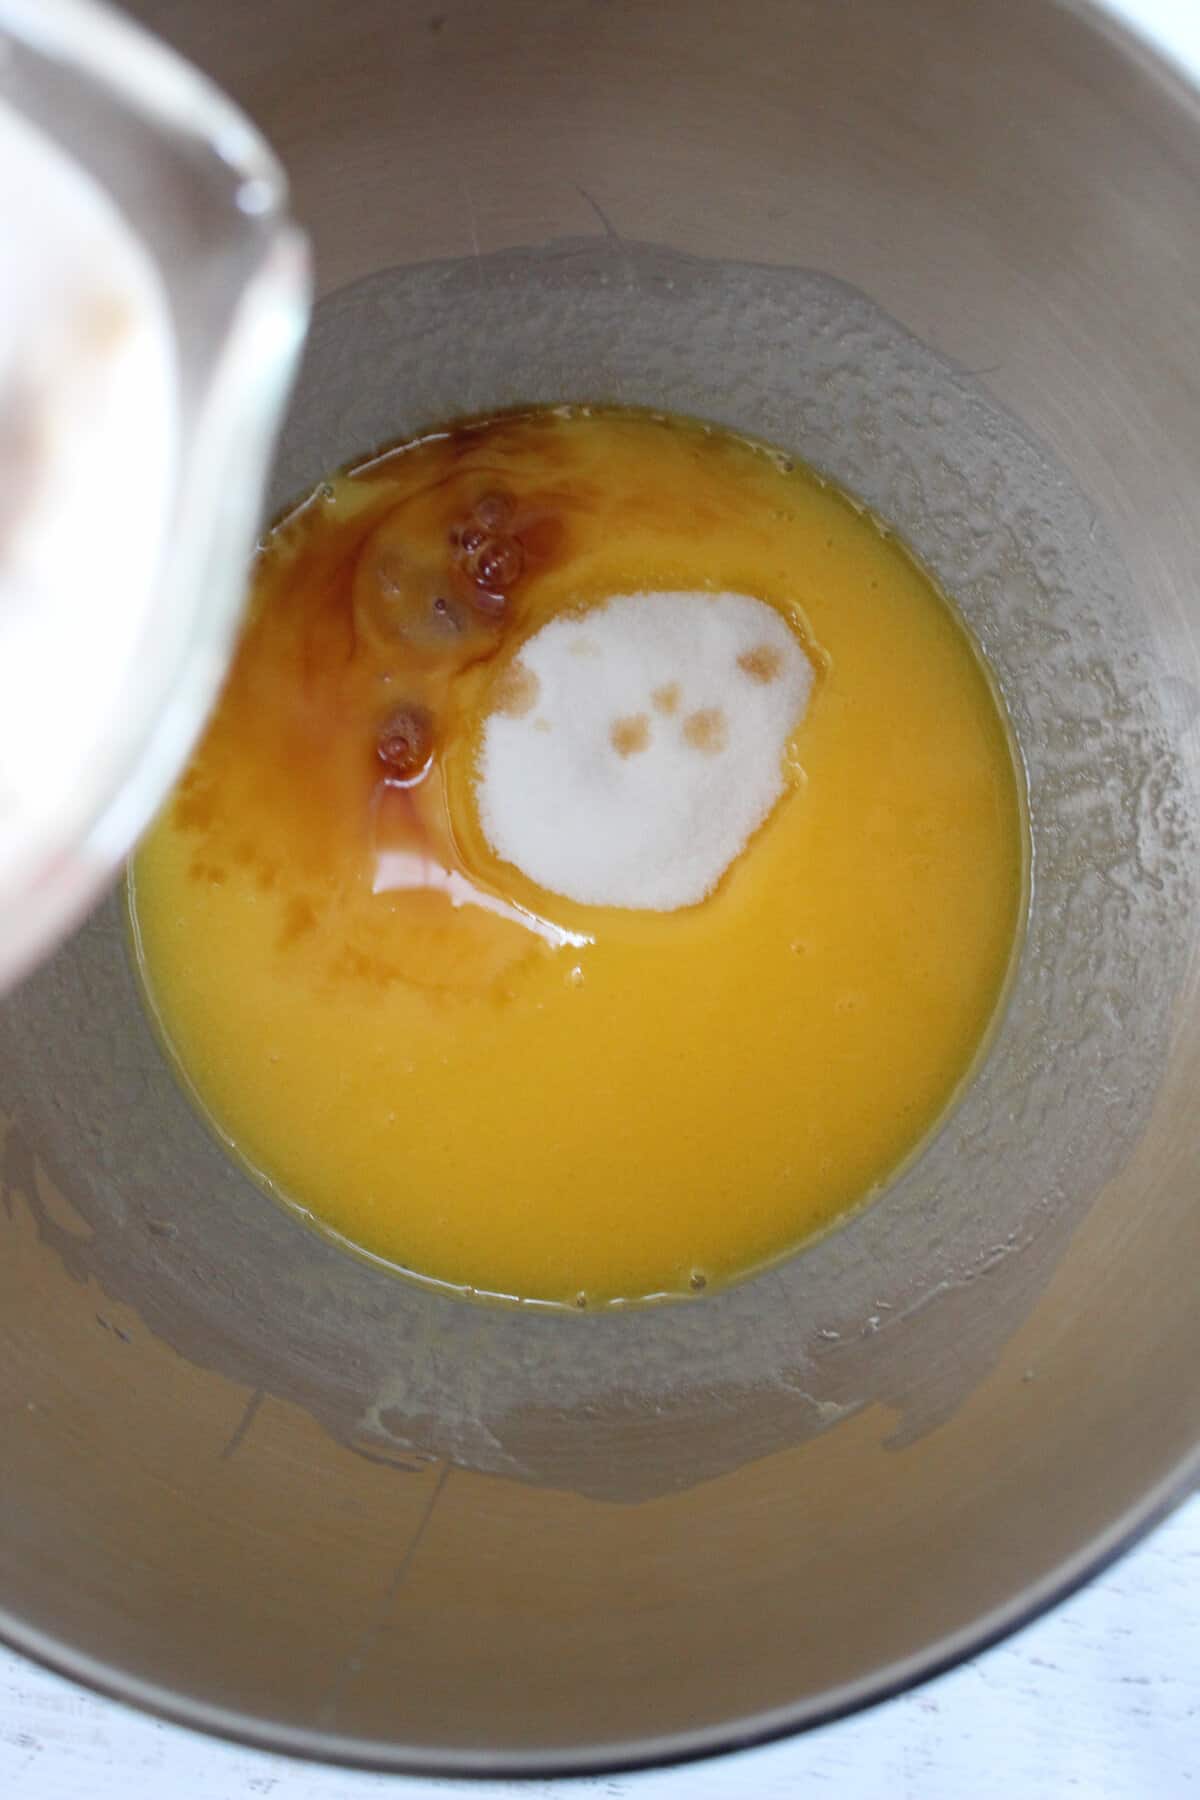
Step 4: Add the vanilla, sugar, and yeast mixture.
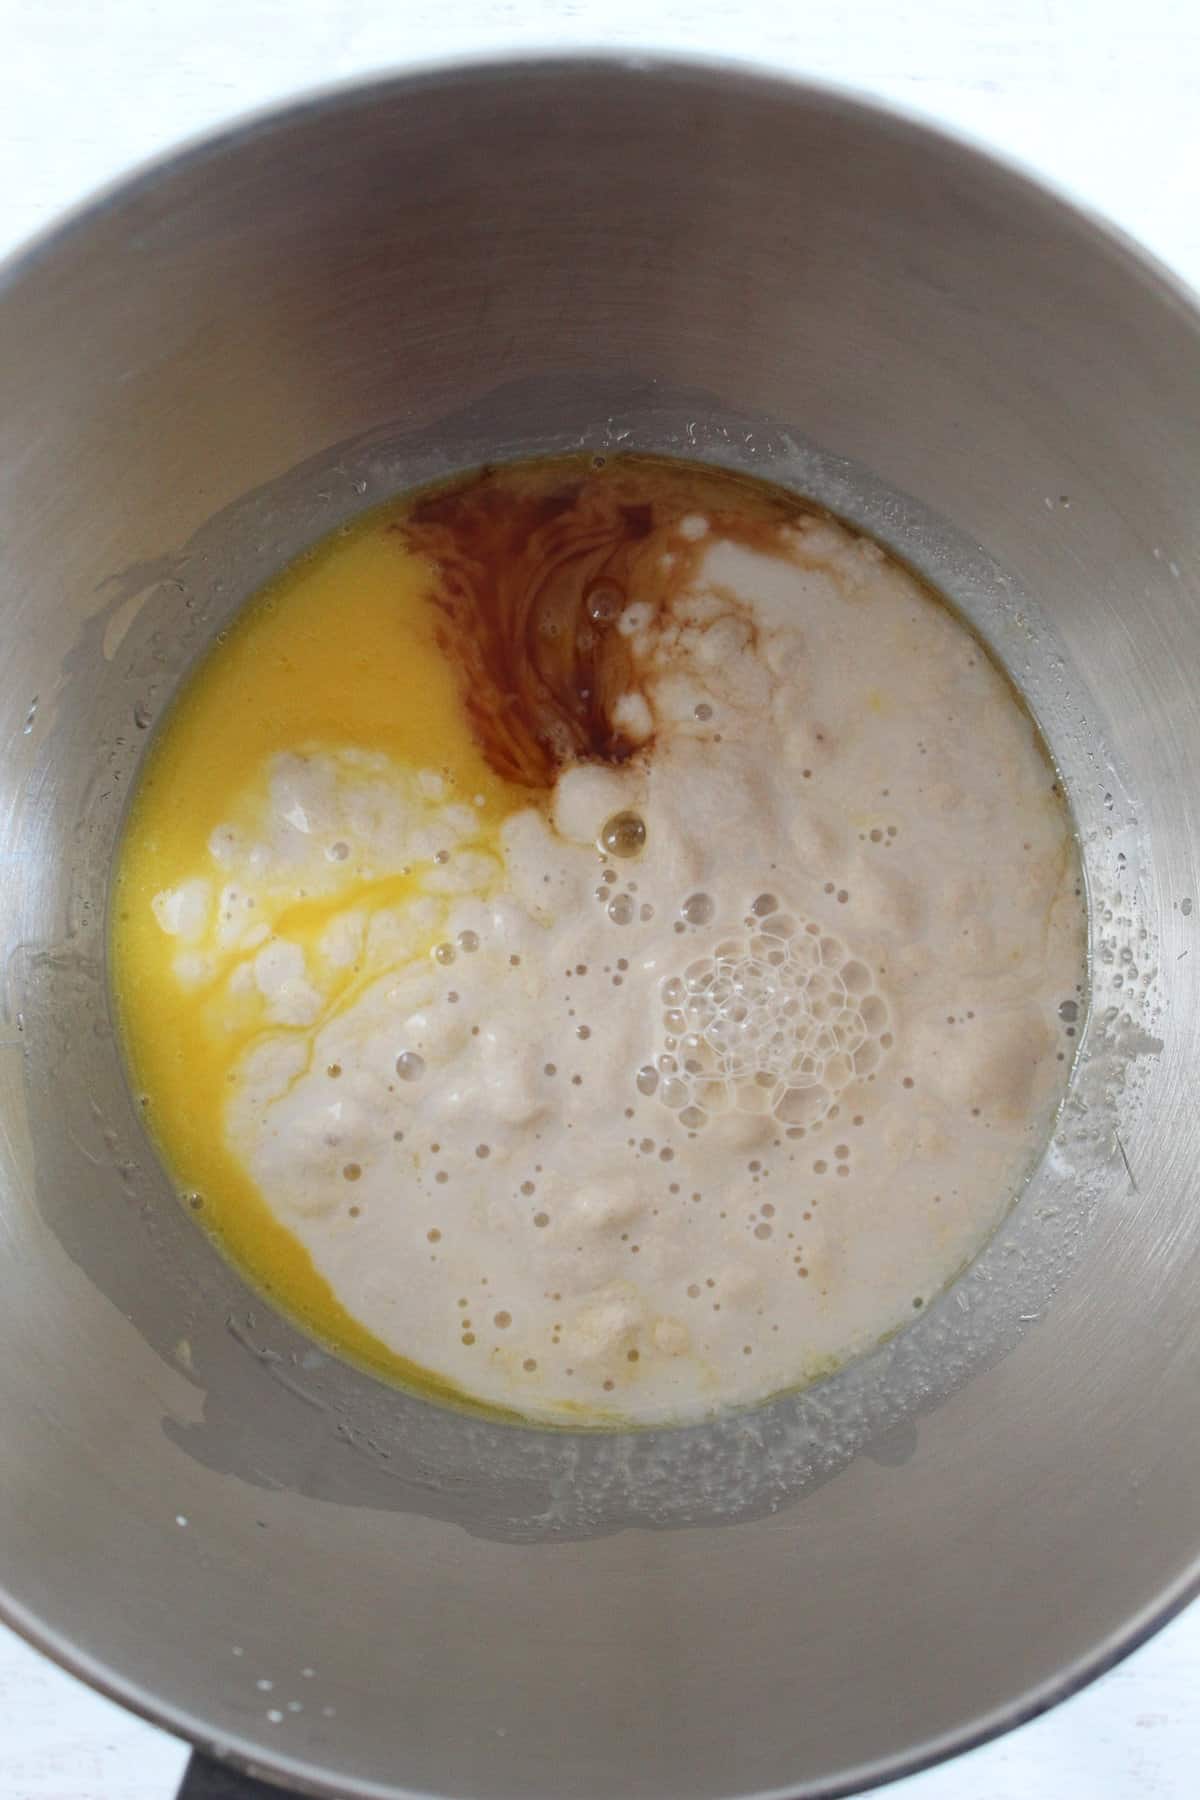
Step 5: Mix on low speed for 15 seconds.
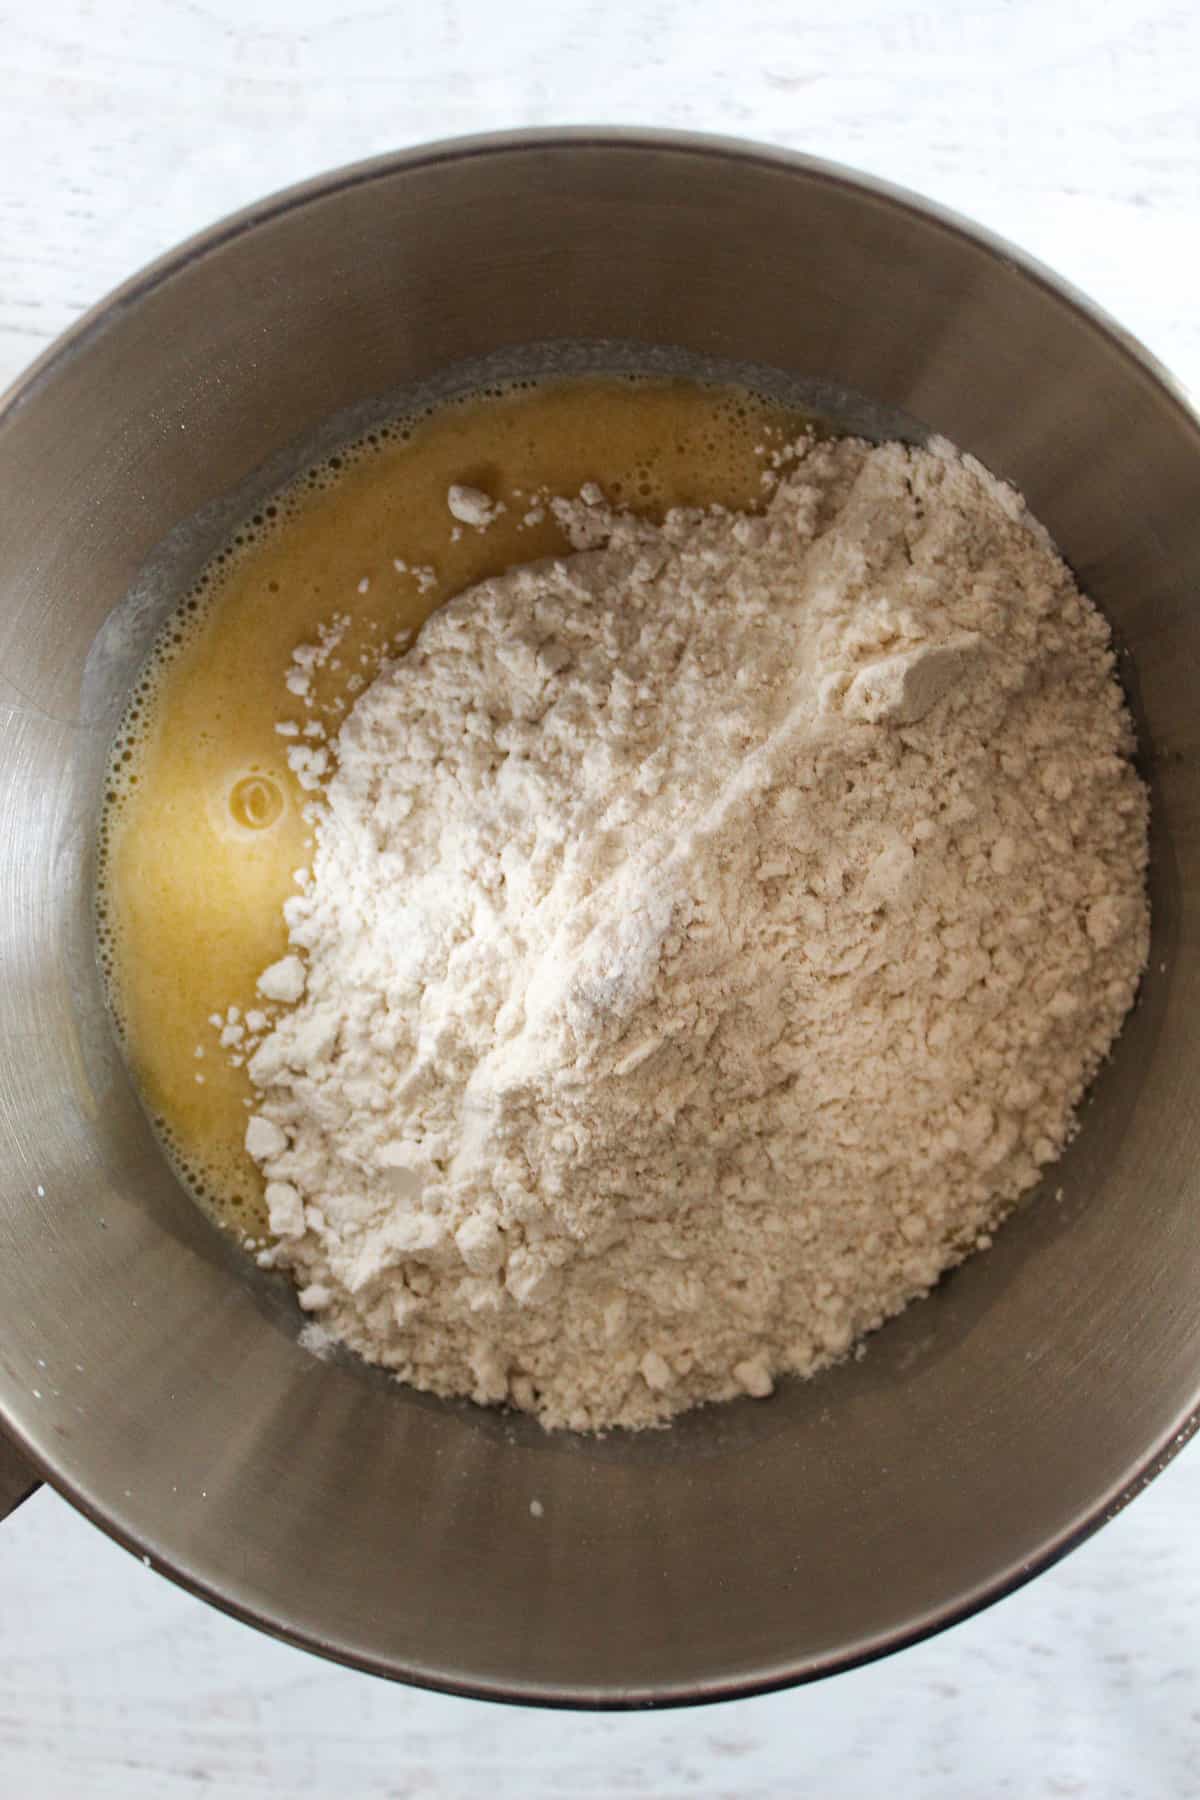
Step 6: Add the flour mixture to the egg mixture and mix on low for 15 seconds. Scrape the sides of the bowl. Mix on medium speed for 4 minutes.
Rising & kneading
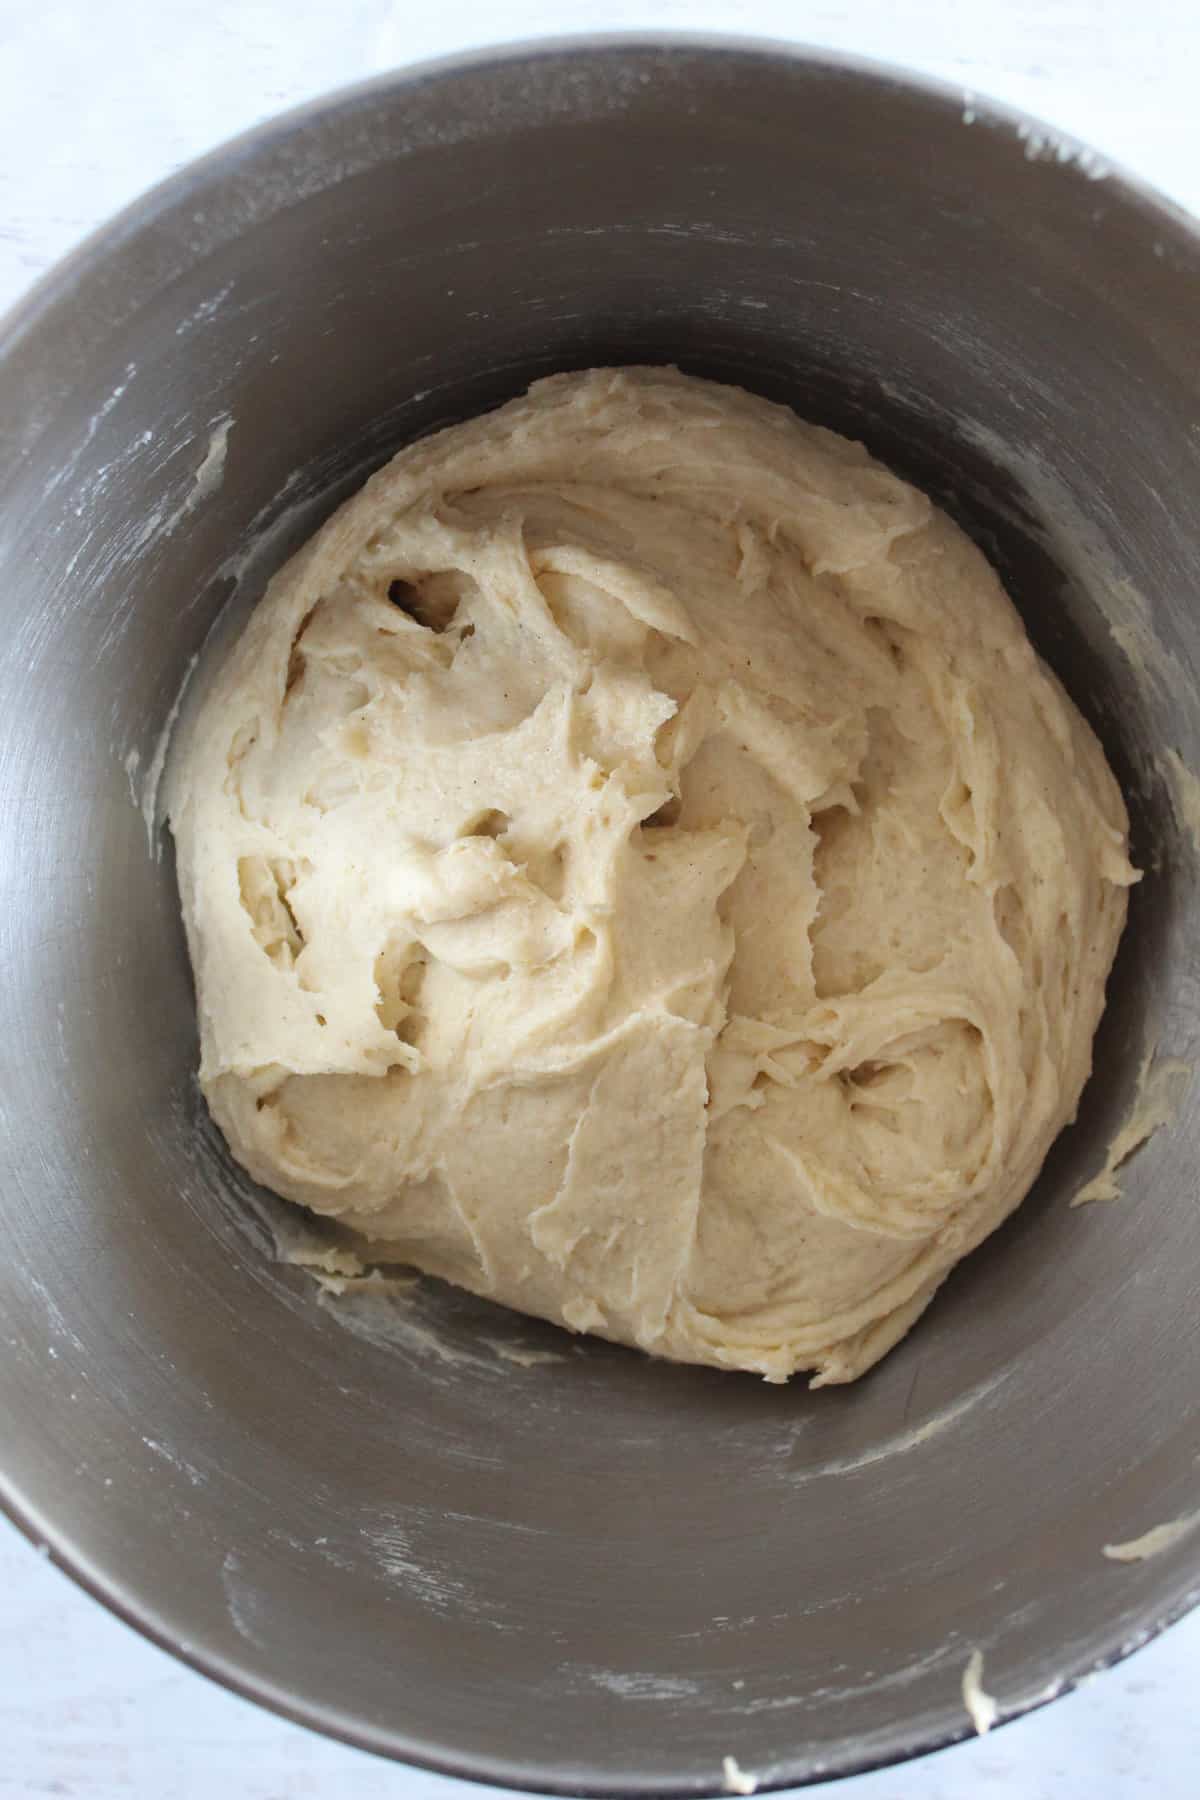
Step 7: Scrape down the batter, cover the bowl with a tea towel and set aside for rise for 1 hour.

Step 8: When the rise time is almost over, arrange oven racks so 2 cookie sheets will fit in at the same time. Preheat the oven to 375F and line cookie sheets with parchment paper.
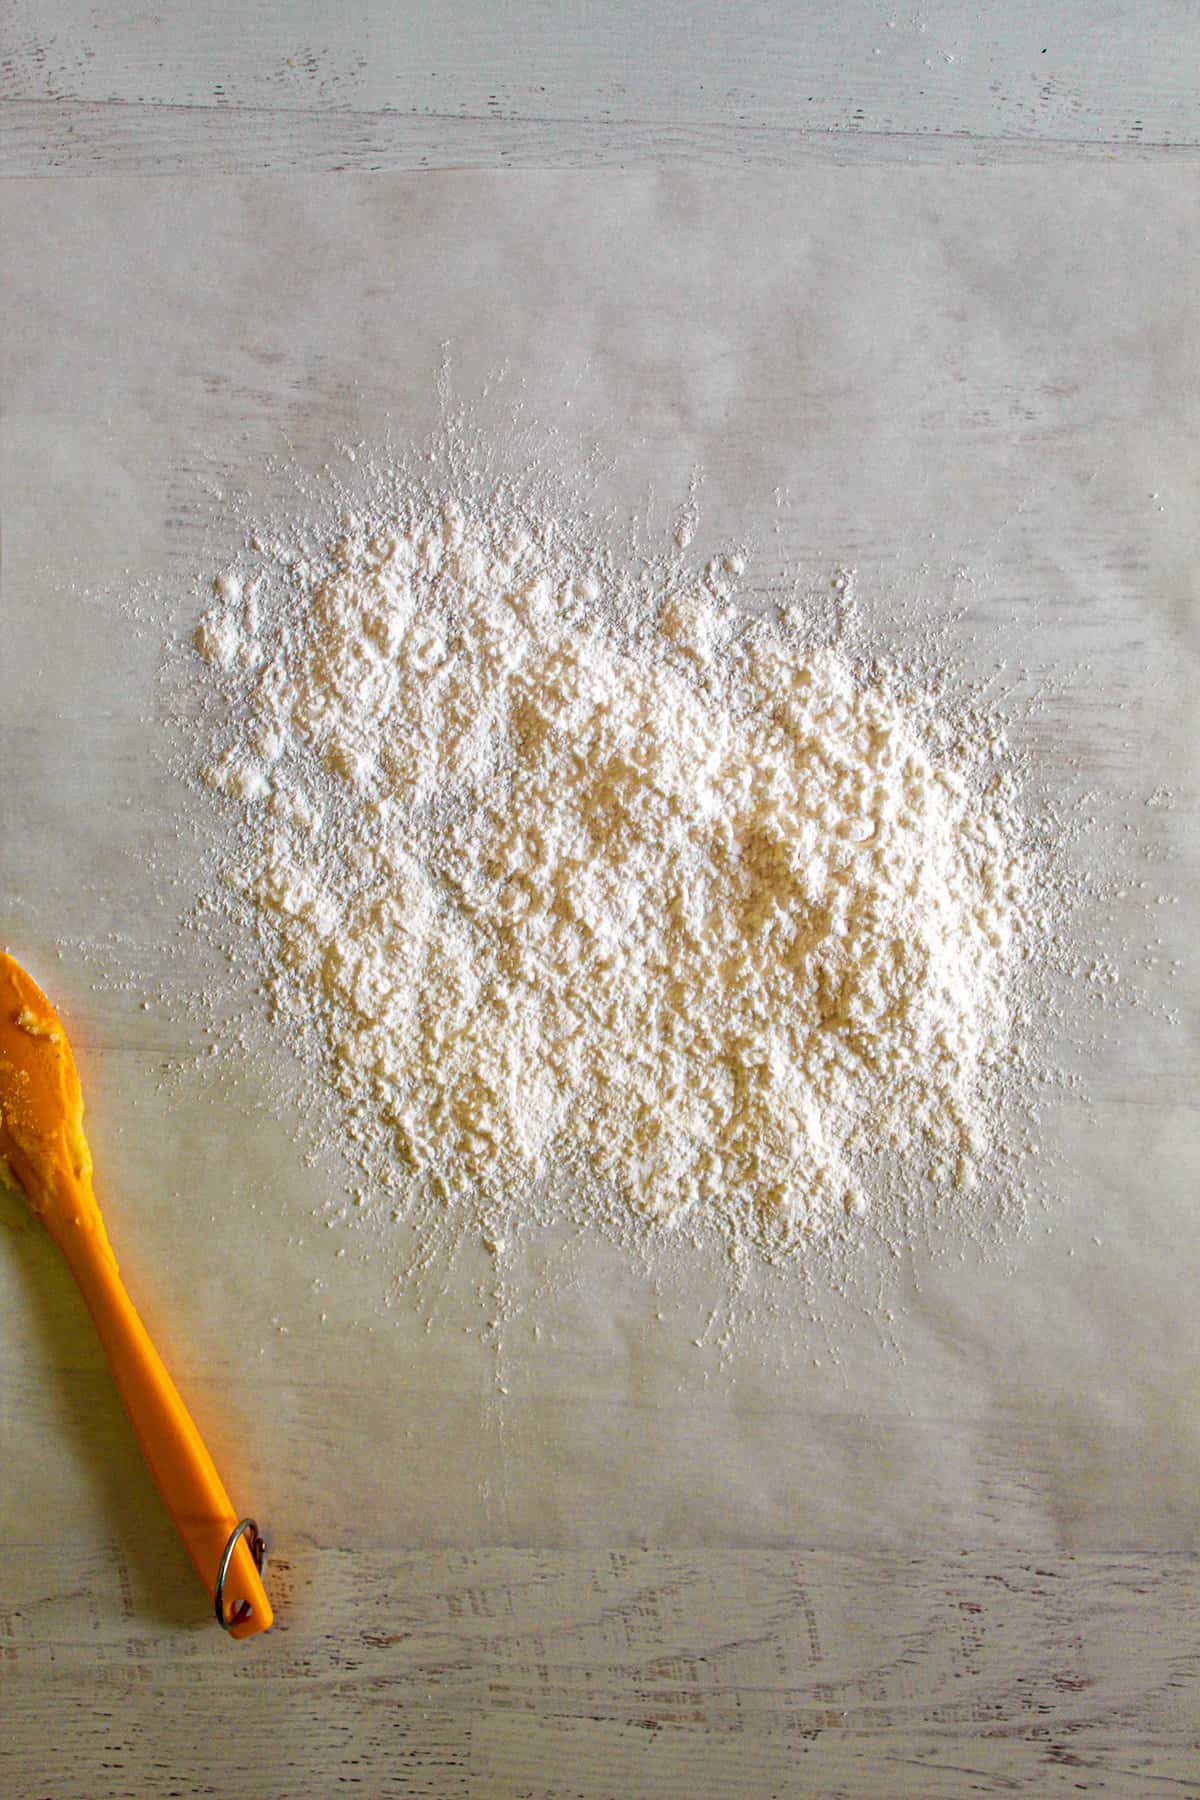
Step 9: Place a large piece of parchment paper on your working surface and place a generous spoonful or two of potato/tapioca starch.
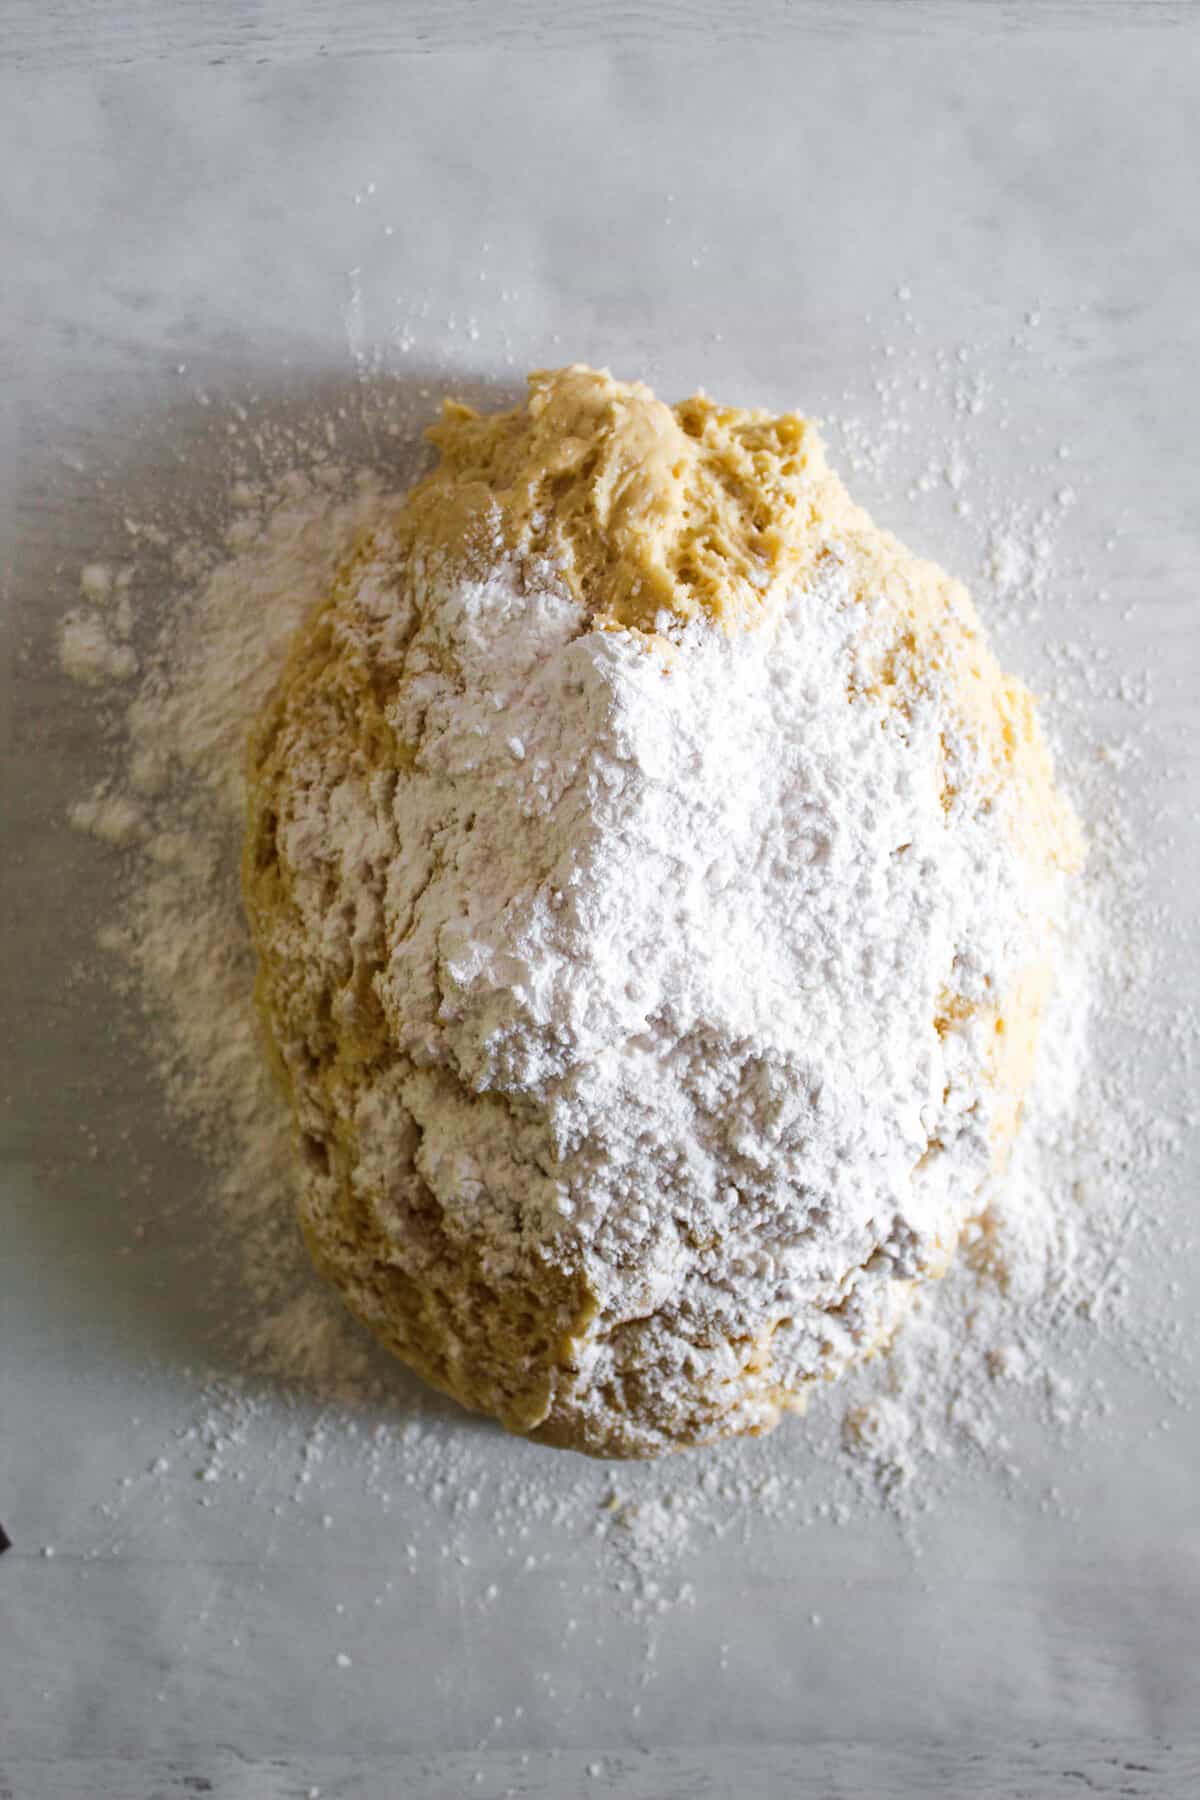
Step 10: Place the dough onto the starch, and add another spoonful or two of starch if needed so it’s not too sticky.
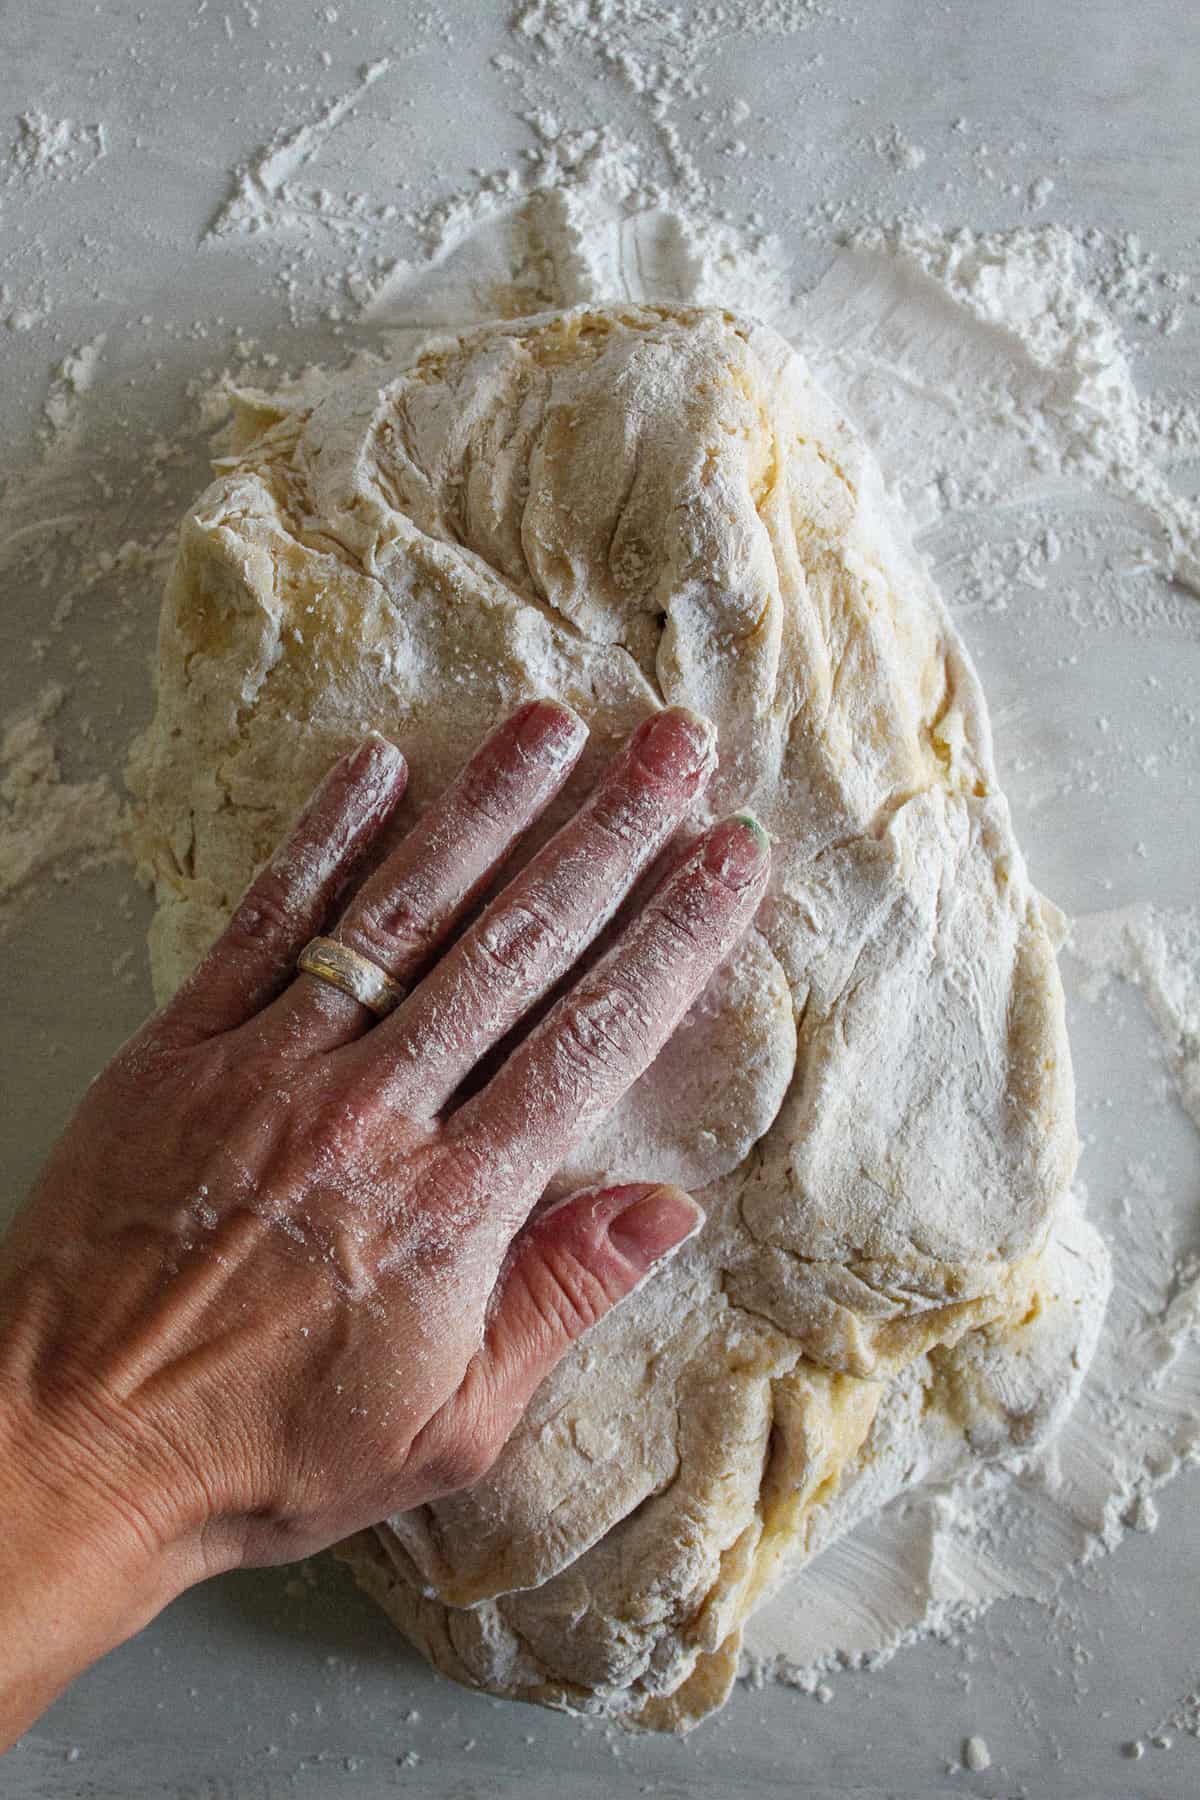
Step 11: Knead the dough a few times to work the starch in.

Step 12: Form it into a square and slice it into 4 equal sections. Set 3 sections aside for now.
Braiding the dough
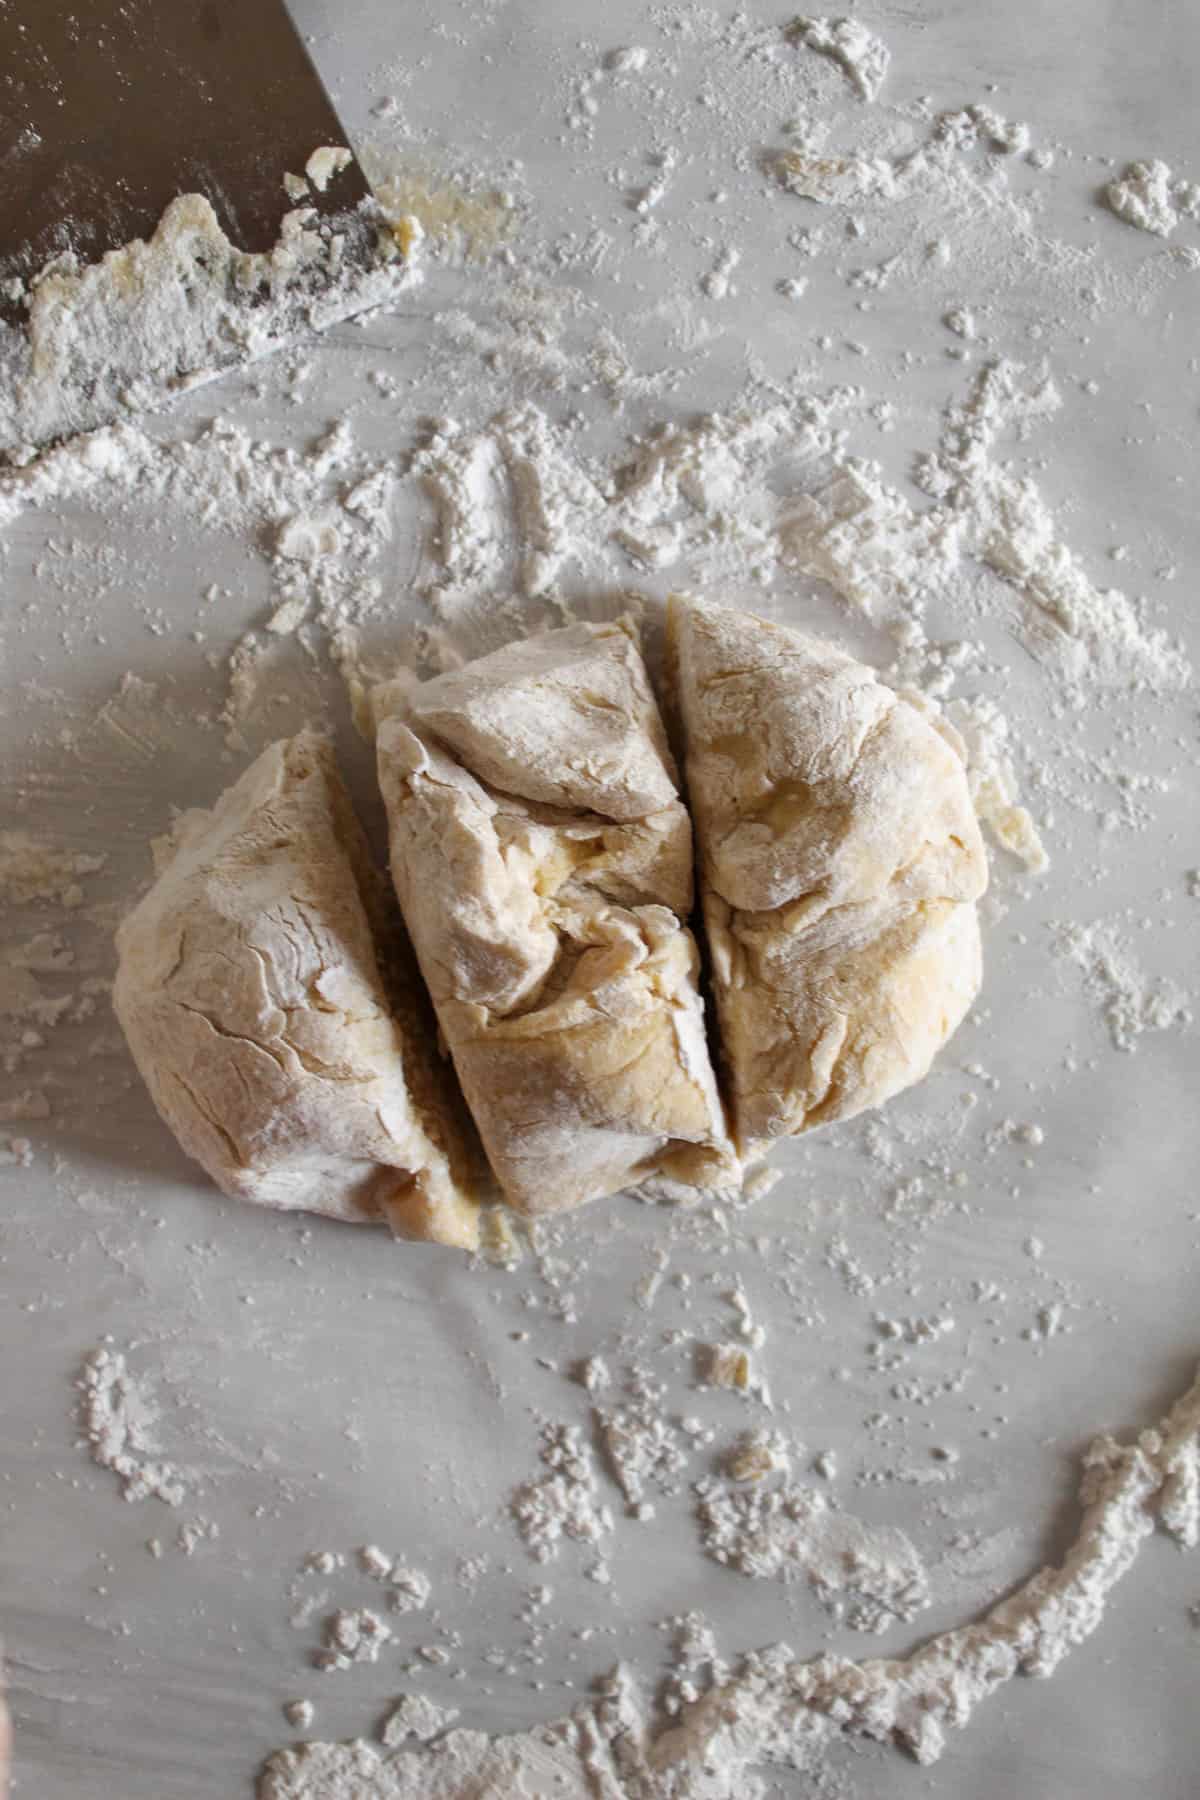
Step 13: Take the first section and slice it into 3 equal parts.

Step 14: Roll or use your hands to form each section into a 12-inch long rope. Keep the ropes about an inch apart as you do this.
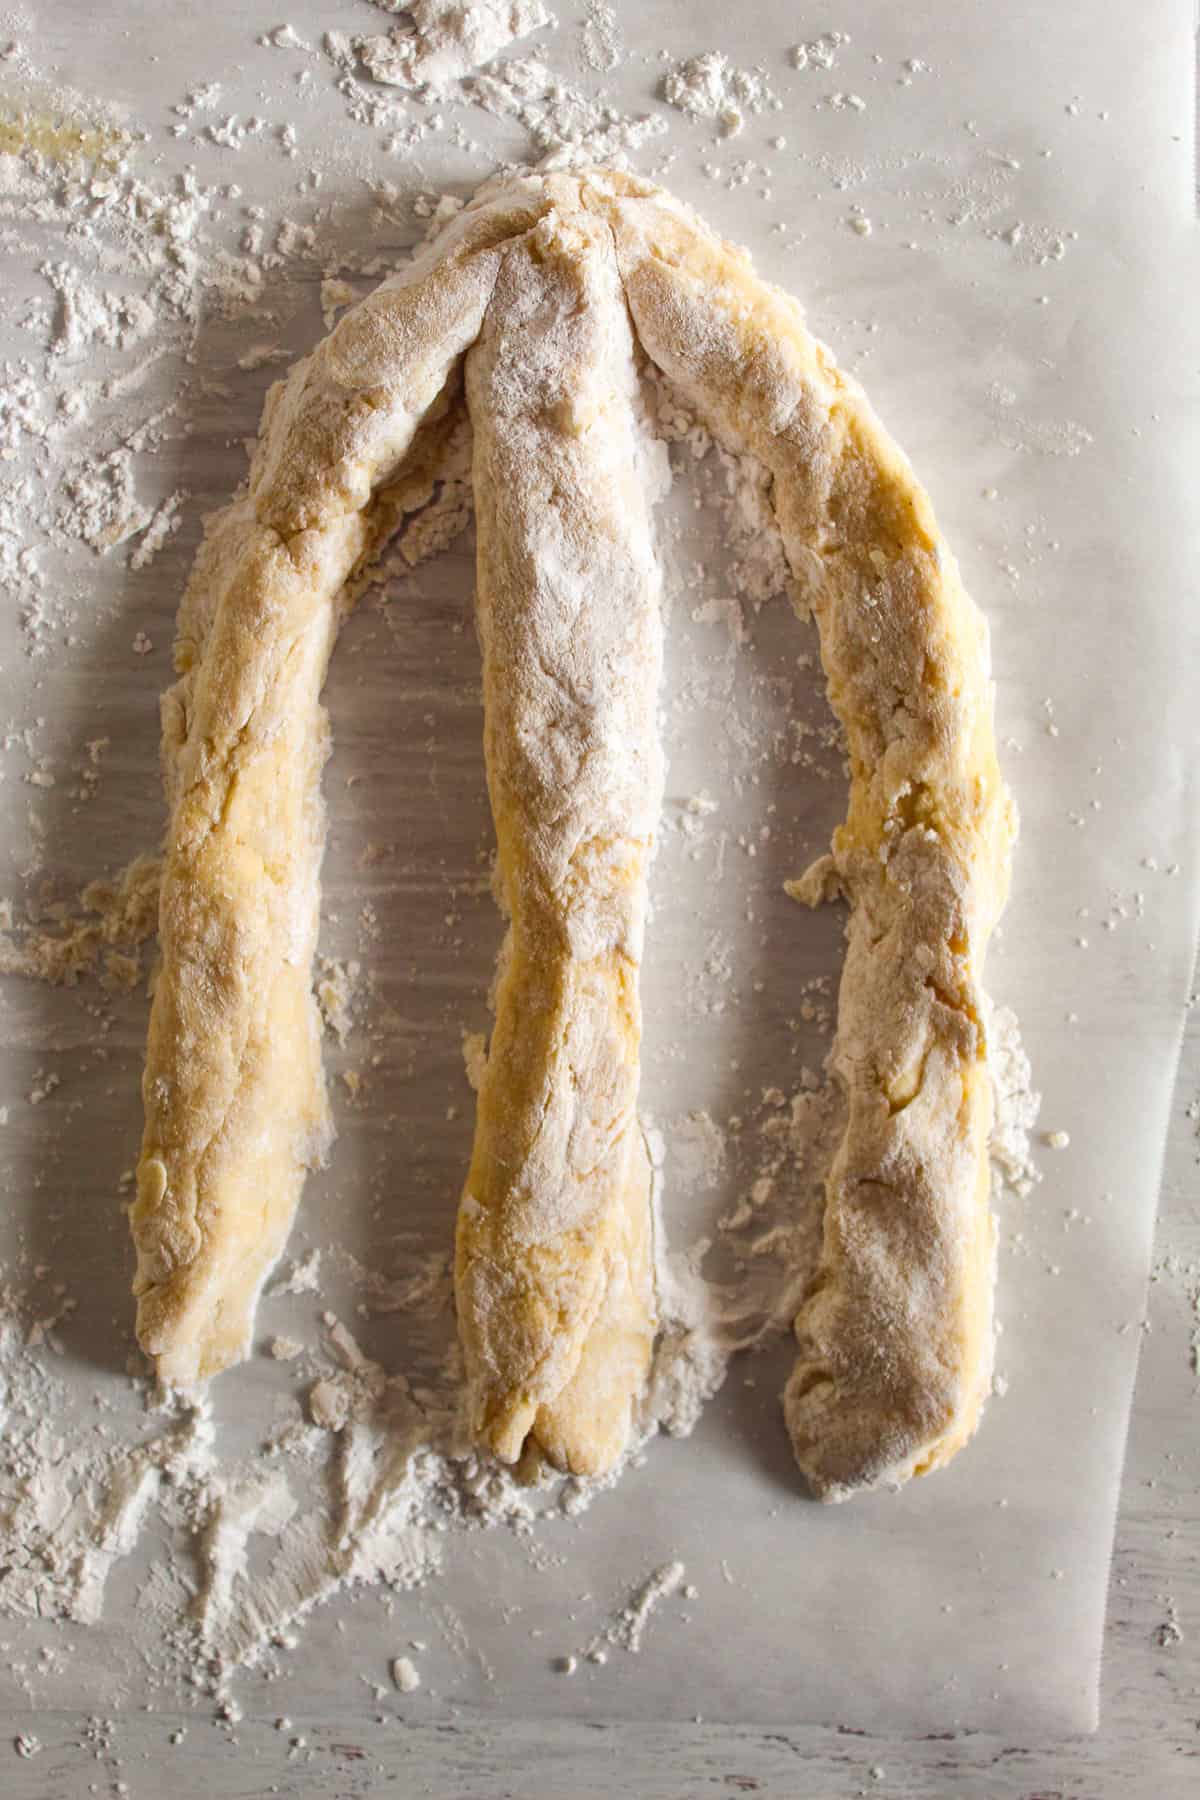
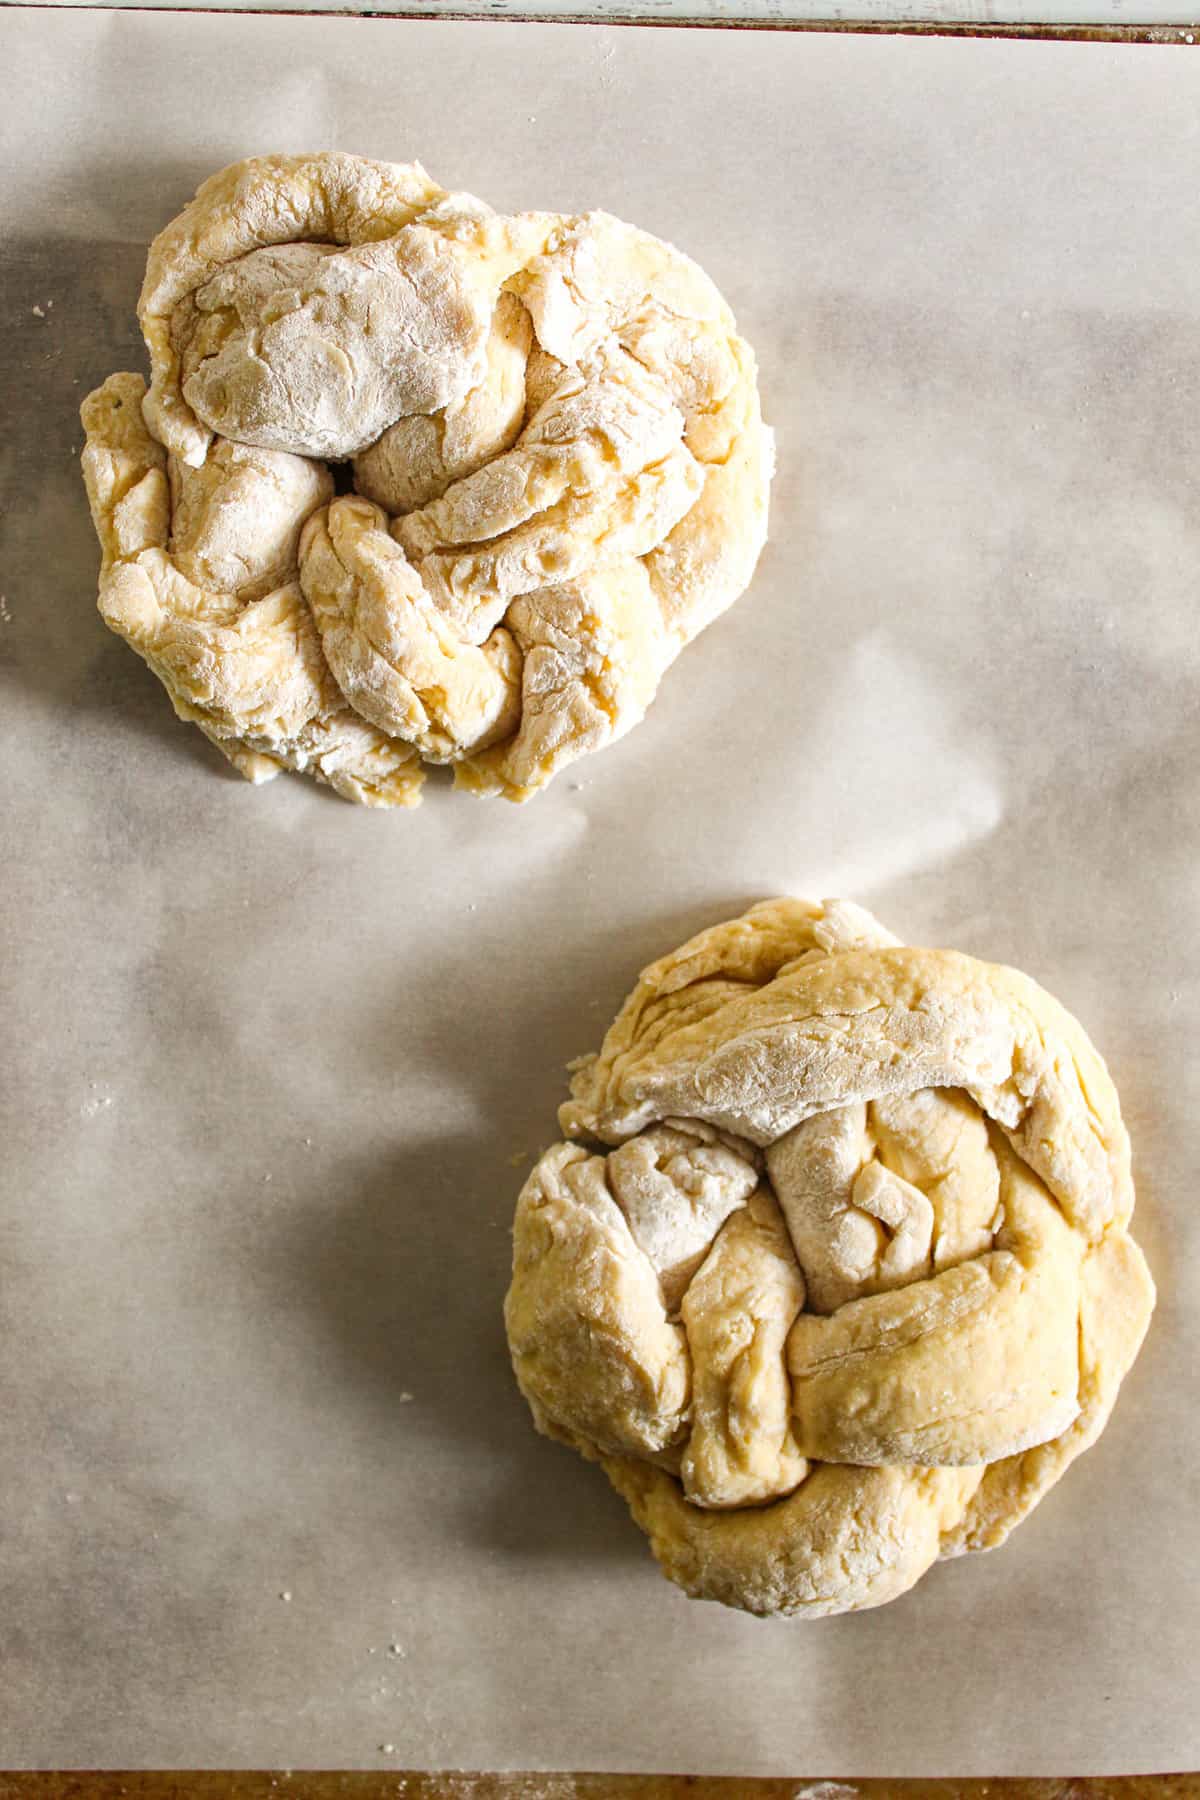
Step 15: Pinch the tops of the ropes together to form the top of the braid.
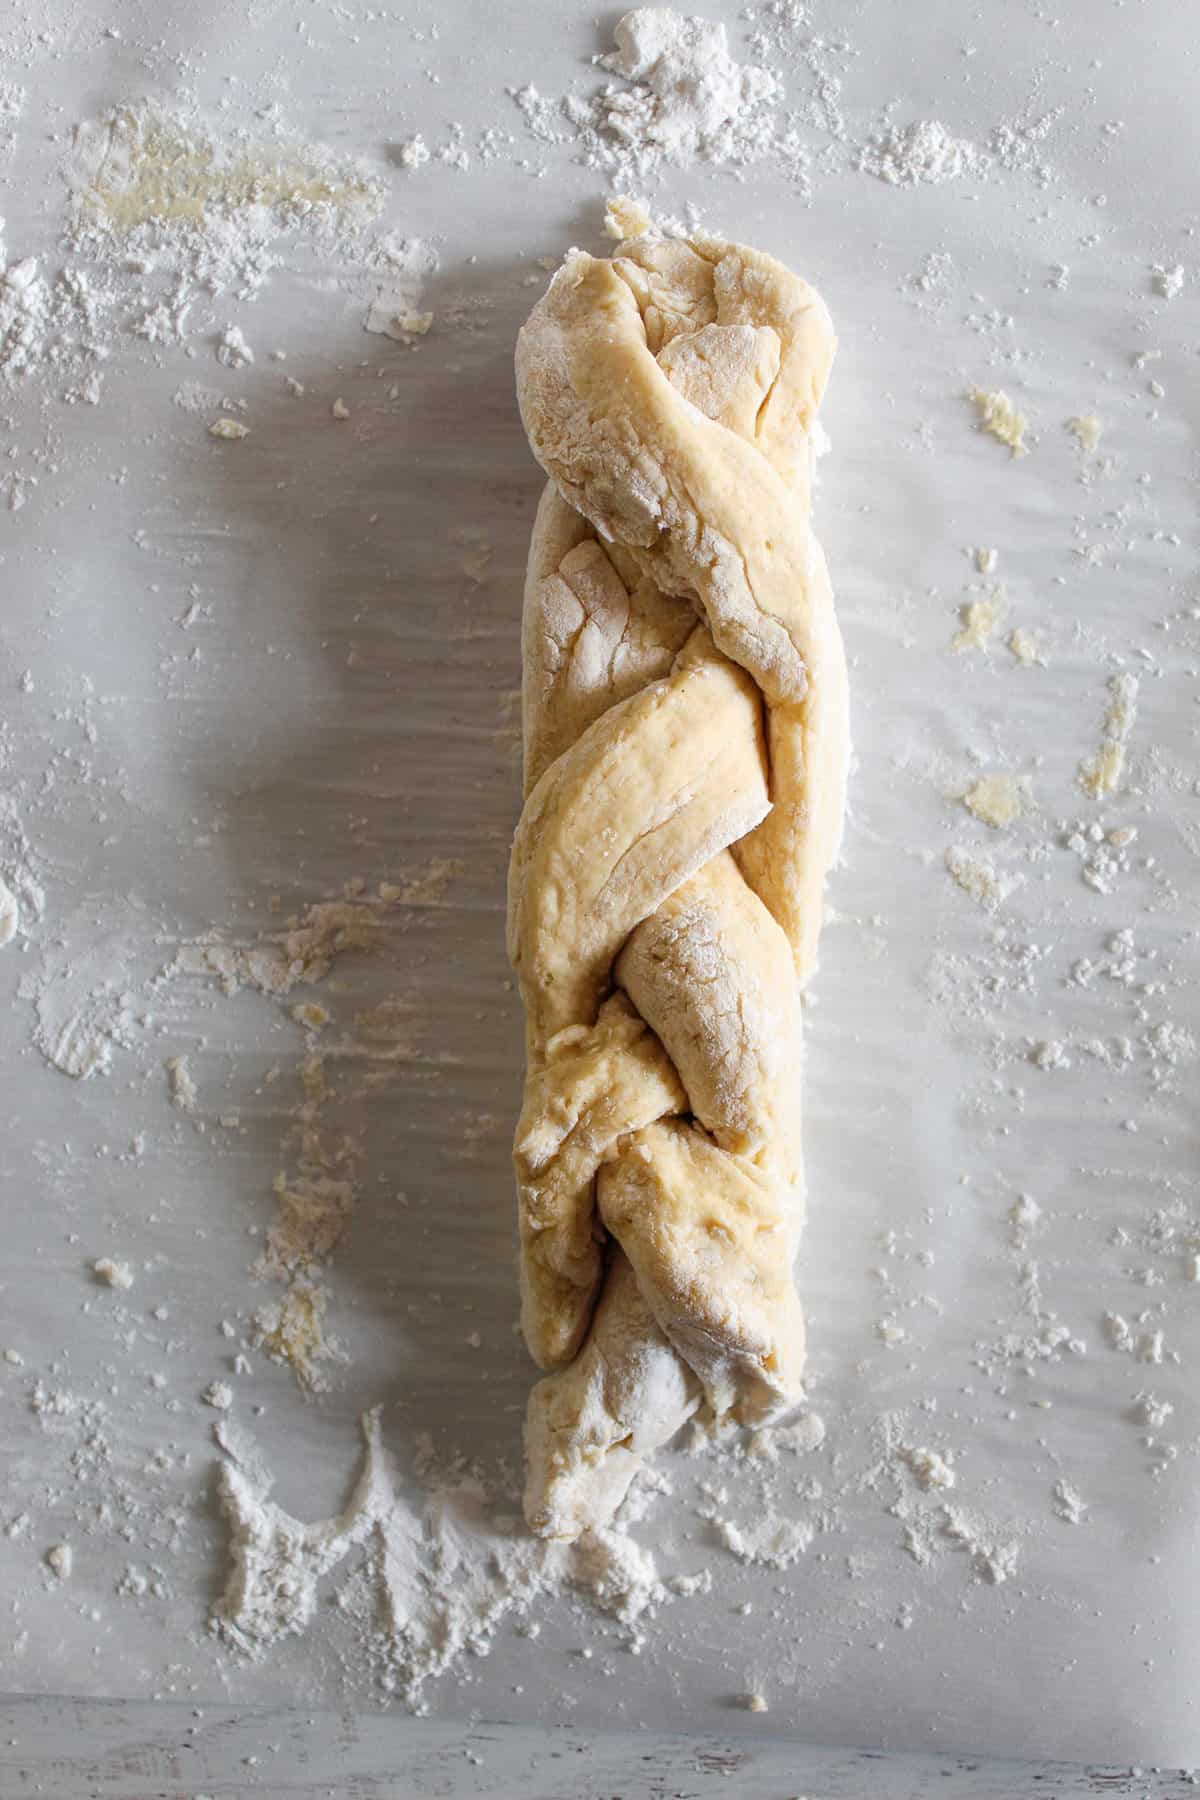
Step 16: Braid the dough by moving one rope on top of the other, all the way to the end. Don’t worry about this being perfect, they will bake up beautifully. Use a metal spatula to loosen underneath the braid and make sure it isn’t stuck.
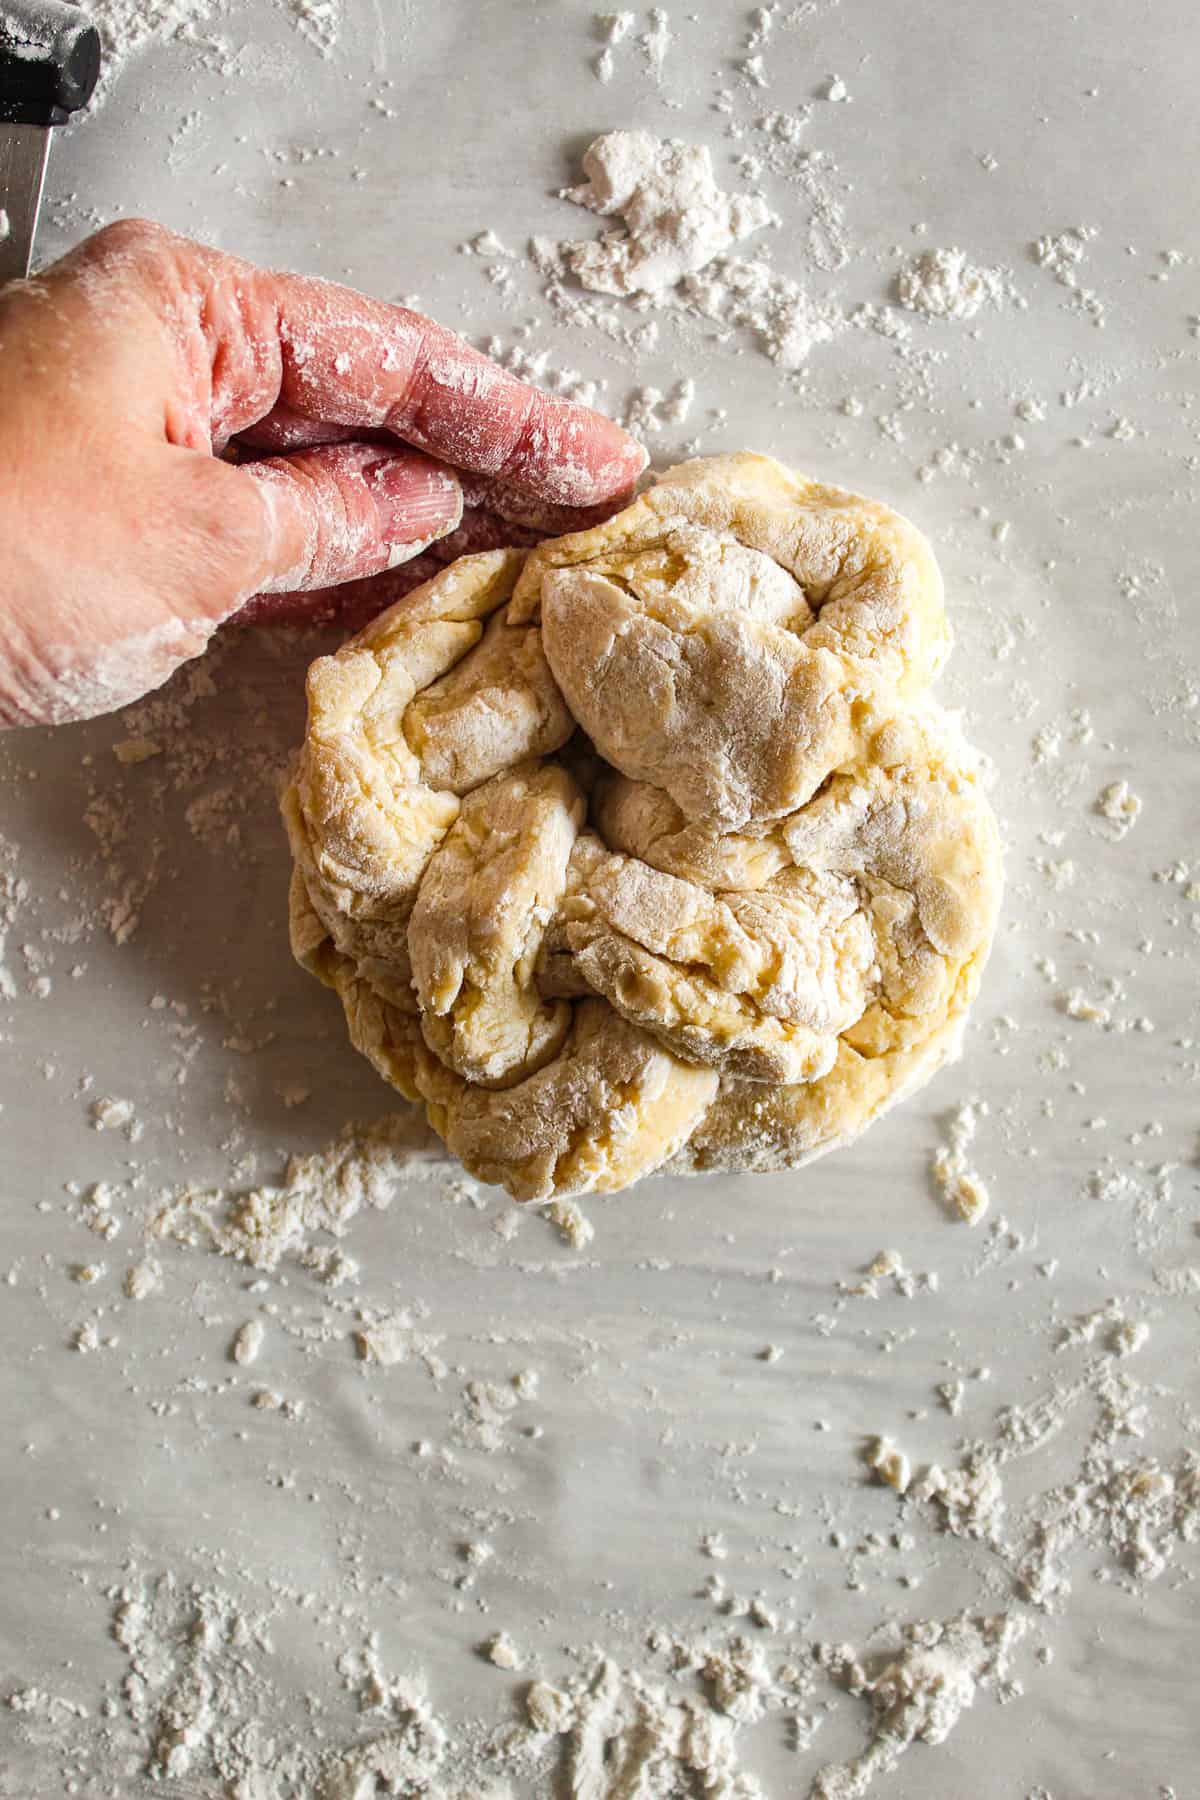
Step 17: Bring one end of the braid to the other end, forming a circle. Pinch the dough together. Use the metal spatula to move the braided dough to the baking sheet. Do the same to the remaining 3 sections of dough.
Egg wash & baking
Step 1: After all 4 loaves have been prepared and moved to the baking sheets, make sure they are spread out evenly, with 2 loaves on each sheet.

Step 2: Mix the egg, melted butter and honey in a small bowl.

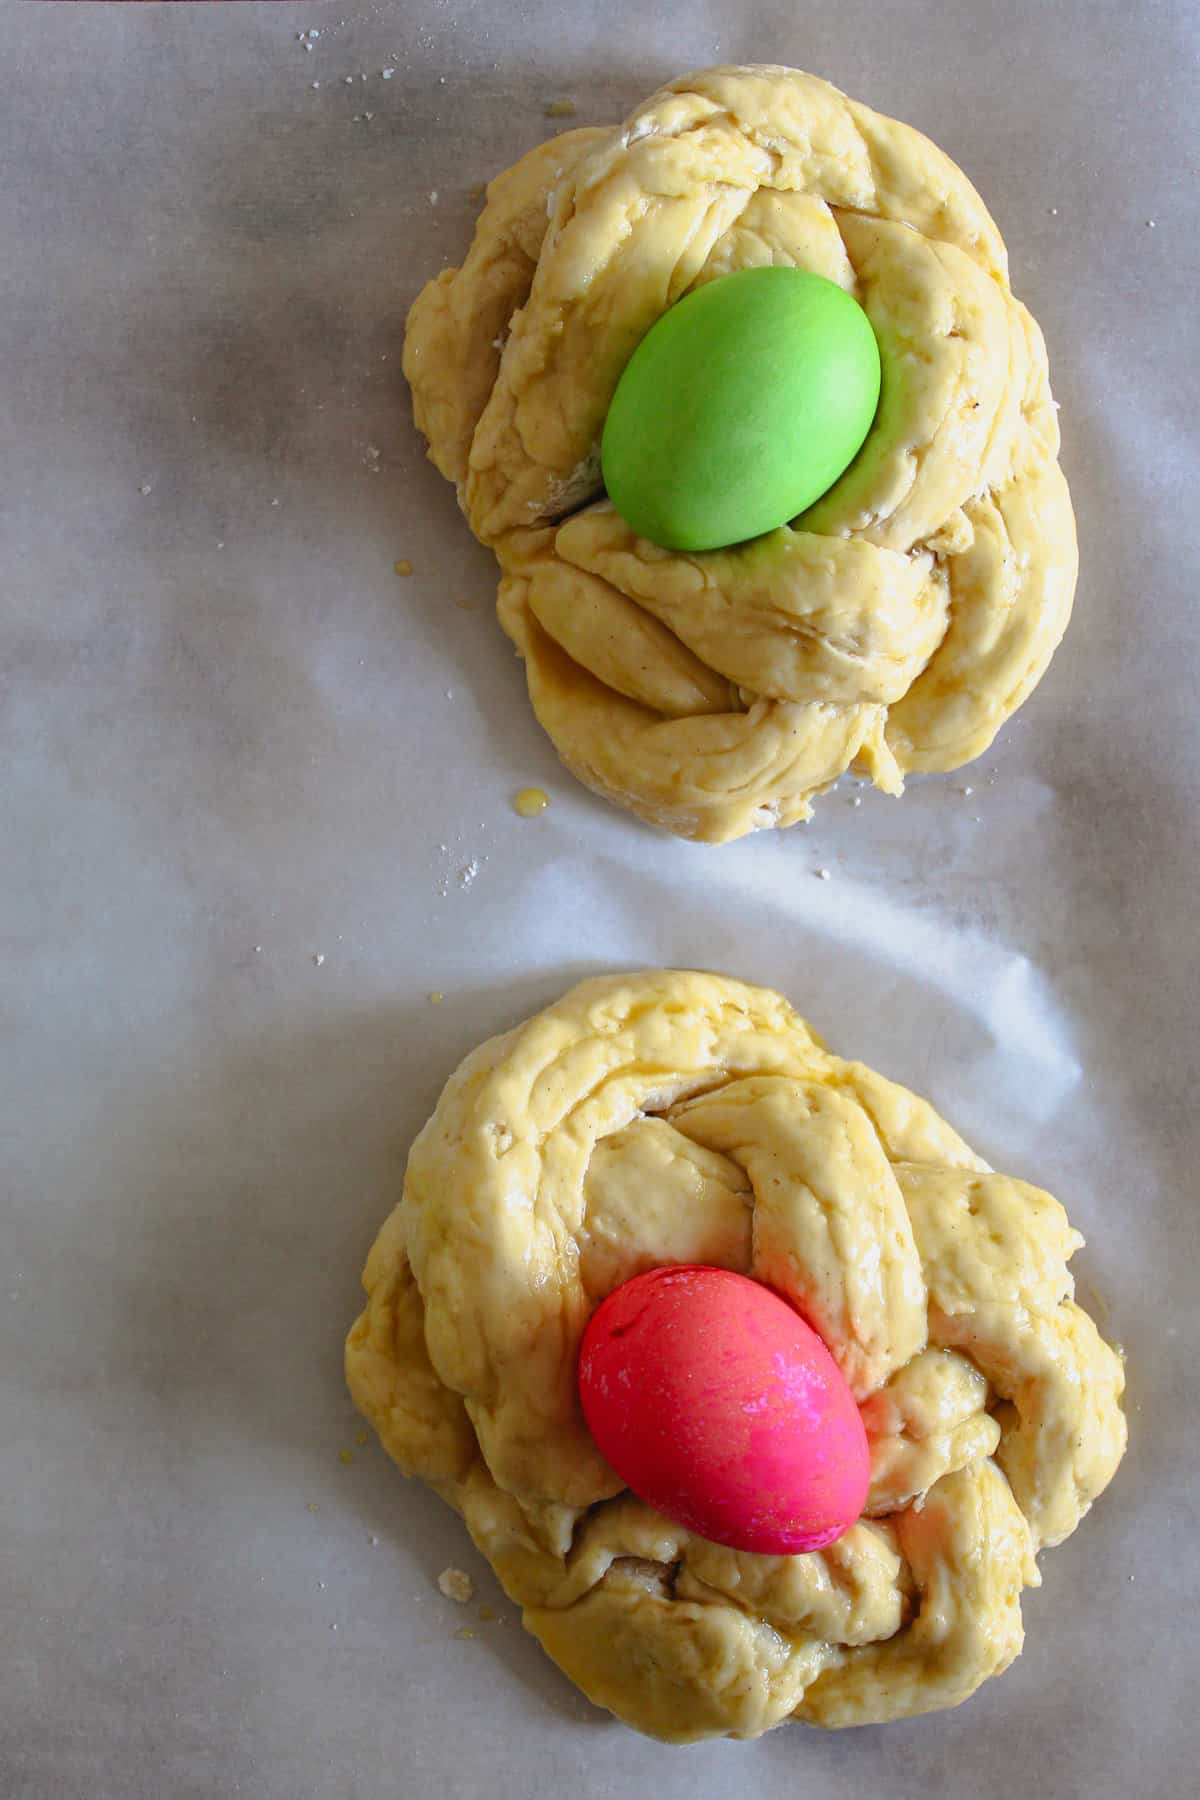
Step 3: Gently brush the egg wash over each loaf.
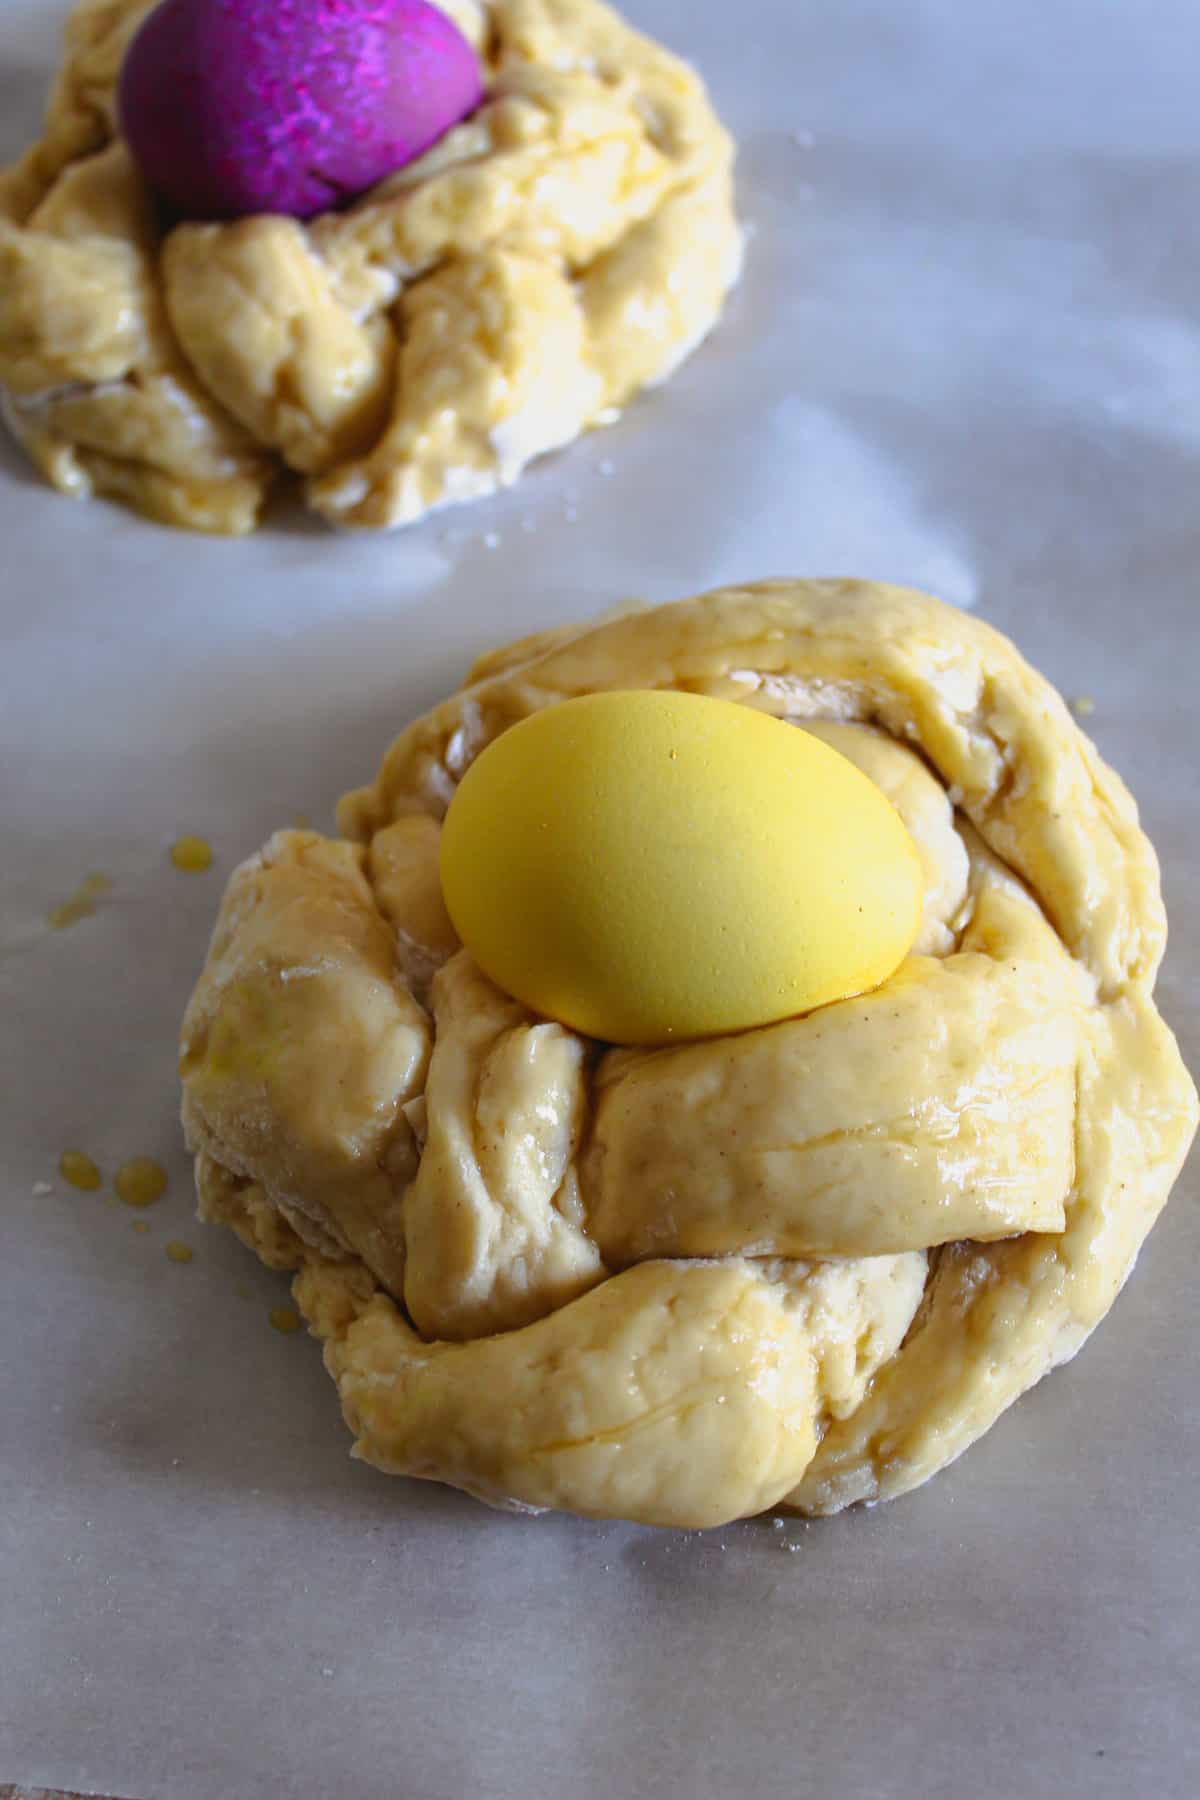
Step 4: Place an egg in the middle of each bread.
Step 5: Bake the loaves at 375F for 28-34 minutes. Check for doneness at 28 minutes with an instant-read thermometer.
Step 6: Let the loaves cool for 30 minutes before serving and enjoying!
💭Pro tips for making Gluten Free Easter bread
1. Measure ingredients by weight
To ensure you use the correct amount of ingredients (especially the flours and starches), use a scale to measure ingredients by weight where weight is given.
2. Let the batter rise at the right temperature
The batter should rise indoors at a temperature of 74-76F. It may not rise properly in an area warmer or cooler than that.
3. Use the over-under method to braid
When you braid the ropes of dough, bring the first rope over the other two and then take another rope and bring it under the other two. Remember, this doesn’t have to be perfect since the braids will be formed into a circle and baked.
4. Bake all 4 loaves at the same time
Make sure your oven racks are positioned to fit 2 smaller baking sheets (slightly overlapped) on the same rack. The 4 loaves are small and won’t rise much while baking, so they can all be baked at the same time.
5. Helpful tools
Here are a few tools that will help you make this bread:
Gluten Free Easter bread FAQs
If you have leftover bread, it can be stored at room temperature in an airtight container. Just remember that hard-boiled eggs shouldn’t be kept unrefrigerated so remove those before leaving the bread at room temperature.
The baked loaves are best served the same day they are made. I don’t recommend freezing them.
Yes, you can make the dough ahead of time. Decrease the rise time to 45 minutes, seal the bowl well, and refrigerate for up to 1 day. When you’re ready to continue making the bread, let the dough sit at room temperature for 30 minutes before continuing with the kneading and forming steps.
If the dough is too sticky to knead properly, add a few more spoonfuls of potato or tapioca starch to the surface/dough.
Other bread recipes you may like!
Did you make and love this recipe? Give it your review and  rating below! And make sure to follow me on Instagram, Pinterest and Facebook too!
Recipe

Traditional Gluten Free Easter Bread
This classic gluten free Easter bread makes the perfect centerpiece for your Easter meal. The dough is easy to handle so it can be braided into 4 loaves. An egg placed in the middle before baking completes this festive sweet bread.
Servings: 24 pieces
Calories: 129kcal
Instructions
Make the colored eggs
-
Use 4 glasses or deep bowls to color the eggs. Into glass one (pink egg), add 6 drops of red food coloring. Into glass two (yellow egg), add 8 drops of yellow food coloring. Into glass three (purple egg), add 5 drops of red and two drops of blue food coloring. Into glass four (green egg), add 6 drops of yellow and 2 drops of green food coloring.
-
Add 1 Tablespoon of vinegar each to the 4 cups or deep bowls. Pour ½ cup of the boiling water into each cup with the vinegar.
-
Gently lowered each egg into the egg dye and let sit for 5 minutes for a rich color. Less time for a paler shade.
-
Use a slotted spoon to remove the eggs to dry on a wire baking rack.
Make the bread
-
In a measuring cup or small bowl, add the almond milk and the yeast. Stir to dissolve. Let proof for 5 minutes.
-
Meanwhile, in a large bowl, add the white rice flour, sorghum flour, potato starch, tapioca flour, xanthan gum and salt. Whisk until combined.
-
In the bowl of a stand mixer, add the eggs, egg yolks, vegetable oil and apple cider vinegar. Mix on low speed for 15 seconds.
-
Add the vanilla extract, granulated sugar and yeast mixture. Mix on low speed for 15 seconds.
-
Add the flour mixture to egg / yeast mixture in the stand mixer. Mix on low speed for 15 seconds. Stop the machine and scrape down the bowl.
-
Turn mixer to medium and mix for 4 minutes on medium speed.
-
Scrape down the batter in the bowl. Cover with a tea towel and set aside to rise for 1 hour.
-
Toward the end of the rise time, arrange oven racks so that 2 cookie sheets can fit into the oven at one time. Preheat oven to 375F. Place parchment paper on the cookie sheets.
-
Place a large piece of parchment paper on your working surface. Place a generous spoonful or two of potato starch or tapioca starch on the paper.
-
Place the risen dough onto the starch. If it needs more starch to be workable and not overly sticky, add another spoonful or two.
-
Knead it a couple times to work the starch in.
-
Form dough into a square and slice it into 4 equal sections. Set 3 sections aside.
-
Working with the first section, slice it into 3 equal pieces.
-
Roll, or form with your hands, each section into a 12 inch long rope, keeping the ropes close together (about 1 inch apart) as you do this.
-
Take the tops of the ropes and mash them together to form the top of the braid.
-
“Braid” the dough by moving one rope on top the other. This does not have to be perfect as they will bake up beautiful.
-
Use your hands to push the braid together a bit.
-
Before bringing the dough together into a circle, use a metal spatula to ensure the bottom of the dough isn’t stuck, loosen the whole braid.
-
Take one end of the braid and bring it up to the other end of the braid, forming a circle. Pinch the dough together.
-
Using a metal spatula, gently move the bread to the prepared baking sheet, positioning it so there’s room for another bread.
-
Move on to the remaining 3 sections of dough, slicing and forming the ropes, then braiding, then forming the circle.
Make the egg wash
-
In a small bowl, mix the egg, melted vegan butter and honey together.
-
Gently brush over each braided loaf before baking.
-
Place an egg in the middle of the bread.
Baking the loaves
-
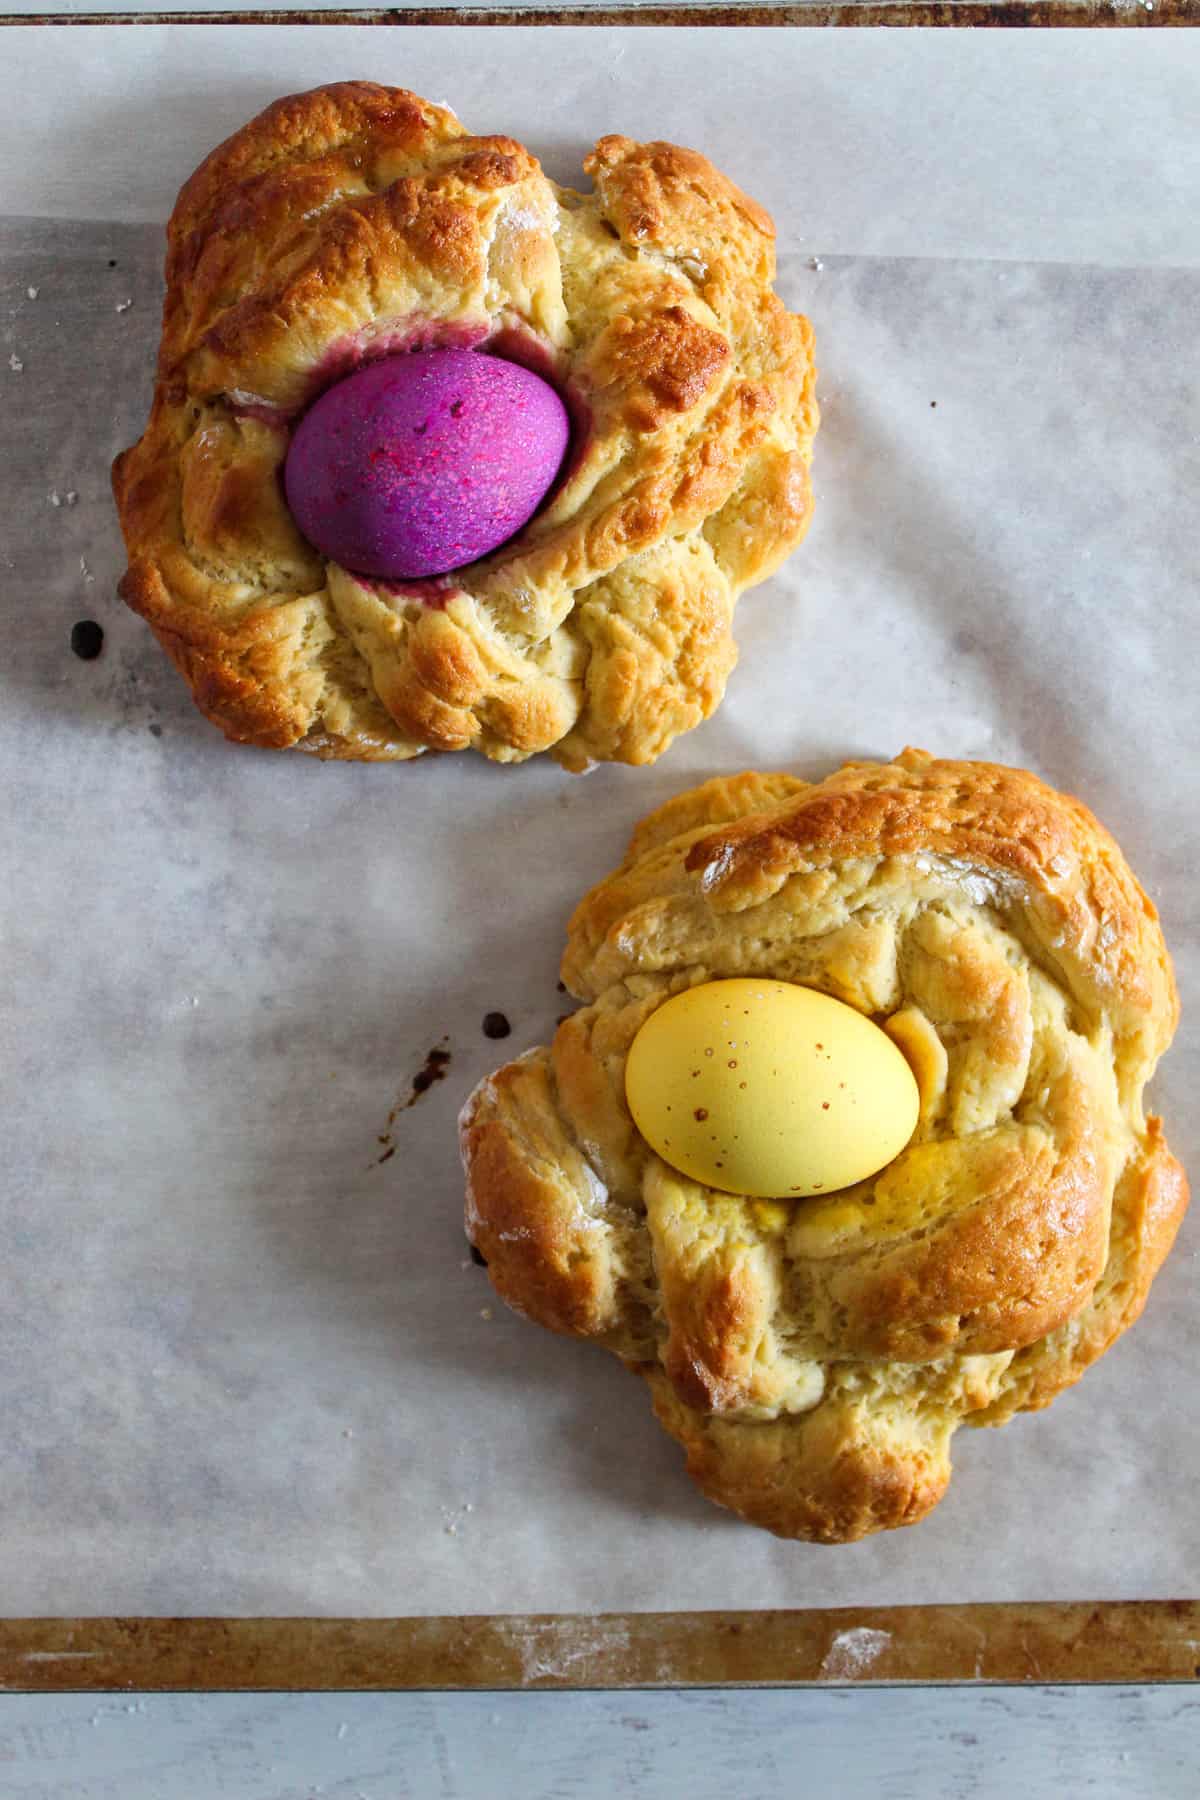
Bake the loaves at 375F for 28 – 34 minutes, checking for doneness with an instant read thermometer at 28 minutes.
-
Let the loaves cool for 30 minutes before serving.
Notes
Unless otherwise noted, ingredients should be at room temperature.
Batter should rise in an area with an inside temperature of 74-76F. Any warmer or cooler than that and the batter may not rise properly.
The braided loaves are small and once formed, do not rise much during baking. Ensure that 4 loaves can fit on your baking sheets so they can bake all at once. I used two smaller sized baking sheets (with 2 loaves each) and overlapped them on one rack in my oven.
Depending on how sticky the risen dough is, you may need some generous spoonfuls of potato or tapioca starch to your surface to be able to handle it.
It might be easier to form the 12 inch long ropes just by pushing the dough together with your hands rather than trying to roll it.
Keep the ropes close together (about 1 inch apart) as you do this so you can easily bring the tops together.
When braiding the ropes of dough, use an over-under method. Bring the first rope over the other two then take another rope and bring it under the other two. Keep in mind this does not have to be perfect as they will be formed into a circle and baked.
Use a metal spatula to help loosen the braided dough before trying to move each circle to the baking pan.
The baked loaves are best served the same day they’re made. I do not advise freezing them.
The dough can be made ahead of time. Decrease the rise time to 45 minutes. Then seal the bowl well and refrigerate for up to 1 day. Remove the dough from the refrigerator and let it warm for 30 minutes before continuing on with the kneading and forming part of the recipe.
Nutrition
Calories: 129kcal | Carbohydrates: 22g | Protein: 4g | Fat: 3g | Saturated Fat: 1g | Polyunsaturated Fat: 1g | Monounsaturated Fat: 1g | Trans Fat: 0.01g | Cholesterol: 74mg | Sodium: 126mg | Potassium: 142mg | Fiber: 1g | Sugar: 4g | Vitamin A: 129IU | Vitamin C: 0.3mg | Calcium: 31mg | Iron: 1mg