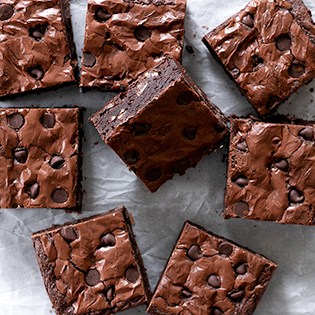
Indulge in these chewy gluten free brownies made with cocoa powder, a bit of gf flour, and a crinkly top that’s irresistible. This easy-to-follow recipe delivers decadent, chocolatey brownies with a perfect texture every time.
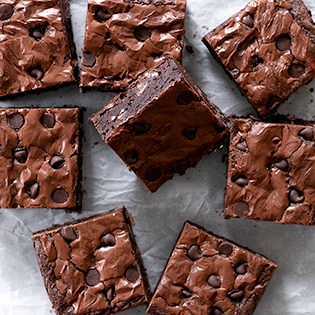
With a perfect balance of rich chocolate flavor, a delicate crinkly top, and an irresistibly chewy texture, this gluten free brownie recipe will make you forget all about the store-bought mixes.
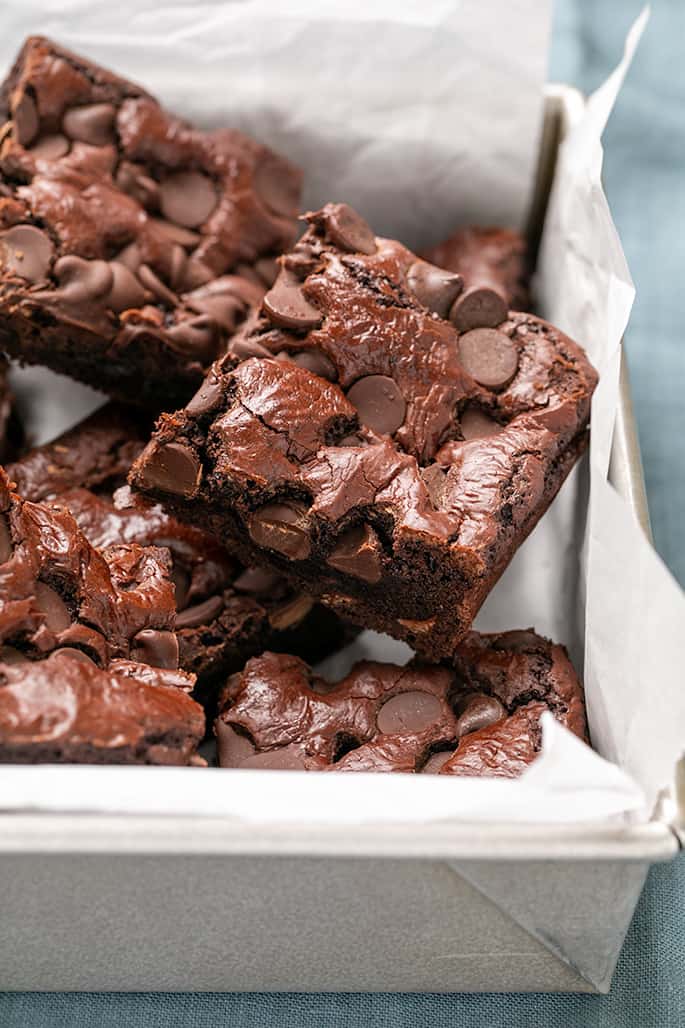
These are the ideal gluten free brownies: made with lots of cocoa powder, very little gf flour, and have that crinkly top no one can resist. Rich in chocolate flavor, these gf brownies are fudgy, chewy, and come out perfect every single time.
If you love brownies with that crackly top, like the boxed gf brownie mix, this is your new go-to recipe!
What makes this recipe for gluten free brownies special?
There is no shortage of brownie recipes here on the blog. There’s even a whole category page dedicated to gluten free brownies, in case you ever feel like going down that particular rabbit hole.
These brownies are the ones I turn to whenever I want to make a “basic batch of brownies.” And that’s a compliment, because it means that they’re universally loved by all.
They’re like the brownie equivalent of a little black dress! Here’s why…
- The Texture Is Just Right:
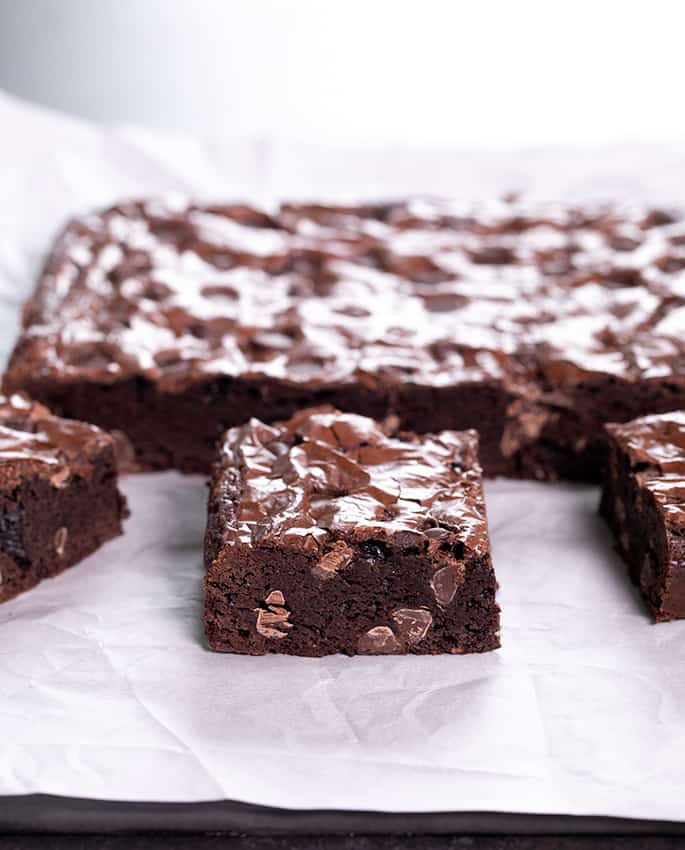
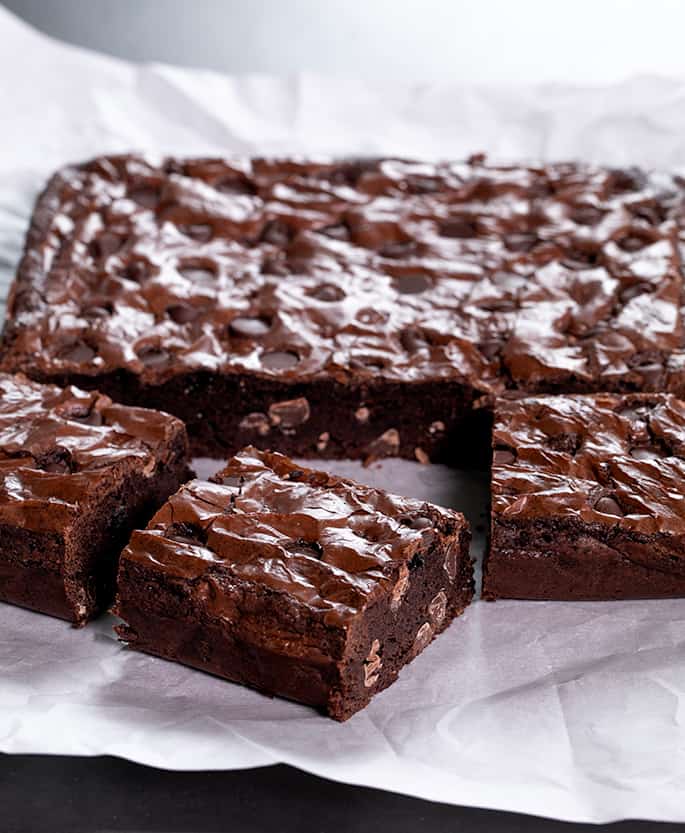
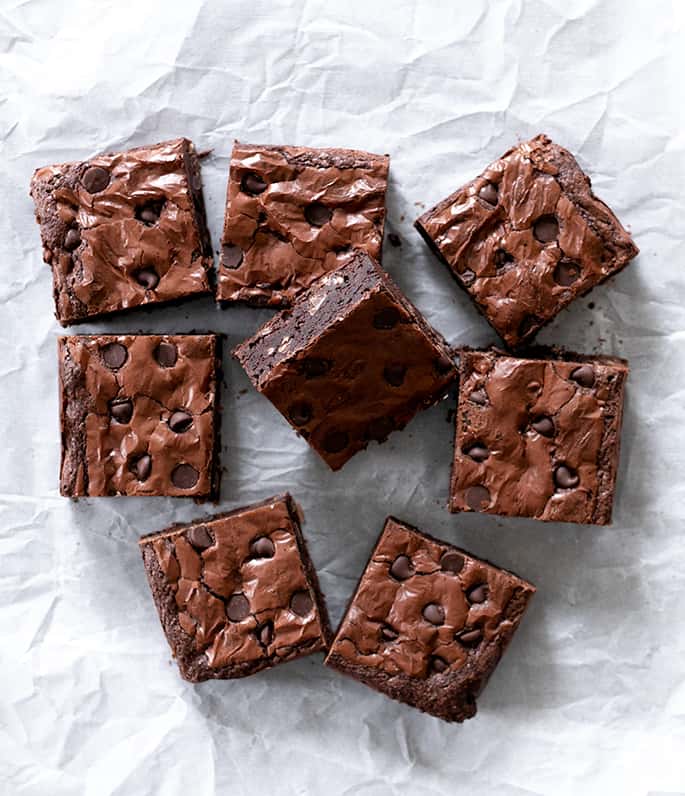
- The crackly top shatters as soon as you bite into the brownies, and gives way to a dense center.
- They’re not at all like biting into a bar of fudge. This is a brownie-lover’s brownie.
- There are chocolate chips in the brownie and even on top, but only 5 ounces total. Just enough, never to be confused with a gf chocolate chip cookie!
- The Flavor Is Perfect:
- These brownies are rich and chocolatey, but their richness won’t overwhelm you.
- The chocolate chips add a bit of extra chocolate flavor, but there’s an entire cup of cocoa powder so we don’t need much!
I am all about the science of baking. I try to explain why I do just about everything I do in my recipes. I find that it’s the perfect way to show you the proper respect, and to increase the chance that you’ll follow the recipe exactly as written!
I have made this recipe many ways. I promise that this recipe, with these ingredients prepared in this way makes for rich, chocolatey and chewy brownies with a crackly top.
How to get that crackly top on your gluten free brownies
Follow the method that I’ve laid out if you want consistently good results from this gf brownie recipe. This method begins with melting the butter with the sugar, to dissolve the sugar granules.
The melted sugar granules combine so much better with the rest of the brownie batter, and rise to the top of the brownies during baking to help create that crinkly meringue top.
The next essential step is to beat the eggs well. Otherwise, the brownies aren’t as chewy—and the crackly top is sparse at best.
Tips to making gluten free brownies with that perfect chewy texture
These are not light and cake-like brownies. They are also not super fudgy brownies. They’re a bit fudgy, but mostly they’re perfectly chewy in that really satisfying way.
Stick to the ingredients list
The chocolate in these brownies comes entirely from cocoa powder (other than the chocolate chips, of course). Using chopped, melted chocolate in the batter makes brownies denser and fudgier.
Adding very little gluten free flour, plus lightening it with some cornstarch if you’re using Better Batter (Cup4Cup already has plenty of cornstarch), also helps to create a lovely chewy texture with lightly crisp edges.
So stick to the ingredients and their quantities. If you start mixing things up too much, you’ll change the texture, taste, and behavior of your baked brownies.
The best gluten free brownies need really good gf flour
Whatever type of gluten free brownie you’re making, you need really good gluten free flour. For this gluten free brownie recipe, I used Better Batter, as I like the consistency and reliability of that flour. If you can get it, that’s the one I recommend here.
You could also use Cup4Cup or have a go at making your own gluten free flour blend. Avoid brands that are overly starchy or grainy, or those whose products are inconsistent in texture, taste, and results. There’s not much flour in this gluten free brownie recipe, but what there is should be of the best quality.
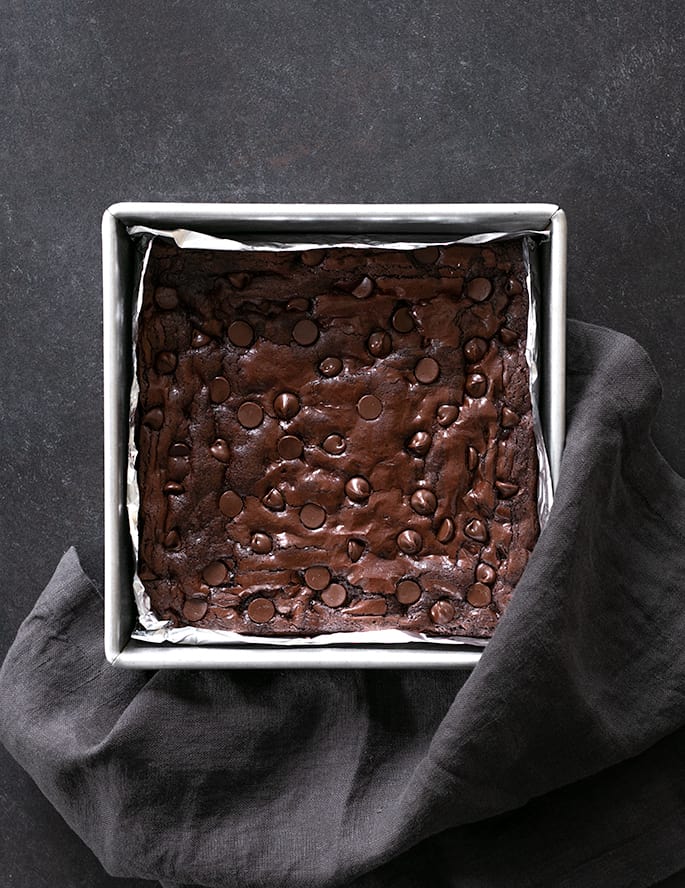
Choose a light-colored aluminum pan, and line it
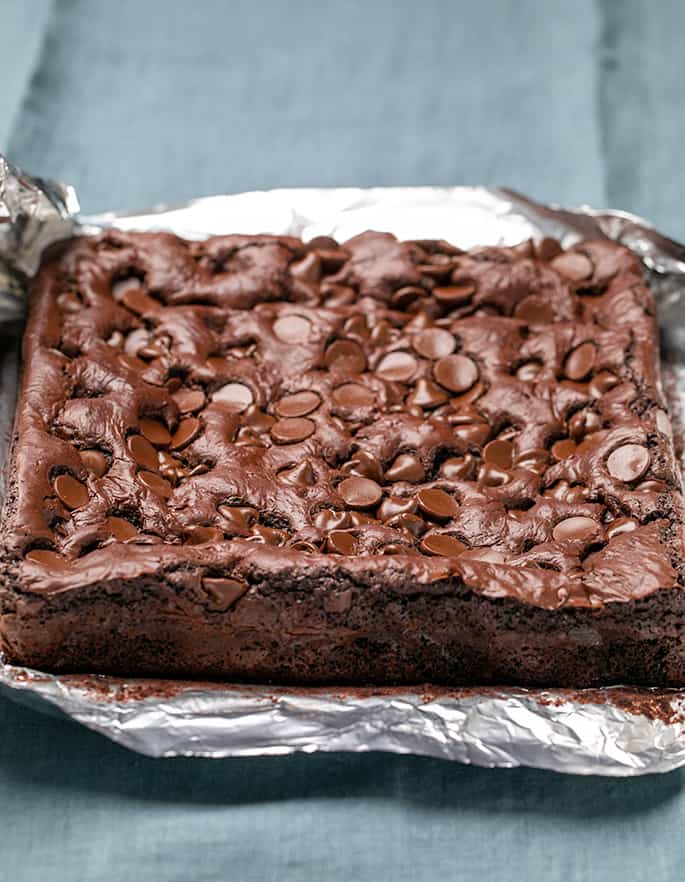
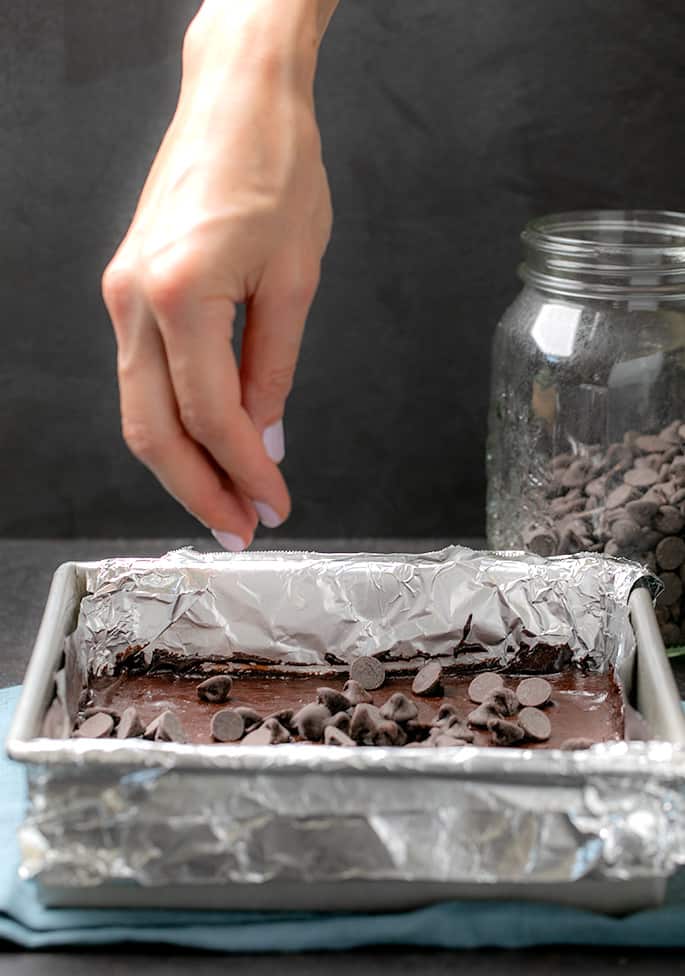
Since these gluten free brownies are so deliciously fudgy, you’ll need a strategy for getting them cleanly out of the pan. Keep it simple and guarantee an easy turnout by lining your brownie pan with parchment paper or nonstick aluminum foil.
Bake your brownies in a light-colored cast aluminum pan which heats evenly across the whole pan. Avoid using a glass or cast iron pan since they heat slowly and retain heat very well, which can cause the edges have a tendency to burn before the center is set. A cast iron pan is best when you want very crisp edges with an underdone center, like with our gluten free pizookie.
Don’t overbake your gluten free brownies
This gluten free brownie recipe is good and delivers beautiful, chocolatey brownie goodness with that delicious crackly top. But it’s easy to overbake, because they stay extra fudgy-looking until they cool completely.
Don’t leave them in the oven for too long, as overbaking ruins the taste and texture of these glorious gluten free brownies. When you take them out of the oven, the center should be just about set, and they’ll firm up more as they cool. Heat your oven and trust the process!
Ingredients and substitutions for these gluten free brownies
This is the sort of recipe that is really not a great candidate for substitutions. Each ingredient was selected specifically to achieve that fudgy-but-chewy texture and the crackly top that we all love when we make a boxed mix.
If you can’t have all the ingredients in the recipe and would really like to try substitutes, I will provide as much information below as I can.
How to make gluten free dairy free brownies
There’s a lot of butter in this recipe for gluten free brownies. You can still replace it successfully for a dairy-free brownies option, but you’ll need to balance moisture, fat, and flavor.
These days, my favorite way to replace butter in bars and cookies is to substitute one for one with vegan butter. My favorite brands are Melt and Miyoko’s Kitchen.
If you can’t find vegan butter, my next suggestion is to substitute half of the weight of butter called for in the recipe with Earth Balance buttery sticks and the remaining half of the weight with Spectrum nonhydrogenated shortening.
If you do use Earth Balance buttery sticks, omit the additional salt in the recipe, though. That product is super salty already.
If you’re dairy-free, be sure you’re also using dairy-free semi-sweet chocolate chips.
How to make gluten free egg free brownies
There are only 2 eggs in this recipe, so your favorite egg substitute might work. Unfortunately, you won’t get the exact chewy texture, and you won’t get the crackly top.
My favorite egg substitute (for effectiveness and ease) is a “chia egg.” For each egg, mix 1 tablespoon ground white chia seeds with 1 tablespoon lukewarm water, and allow it to sit until it gels.
About the corn in these gf brownies
This one is actually quite easy. Just use arrowroot in place of cornstarch.
If you are using Cup4Cup flour blend as your all purpose gluten free flour, just replace the cornstarch with that much more flour, gram for gram.
Frequently asked questions about these brownies
Can I make the brownie batter by hand, without a handheld mixer?
Yes! Although it’s best to use a stand mixer or handheld mixer to beat the batter well, you can still achieve a similar result by whisking as vigorously as possible by hand. You’ll know that the mixture is beaten enough when it begins to lighten in color.
Do I need to make any changes if I double this recipe?
No! You don’t need to change any of the ingredients if you double the recipe. But you should divide the batter, as doubled, and bake it in 2 square pans.
Baking brownies in a rectangular 9-inch x 13-inch baking pan, the bottom center tends to burn before the rest of the batter is cooked through. Place both baking pans in the oven at the same time, and rotate them about halfway through baking.
Can I substitute the gf flour blend in these gf brownies?
In this whole gf brownies recipe, there’s only ⅓ cup (47 grams) of all purpose gluten free flour. There are also 2 tablespoons (18 g) cornstarch. Together, that’s just less than ½ cup (70 g).
It’s not a lot of gf flour. I haven’t tried substituting a single gluten free flour, like superfine white rice flour, or even a very simple gluten free baking flour blend like our gum-free gluten free flour blend.
But it might work. I would recommend adding the ⅛ teaspoon xanthan gum, though, if you try one of those suggestions.
Can I use baking powder instead of baking soda?
No. There isn’t much baking soda in this recipe, and it’s there to help neutralize some acid in the unsweetened cocoa powder. Baking powder is a mixture of baking soda, cream of tartar, and a starch.
How do I store gluten free brownies?
These brownies will stay fresh at room temperature uncovered for hours, wrapped tightly for about 2 days, and in the refrigerator for about a week. For longer storage, wrap tightly in freezer-safe wrap, and freeze.
You can warm up the brownies for a few seconds in the microwave if they’ve been frozen. Or you can even eat them right out of the freezer.
How do I line the pan for these gf brownies?
Even if I’m using a nonstick baking pan for these brownies, I still line the pan. Lining the pan with parchment paper makes it much easier to lift the baked brownies out of the pan.
I prefer to line the pan with aluminum foil that’s either nonstick foil, or sprayed with nonstick cooking oil. Press the foil into the corners and secure it on the edges, so nothing moves during baking.
How can I make these brownies more fudgy?
I don’t recommend trying to alter this gluten free brownie recipe to change the texture much. That’s what our other gluten free brownie recipes are for:
More of our best gluten free brownies recipes
How to make the best gluten free brownies, step by step
Chewy Gluten Free Brownies
Indulge in these chewy gluten free brownies made with cocoa powder, a bit of gf flour, and a crinkly top that’s irresistible. This easy-to-follow recipe delivers decadent, chocolatey brownies with a perfect texture every time.
Yield: 9 brownies
Prevent your screen from going dark
Ingredients
- 9 tablespoons (126 g) unsalted butter chopped
- 1 ¼ cups (250 g) granulated sugar
- 2 (100 g (weighed out of shell)) eggs at room temperature
- 1 teaspoon pure vanilla extract
- 1 cup (80 g) unsweetened cocoa powder natural or Dutch-processed
- ⅓ cup (47 g) all purpose gluten free flour blend I used Better Batter
- ⅛ teaspoon xanthan gum omit if your blend already contains it
- 2 tablespoons (18 g) cornstarch
- ⅛ teaspoon baking soda
- ¼ teaspoon kosher salt
- 5 ounces semi-sweet chocolate chips
Instructions
-
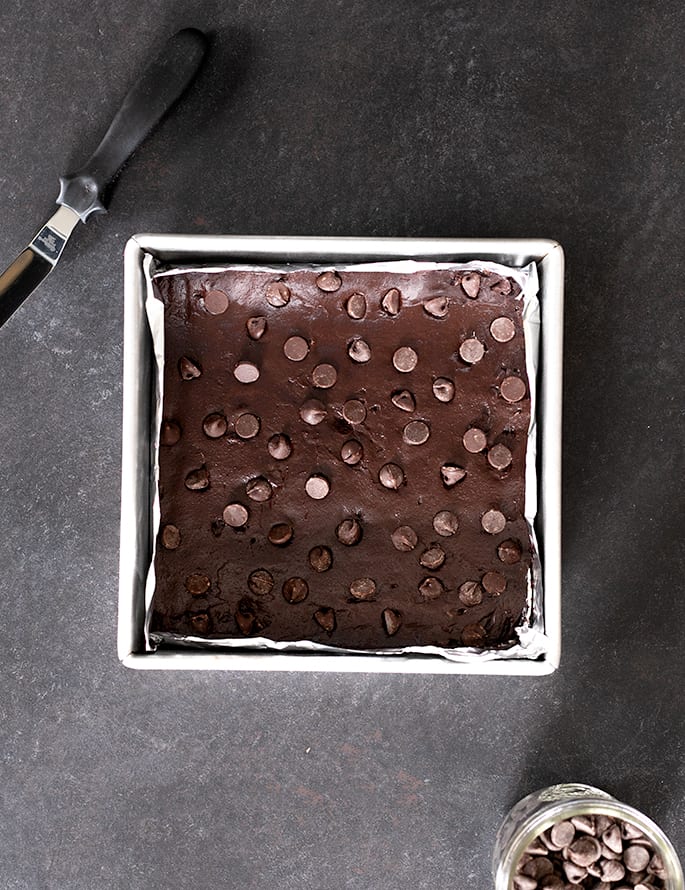
Preheat your oven to 325°F. Line an 8-inch square cast aluminum baking pan with parchment paper or nonstick aluminum foil (or line with regular aluminum foil and spray with nonstick cooking spray). Set the pan aside.
-
In a small saucepan, place the butter and sugar, and place over medium heat, whisking occasionally, until melted and simmering. Remove the saucepan from the heat and set it aside to cool until no longer hot to the touch.
-
Alternatively, cool the butter and sugar mixture down a bit by placing the bottom of the saucepan in a bowl of cool water. Make sure the butter does not solidify.
-
In a large bowl, place the eggs and vanilla, and whisk until well-beaten and combined.
-
Add the melted and cooled butter and sugar to the bowl slowly, whisking constantly. Add the cocoa powder and whisk until the cocoa powder has been absorbed.
-
Using a handheld mixer, beat until very well-combined.
-
Add the flour, xanthan gum, cornstarch, baking soda, and salt, and mix with a silicone spatula or spoon until just combined.
-
Add about 4 ounces of the chocolate chips and mix until just evenly distributed throughout the batter. The batter will be thick and sticky.
-
Transfer the brownie batter to the prepared pan and, using an offset or silicone spatula, spread into an even layer. It helps to moisten the tool you are using to smooth the top a bit to prevent it from sticking.
-
Scatter the remaining chocolate chips evenly over the top of the brownie batter and bang the pan firmly on the countertop to help the chips adhere.
-
Place the pan in the center of the preheated oven. Bake just until the brownies are no longer wet in the center, about 28 minutes.
-
The center may dome during baking, but the brownies will settle as they cool.
-
Remove the brownies from the oven and allow them to cool in the pan at room temperature until the pan is no longer hot to the touch.
-
For clean lines when you slice the brownies, place the brownies, still in the pan, in the refrigerator to chill for about an hour before slicing them.
-
When you’re ready to slice the brownies, remove them from the pan and peel away the foil. Slice the brownies into 9 or 12 equal rectangles or squares.
-
Serve the brownies immediately, or wrap tightly and freeze for longer storage. These freeze incredibly well.
Notes
Originally published on the blog in 2019. In 2021, some images added; text mostly new. In 2023, more text resources added to ensure success.
