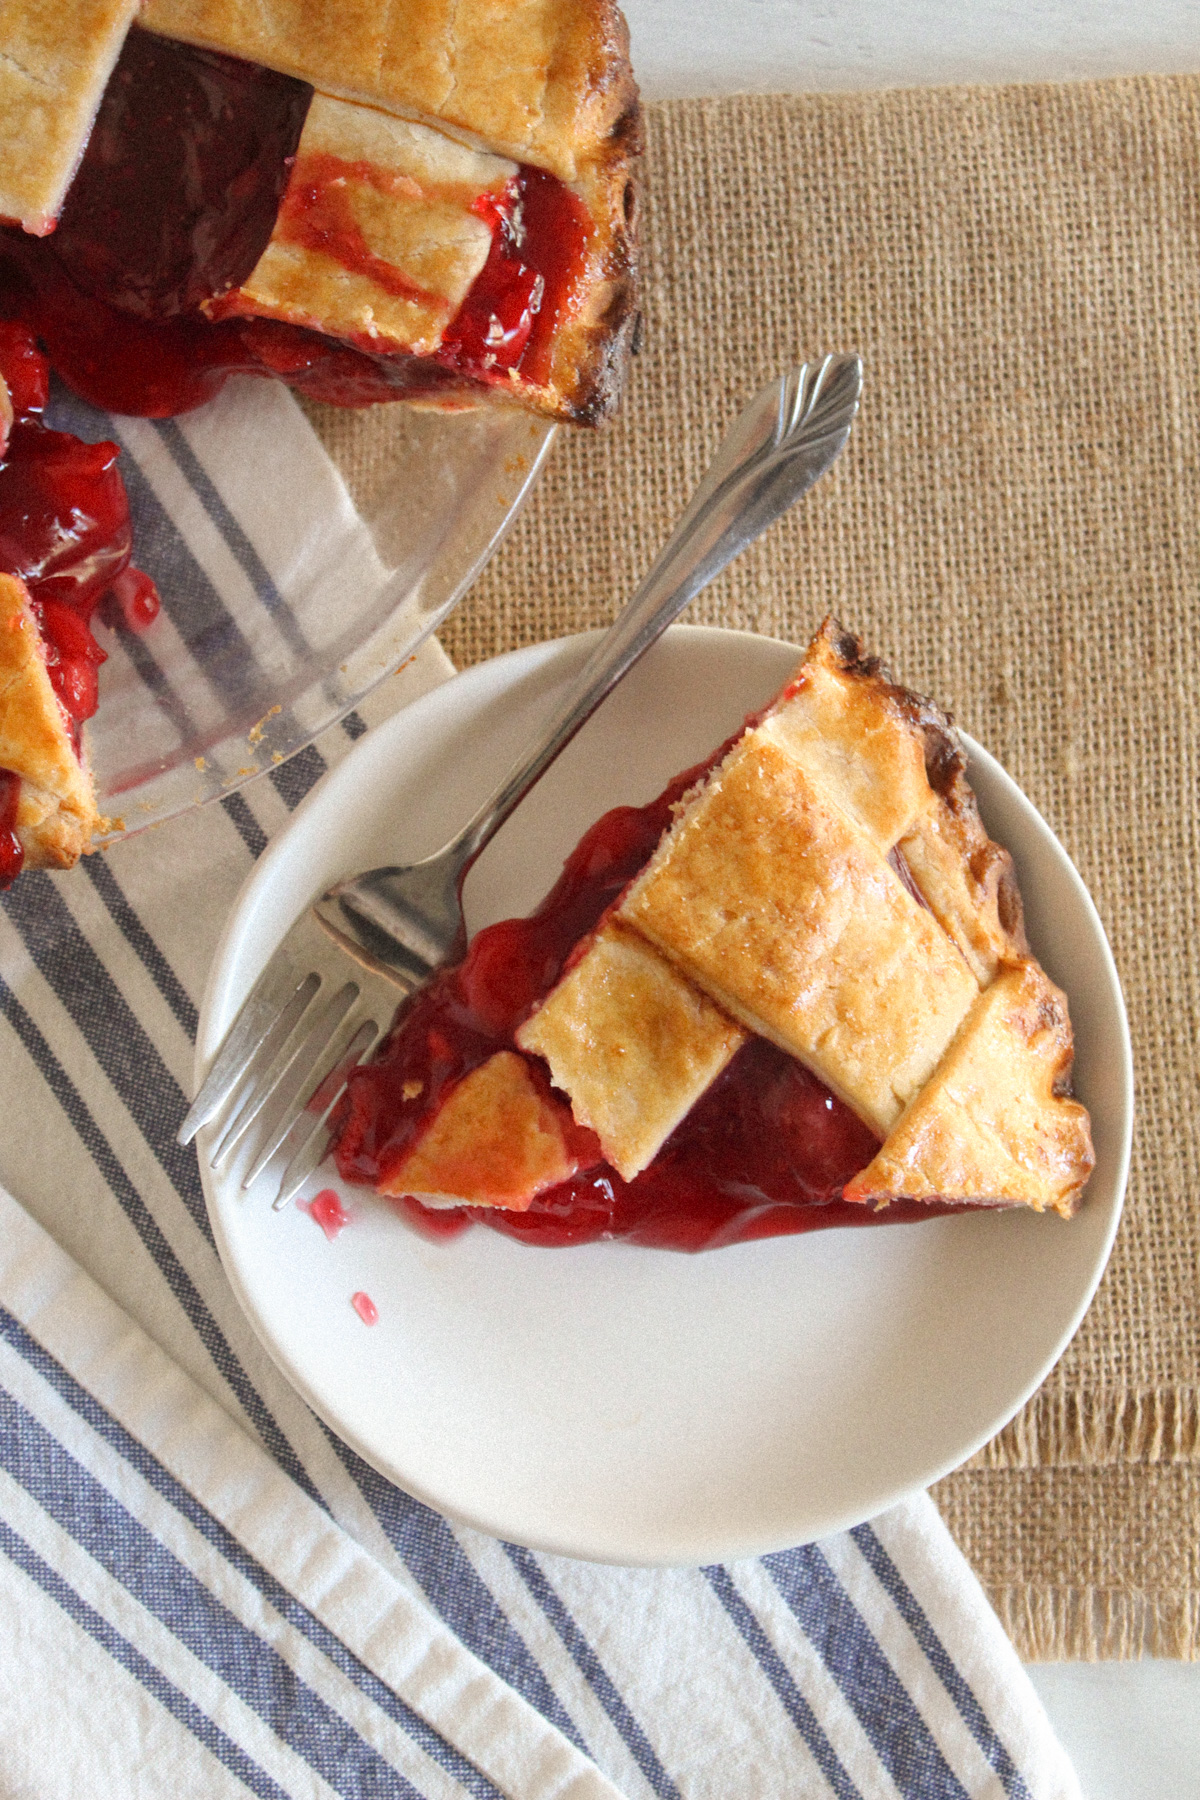
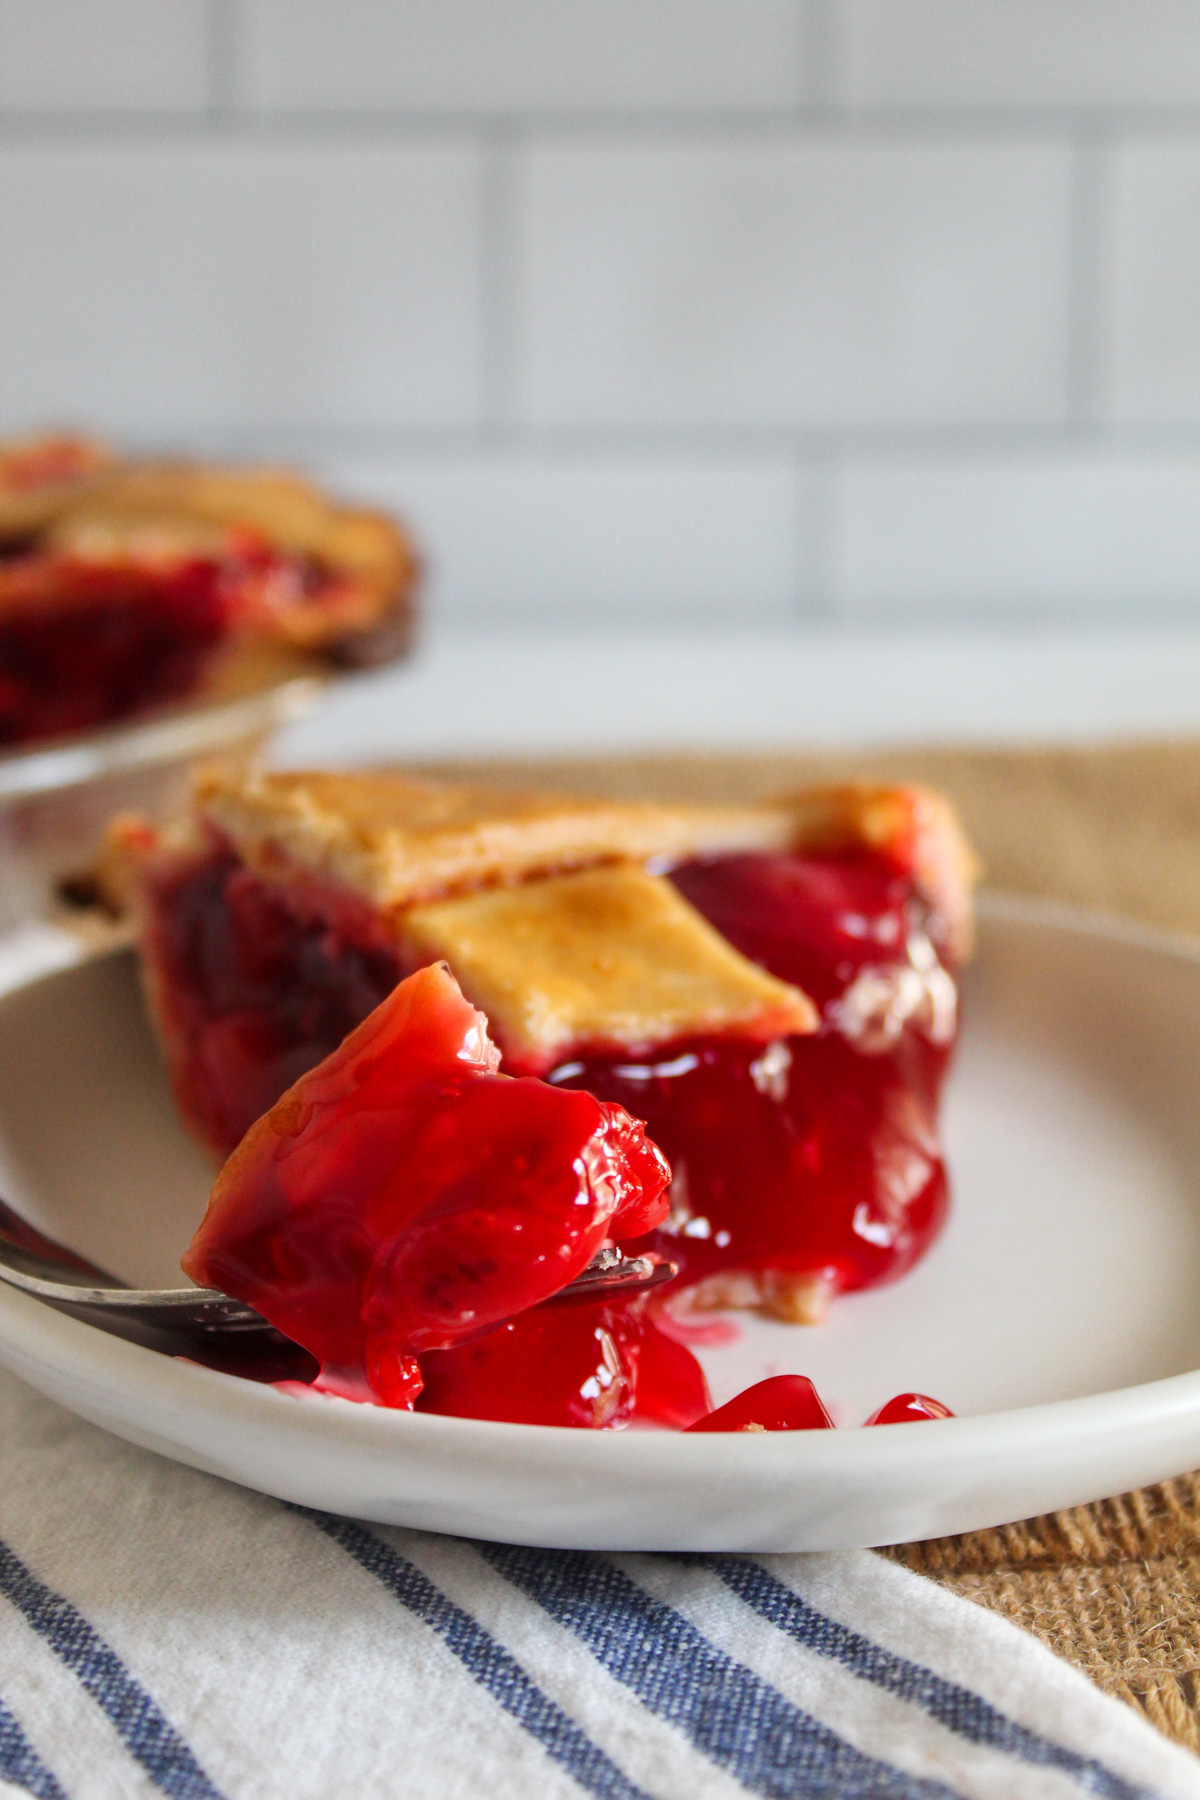
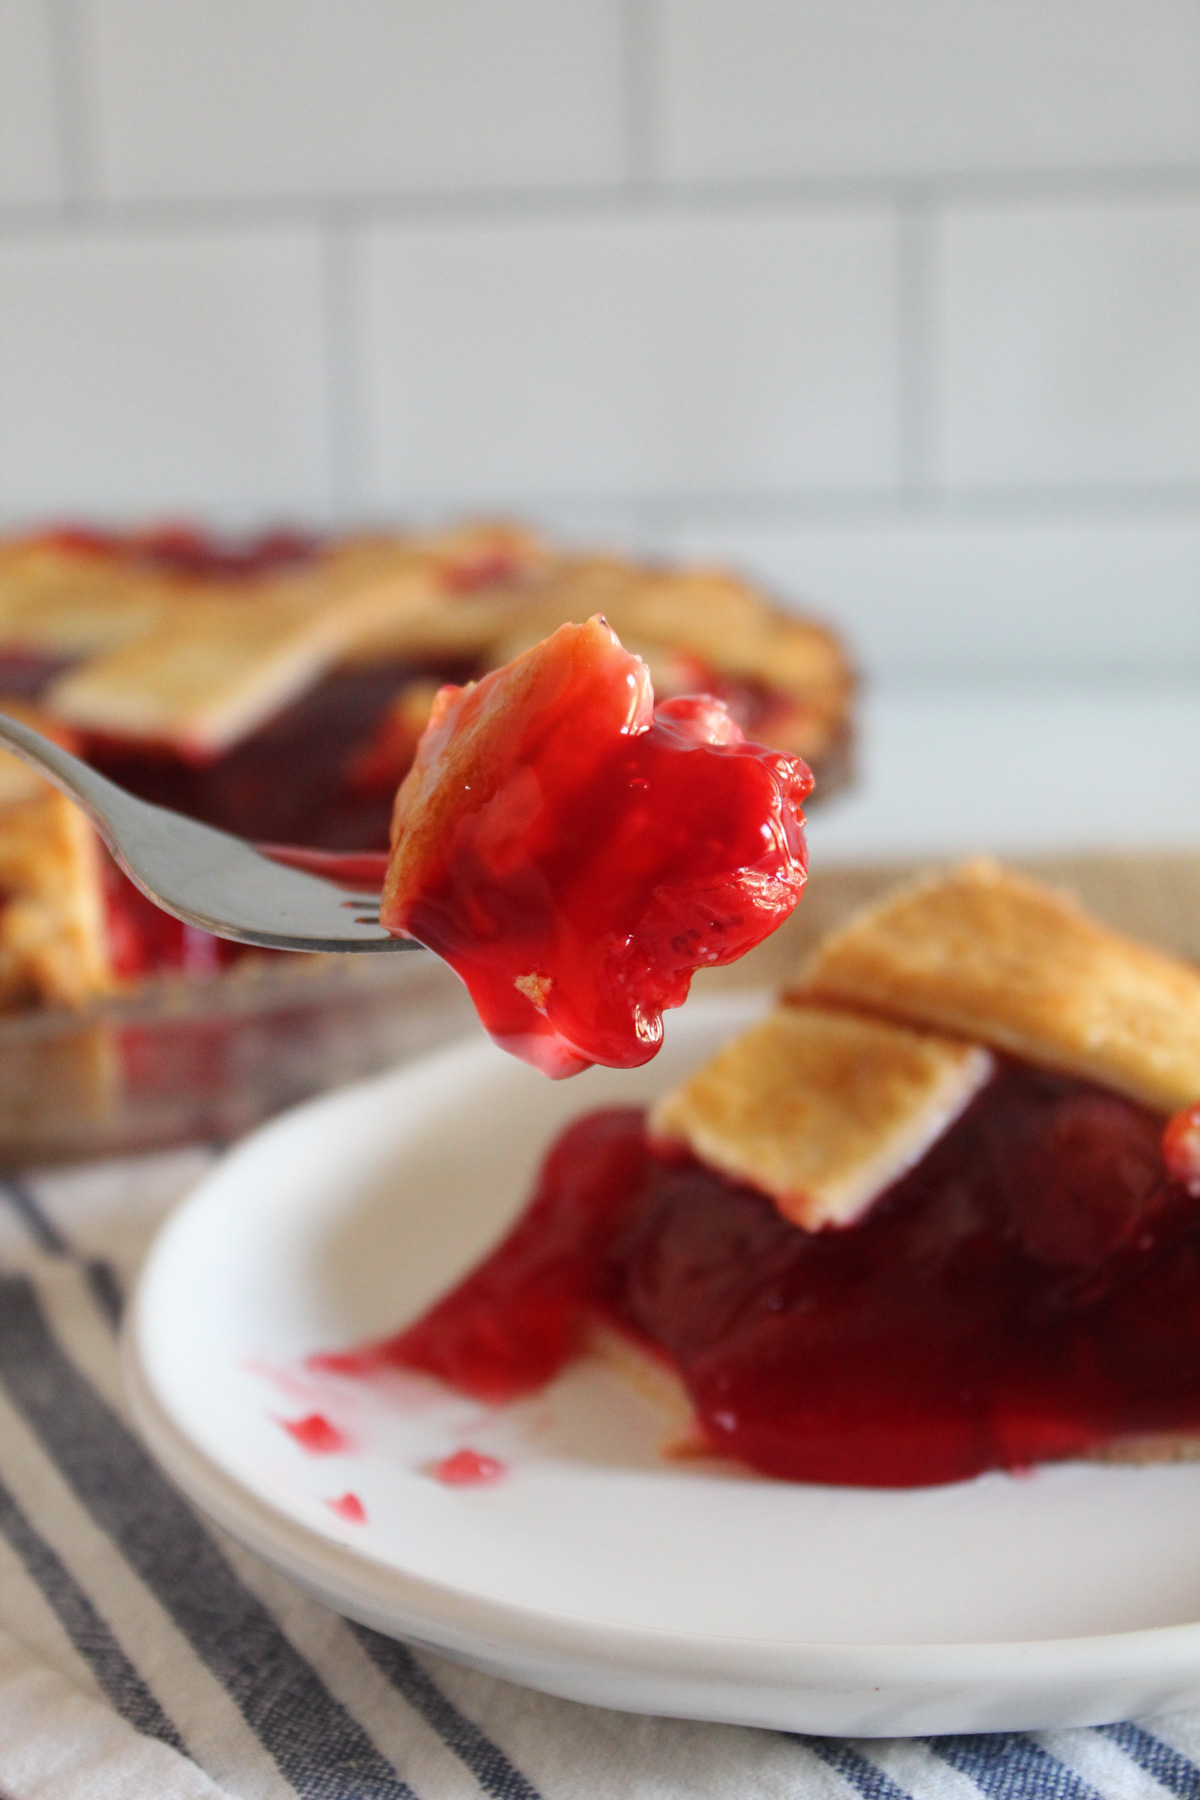
This is truly the best gluten free cherry pie recipe with a flaky gluten-free crust and pie filling loaded with cherries! The lattice top gives it a traditional look, perfect for backyard parties and barbecues. A scoop of vanilla ice cream would be the cherry on top!
Cherry pie is a classic dessert, especially during cherry season! This gluten free cherry pie recipe makes it easy to enjoy your favorite dessert without missing out or reacting to gluten. You’ll be pleased to know this is a dairy free and vegan cherry pie recipe, too!
Unfortunately, most gluten-free pie crusts don’t come anywhere near the texture of the real deal. If you really want a buttery, flaky crust, you need to follow a totally different recipe! My gluten-free pie crust recipe uses a mixture of vegan cream cheese, cream, and butter, which makes it taste way more like a regular crust than anything any other recipe I’ve ever tried. Just give it a try, and you’ll see why this is my go-to method!
Looking for more pie recipes? Check out my Gluten Free Apple Pie with a tender, flaky crust or this Gluten Free Key Lime Pie with a bright, citrusy flavor!
Jump to:
Ingredients for Gluten Free Cherry Pie Recipe
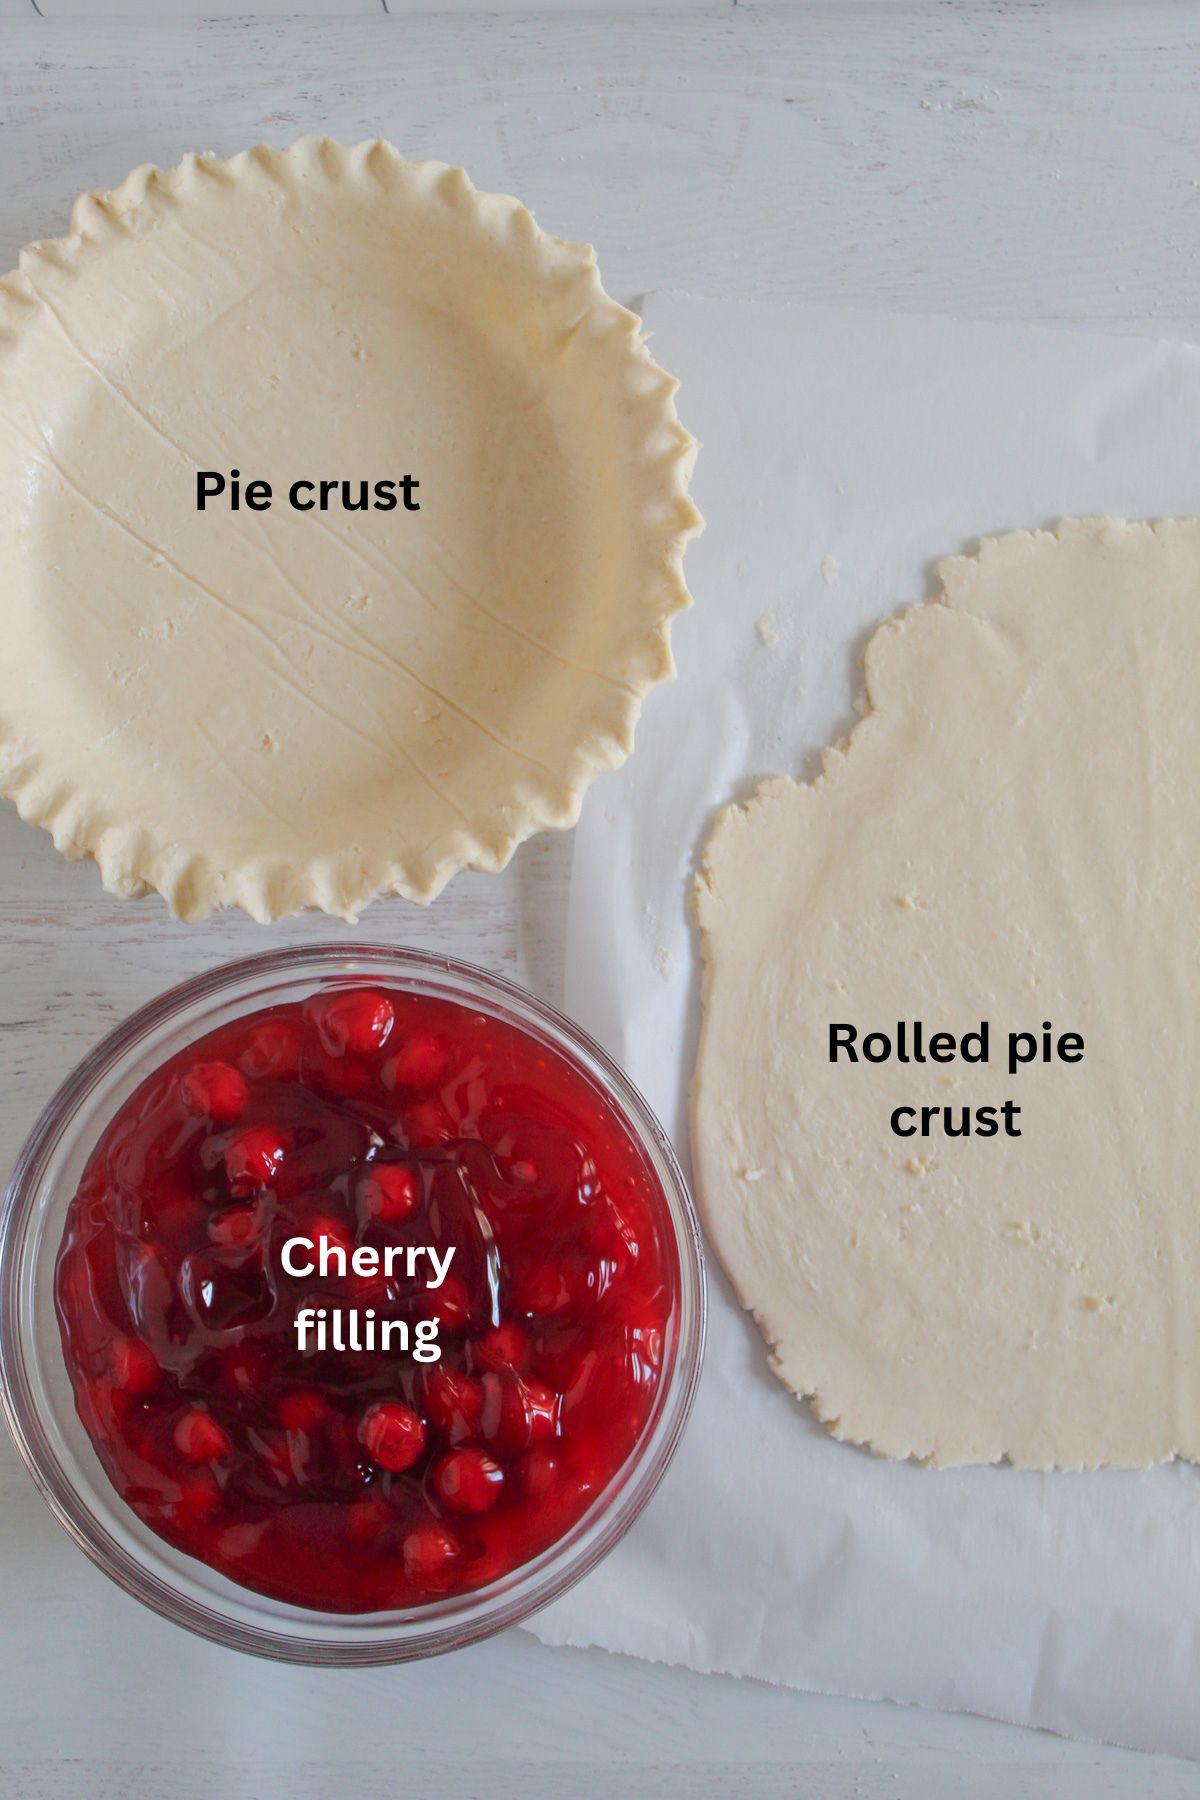
- Gluten free pie crusts – Start by making a batch of my gluten-free pie crust recipe, which makes makes 3 crusts. For this cherry pie, you need one full crust and half of another crust. Save the remaining one-and-a-half crusts for another use.
- Cherry pie filling – You’ll need 2 large cans of your favorite canned cherry filling.
- Cornstarch – Use certified gluten-free cornstarch to absorb extra moisture in the pie. Another gluten free thickener from this list can be used, just make sure to select one that mixes with a liquid first.
- Large egg – Whisk the egg with a little water for an egg wash.
Measurements for each ingredient, along with instructions for making the pie are in the recipe card below.
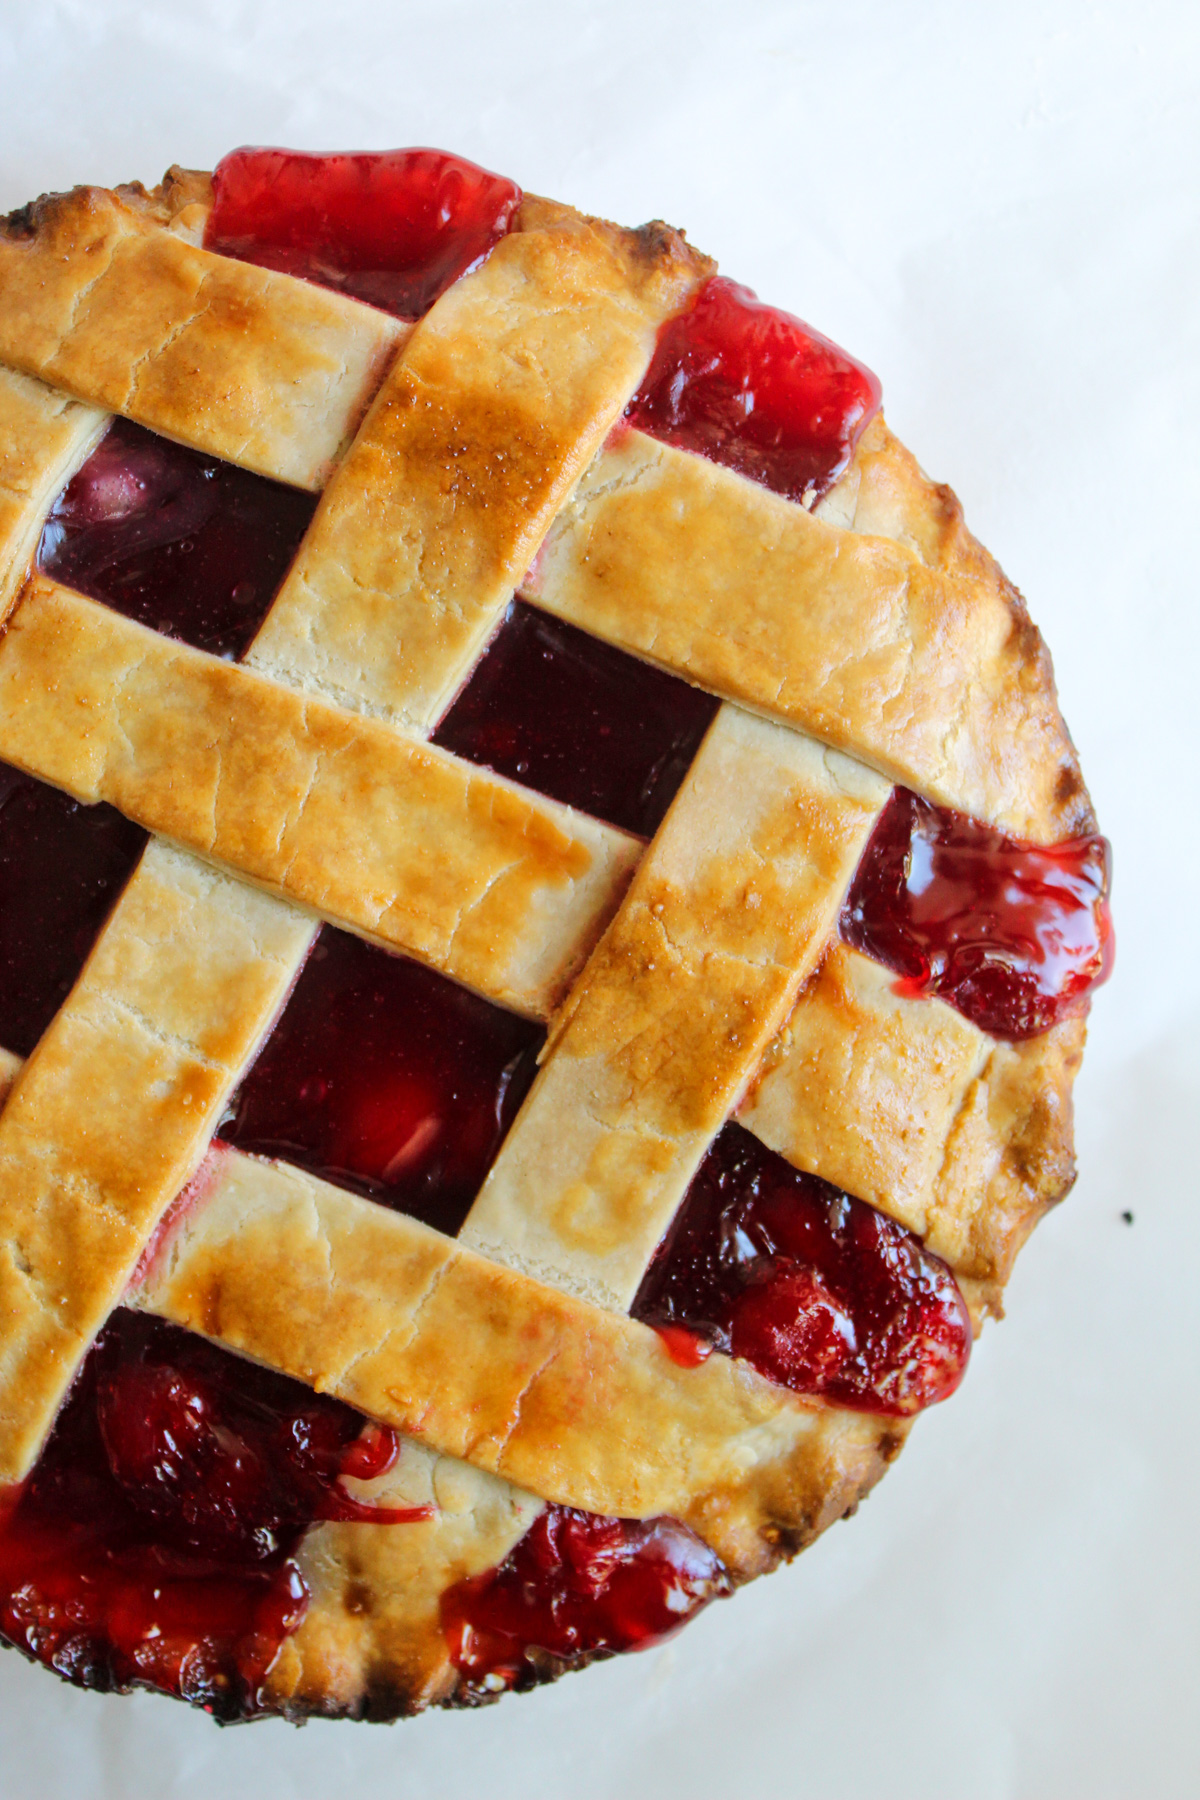
Note about the lattice top
You will need 6 strips to make the lattice shown in the picture.
How To Make Gluten Free Cherry Pie
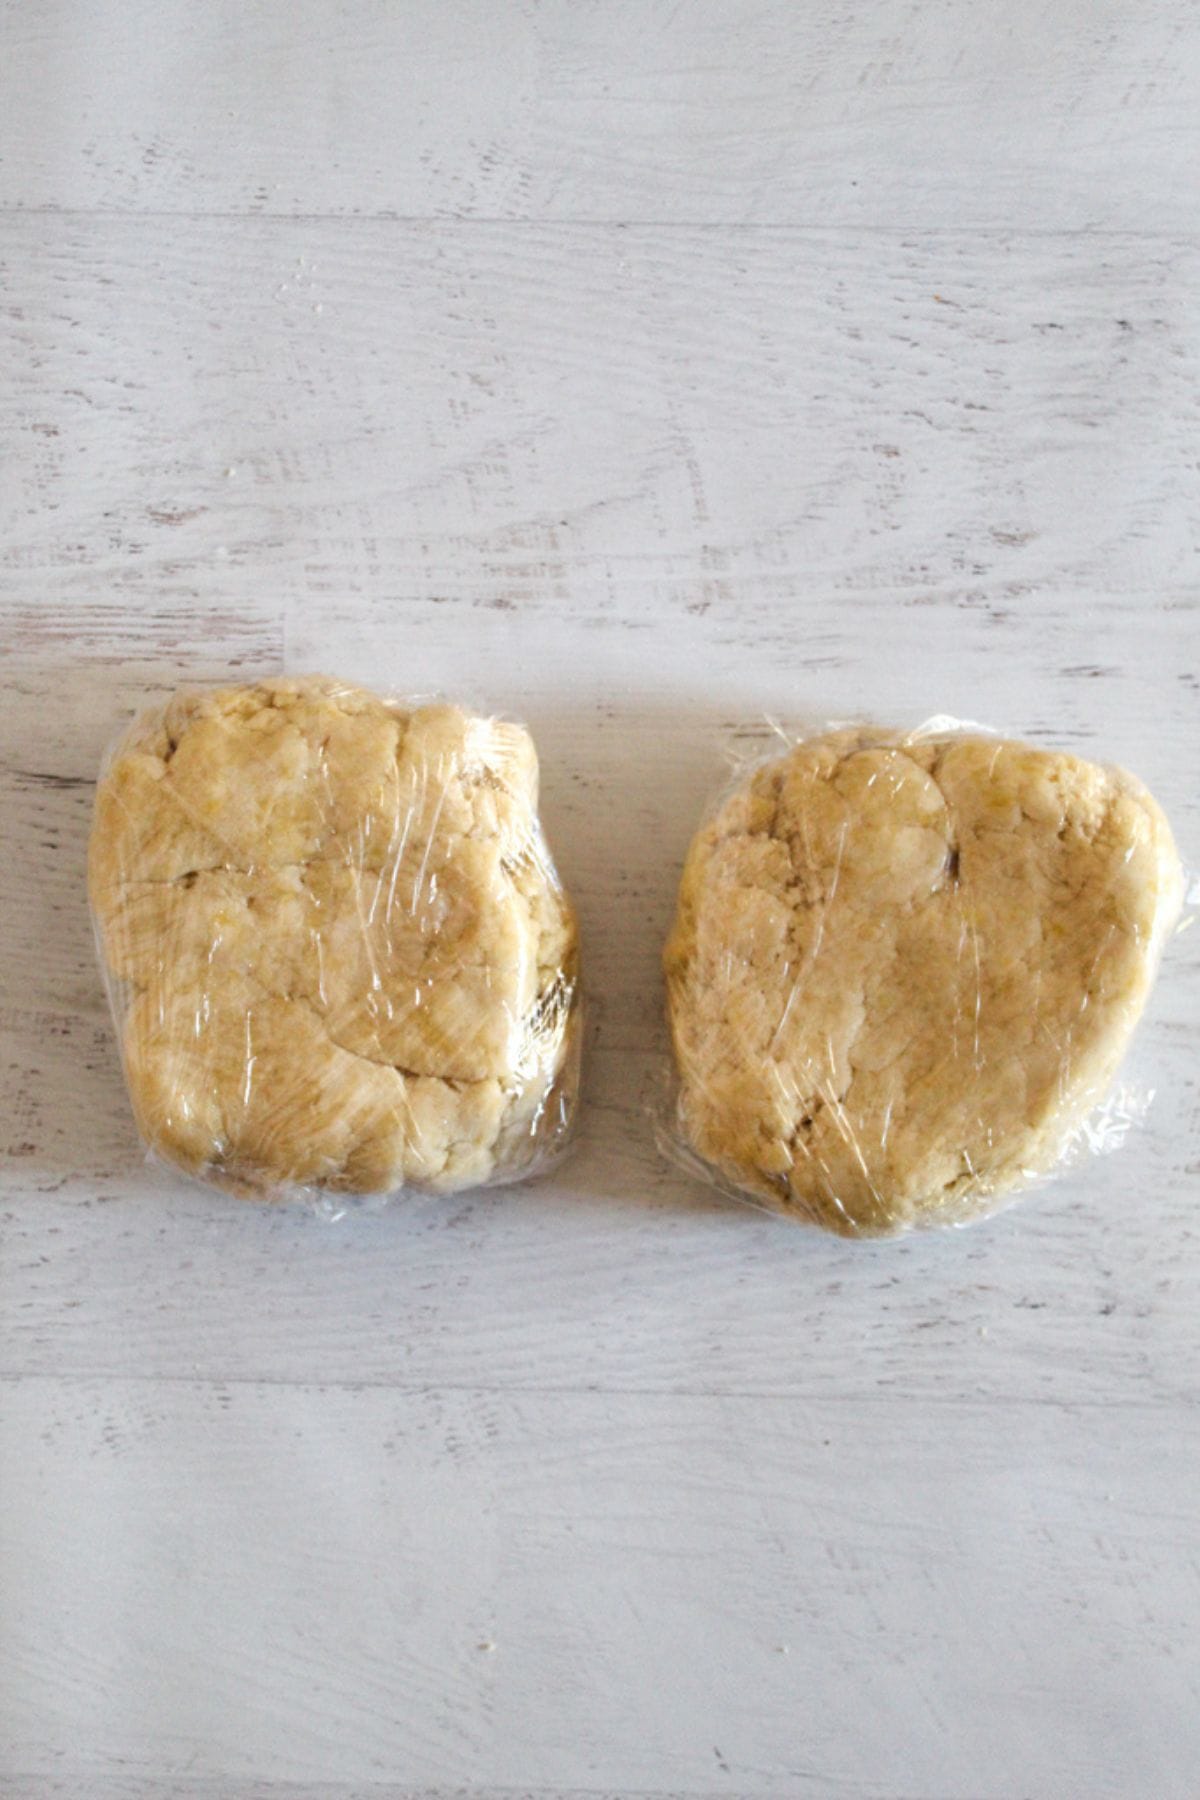
Step One: Make the pie crusts and chill as directed. Recipe will make 3 crusts, you just need one whole crust and half of another crust for this recipe.
Step Two: Meanwhile, prepare the filling. In a large bowl, add the cherry pie filling, removing ½ cup of the filling (without cherries). In a small bowl, place the ½ cup reserved filling and 1 Tablespoon cornstarch. Mix together until no lumps remain. Add the cornstarch mixture to the large bowl of pie filling and mix until completely blended. Preheat oven to 425F.

Step Three: On a lightly floured surface (sprinkling starch on a piece of parchment paper works very well, both for preventing sticking and for easy clean-up), roll one whole pie crust to fit a 9″ pie plate. Place pie crust in the pie dish.

Step Four: Scrape the cherry pie filling into the pie crust.
Step Five: Lightly flour the work surface for the next pie crust. Roll the remaining ½ pie crust dough into a rectangle shape. Cut off the edges and place as needed to make a rectangle. Use a pizza cutter or sharp knife to cut the rectangle longways, into 1 inch wide strips. You will need 6 strips total.
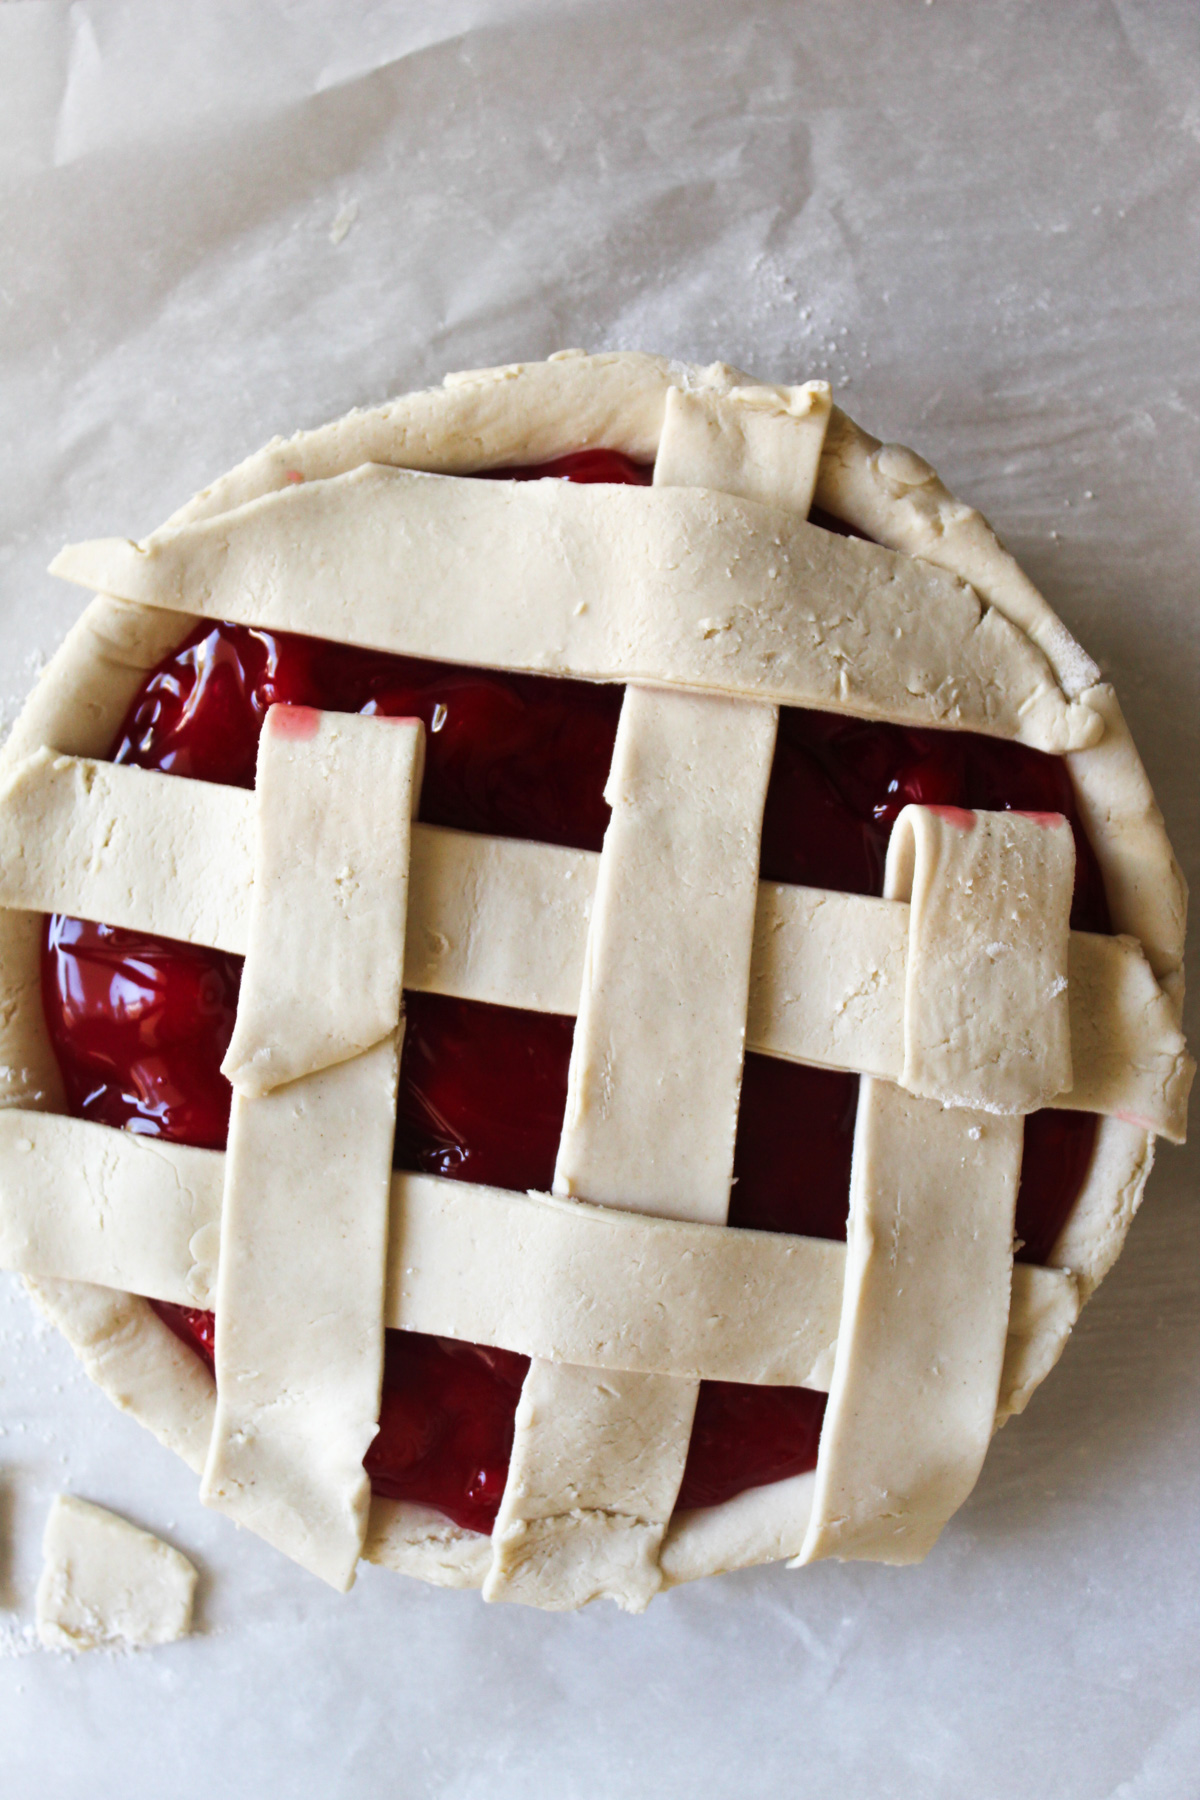
Step Six: Make the lattice top: Evenly place 3 strips on top of the cherry filled pie. Peel back the middle strip of crust, so it’s halfway back. Take a 4th strip of dough and place it near the edge of the pie, in the opposite direction of the other strips of crust. Lay it on top of the two strips you didn’t peel back.
Step Seven: Move the peeled crust back over the 4th strip. Take a 5th strip of dough and peel back the two strips you didn’t peel back before to place this strip in the middle. Place the peeled strips back.

Step Eight: Take the 6th strip of crust and peel back the first strip of crust, and place this last piece of crust down over the two strips as before.
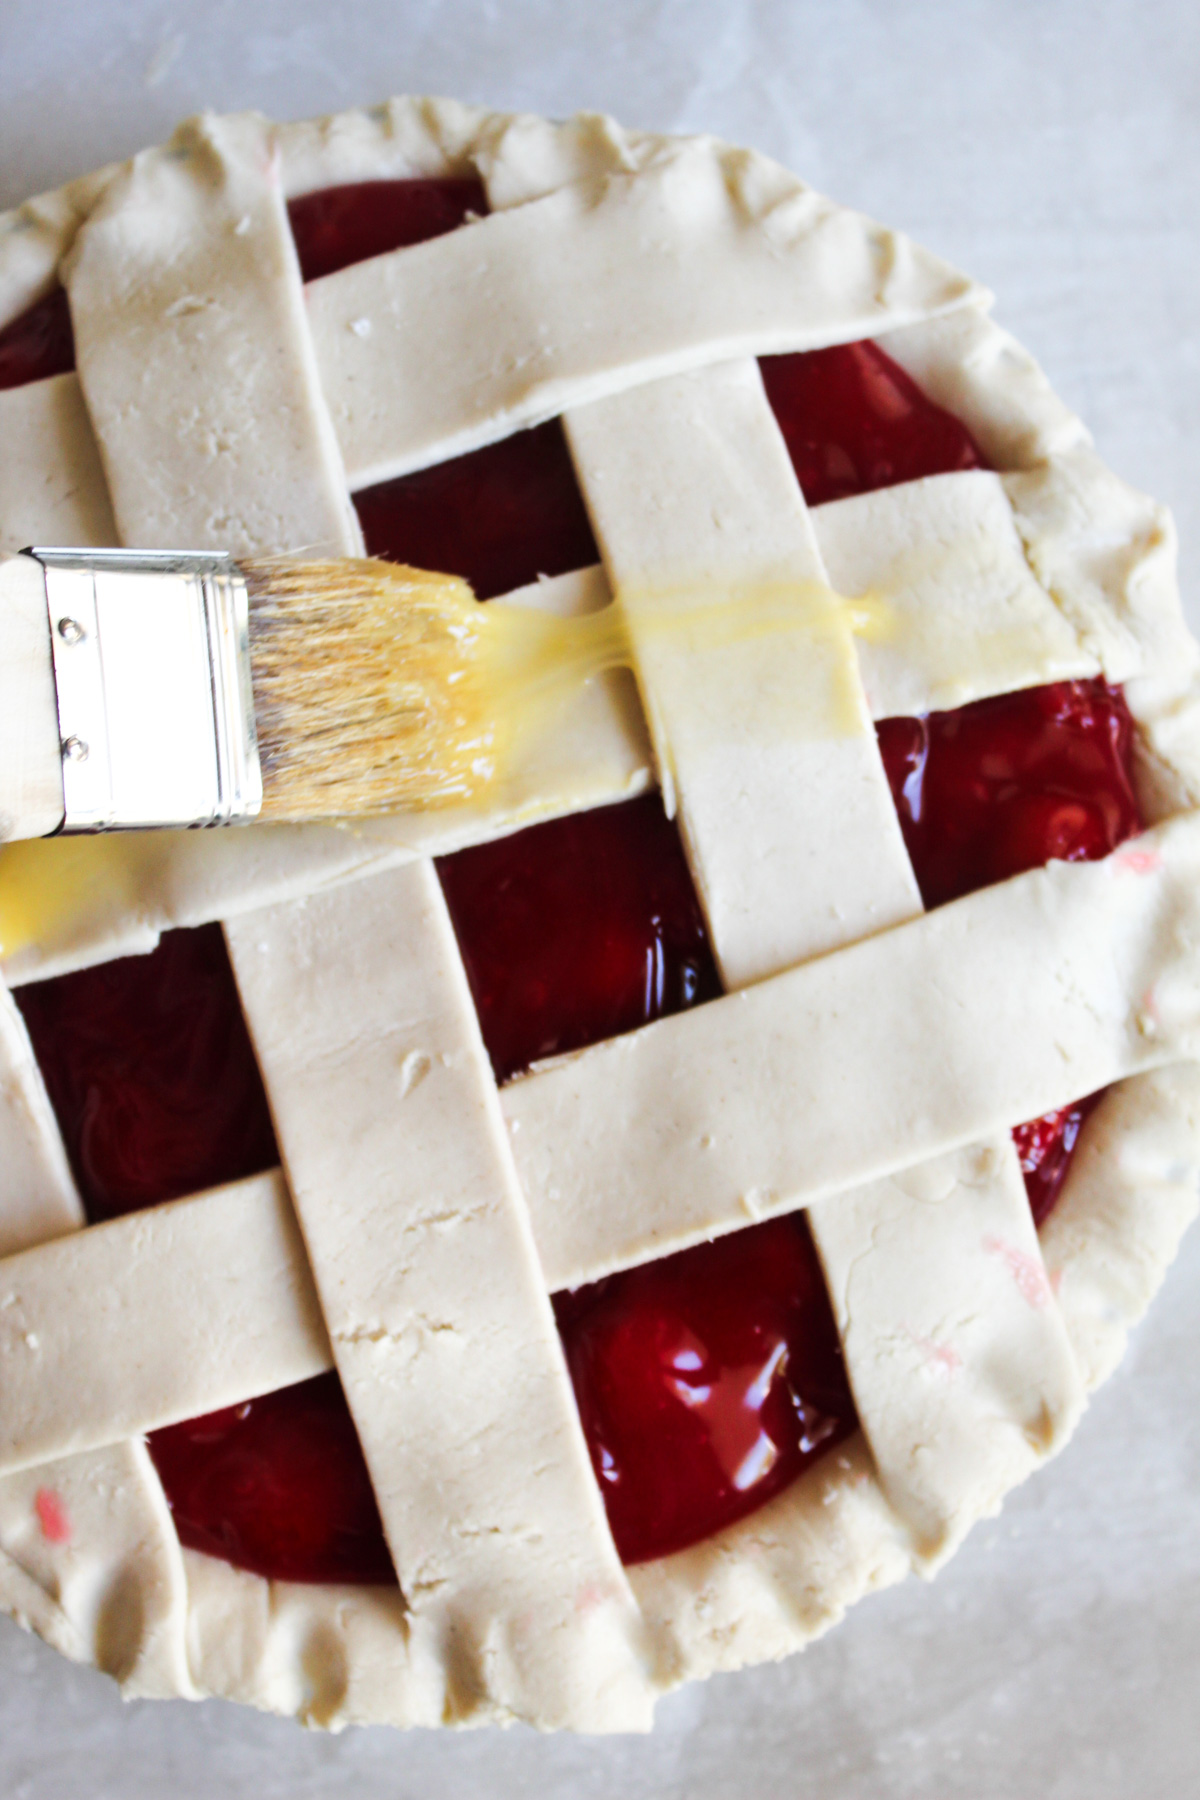
Step Nine: Trim the edges of the crust of the pie. Make notches with your pinky finger to decorate the edges of the pie if desired. Once the lattice is built, break the egg into a small bowl. Mix it with a fork to combine. Brush the lattice top with the beaten egg.

Step Ten: Bake the pie for 40-45 minutes. Check it at 30 minutes and cover the edges with foil to prevent them from burning. Remove the pie from the oven and allow it to cool completely before slicing
Substitutions
- The egg can be omitted, but it gives the crust a lovely golden brown shine after baking.
- Feel free to use storebought gluten free pie crust, if you prefer. Note that these are not typically dairy free!
Variations
- Make your own filling: If you have an abundance of fresh cherries, you can certainly make your own gluten free cherry pie filling. You’ll need approximately 42 ounces of finished filling, which is the equivalent of 5 ¼ cups. This is a great option if you grow your own tart cherries or have access to lots of dark sweet cherries. Don’t forget the cherry pitter!
- Add extract flavor: Stir in a teaspoon or two of your favorite extract, like vanilla extract or almond extract, to add another layer of flavor.
- Add more decorations: With the extra pie crust, you can use a cookie cutter to add extra decorations to the top of the pie. Flowers, stars, or cherries would look great!
- Change the filling: Instead of cherry pie filling, grab a different type of filling and follow the same steps! This is a great way to make blueberry pie, strawberry pie, and more.

Equipment
- Stand mixer or a food processor and scale to make the gluten-free pie crust
- Plastic wrap for the extra crust
- Pie pan
- Mixing bowl
- Measuring spoon
- Rolling pin
- Parchment paper (optional; for rolling out the bottom crust)
- Knife or pizza wheel for cutting the lattice pieces
- Small bowl and fork for the egg wash
All of these tools can be found in my Amazon store.
Storage
- The cherry pie can be stored for 1 day covered at room temperature or 2 days in an airtight container in the refrigerator.
- Freezing is not recommended.
💭Pro Tips for Making Gluten Free Cherry Pie
1. Reroll as needed
- It is a very forgiving pie crust and can be formed and pressed together as needed, to make the rectangle shape for cutting the lattice strips.
2. Avoid messes
- If you’re worried about the pie overflowing in the oven, place it on a baking sheet.
3. Cool down
- Allow the pie to cool completely after baking.
Gluten-Free Cherry Pie Recipe FAQs
Yes, most canned pie fillings are naturally gluten free as they use cornstarch as a thickener. They usually contain cherries, cornstarch, citric acid, sugar, and tart cherry juice, as well as some dyes and stabilizers, depending on the brand. Always double-check the packaging just to make sure the ingredients will suit your needs, but you can usually grab the cans right from the shelf without a problem.
I’ve had the best results with homemade pie crust, but you’ll notice the ingredients are quite different than traditional pie doughs. To get a flaky pie crust without gluten, you’ll need gluten free flour blend, vegan butter, and a little sugar, but you’ll also need vegan cream cheese and heavy cream. These are not standard in most pie crust recipes, but they are essential for a truly flaky, tender pie crust. Plus, one batch is enough for 3 crusts, so you can save the extra in the freezer for your next pie!
Since this crust doesn’t contain wheat, overworking does not activate the gluten. This means you can roll and reroll the dough as much as necessary to get it just right.
More Pie Recipes
Did you make and love this recipe? Give it your review and  rating below! And make sure to follow me on Instagram, Pinterest and Facebook too!
Recipe

Easy Gluten Free Cherry Pie Recipe: Dairy Free
This easy gluten free cherry pie recipe comes together very quickly – this recipe uses a homemade pie crust, but a storebought one will work also. Mix the filling, bake, and enjoy!
Servings: 12 slices
Calories: 237kcal
Instructions
-
Make the pie crusts and chill as directed. Recipe will make 3 crusts, you just need one whole crust and half of another crust for this recipe.
-
Meanwhile, prepare the filling. In a large bowl, add the cherry pie filling, removing ½ cup of the filling (without cherries).
-
In a small bowl, place the ½ cup reserved filling and 1 Tablespoon cornstarch. Mix together until no lumps remain.
-
Add the cornstarch mixture to the large bowl of pie filling and mix until completely blended.
-
Preheat oven to 425F.
-
On a lightly floured surface, roll one whole pie crust to fit a 9″ pie plate. Place pie crust in the pie dish.
-
Scrape the cherry pie filling into the pie crust.
-
Lightly flour the surface for the next pie crust. Roll the remaining ½ pie crust dough into a rectangle shape. Cut off the edges and place as needed to make a rectangle.
-
Use a pizza cutter or sharp knife to cut the rectangle longways, into 1 inch wide strips. You will need 6 strips total.
-
Evenly place 3 strips on top of the cherry filled pie.
-
Peel back the middle strip of crust, so it’s halfway back. Take a 4th strip of dough and place it near the edge of the pie, in the opposite direction of the other strips of crust. Lay it on top of the two strips you didn’t peel back.
-
Move the peeled crust back over the 4th strip.
-
Take a 5th strip of dough and peel back the two strips you didn’t peel back before to place this strip in the middle. Place the peeled strips back.
-
Take the 6th strip of crust and peel back the first strip of crust and place this last piece of crust down over the two strips as before.
-
Trim the edges of the crust of the pie. Make notches with your pinky finger to decorate the edges of the pie if desired.
-
Once the lattice is built, break the egg into a small bowl. Mix it with a fork to combine.
-
Brush the lattice top with the beaten egg.
-
Bake the pie for 40-45 minutes. Check it at 30 minutes and cover the edges with foil to prevent them from burning.
-
Remove the pie from the oven and allow it to cool completely before slicing.
Notes
- The pie crust recipe is here. The recipe makes 3 crusts. For this cherry pie, you need one full crust and half of another crust. Save the remaining one-and-a-half crusts for another use.
- It is a very forgiving pie crust and can be formed and pressed together as needed, to make the rectangle shape for cutting the lattice strips.
- You will need 6 strips to make the lattice shown in the picture.
- The egg can be omitted but it gives the crust a lovely golden brown shine after baking.
- Allow the pie to cool completely after baking.
- Pie can be stored for 1 day covered, at room temperature.
- Pie will last for 2 days in an airtight container in the refrigerator.
- Freezing is not recommended.
Nutrition
Calories: 237kcal | Carbohydrates: 41g | Protein: 2g | Fat: 7g | Saturated Fat: 2g | Polyunsaturated Fat: 1g | Monounsaturated Fat: 3g | Trans Fat: 0.002g | Cholesterol: 16mg | Sodium: 126mg | Potassium: 134mg | Fiber: 1g | Sugar: 0.02g | Vitamin A: 226IU | Vitamin C: 4mg | Calcium: 18mg | Iron: 1mg
